Tips on photographing your quilt
Taking photos of quilts if you are not a professional photographer can be daunting – the below offers some guidelines and advice to help you:
How many photos to take:
You can submit up to four photographs in total; one of the whole quilt, two detail shots and a photograph of the back.
We therefore advise:
– One full photo of the piece of work (not behind glass) and preferably on a white background so edges and borders can be seen.
– One image of a section of the work (perhaps a 1/4 of the work); choose an interesting area.
– An image of some fine detail that shows the piecing, applique, stitch detail, borders, edges and the use of embellishment – the different materials that might add dimension.
– An image of the back of the quilt
– Alternatively (and depending on the nature of the piece) you could take an angled shot of the whole work to establish how flat the piece hangs. This would not only show surface dimension, but shadow effects, how it is mounted on a plinth, or if the work is meant to hang in front of the wall or be suspended.
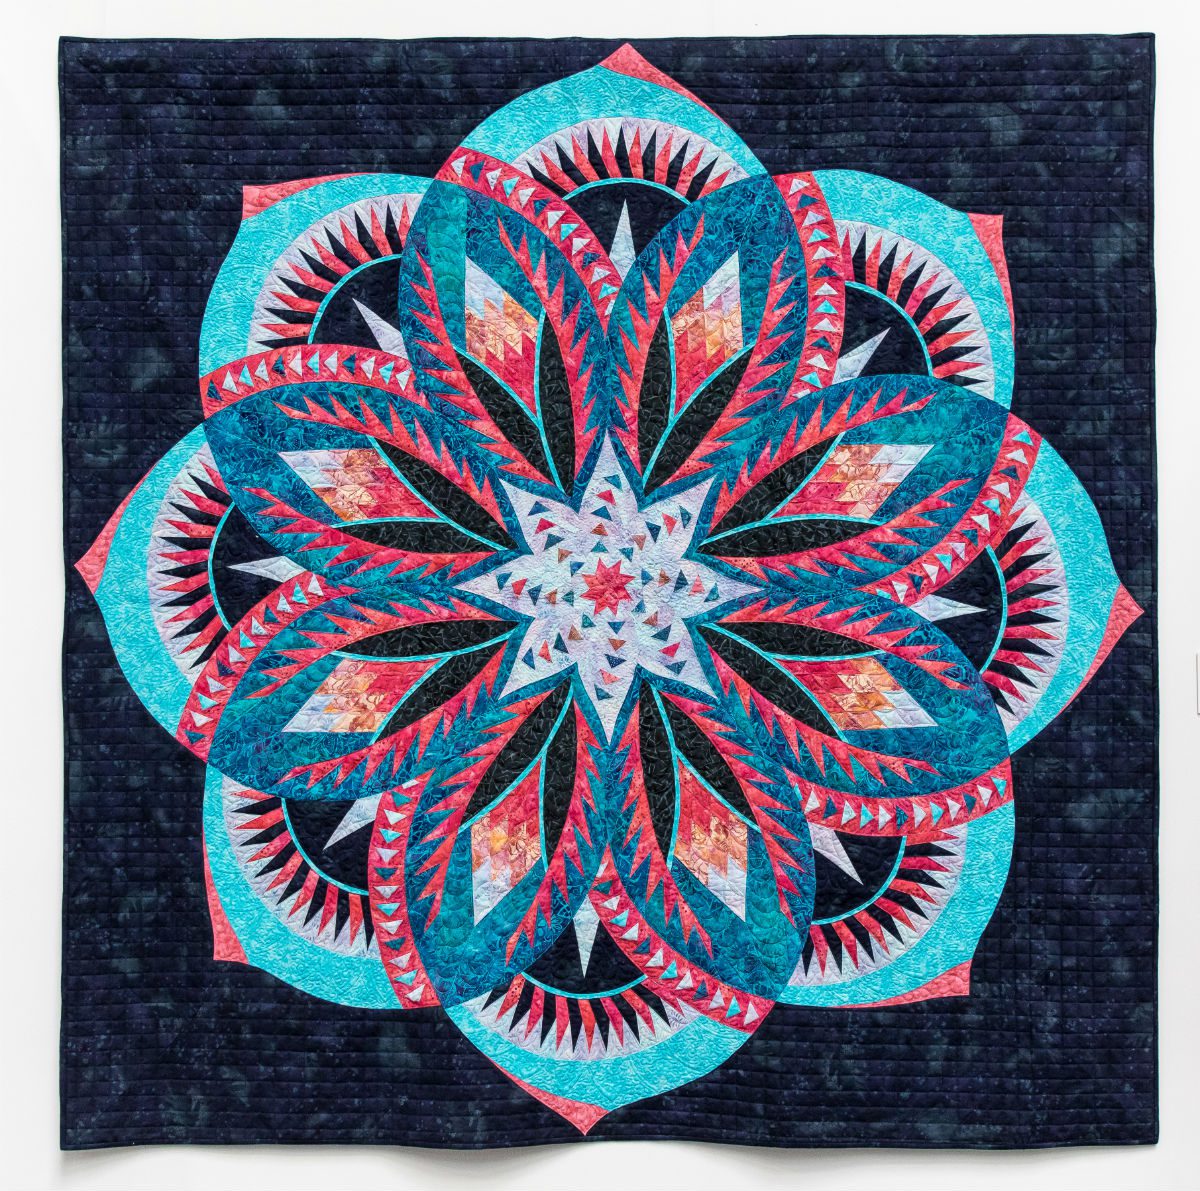
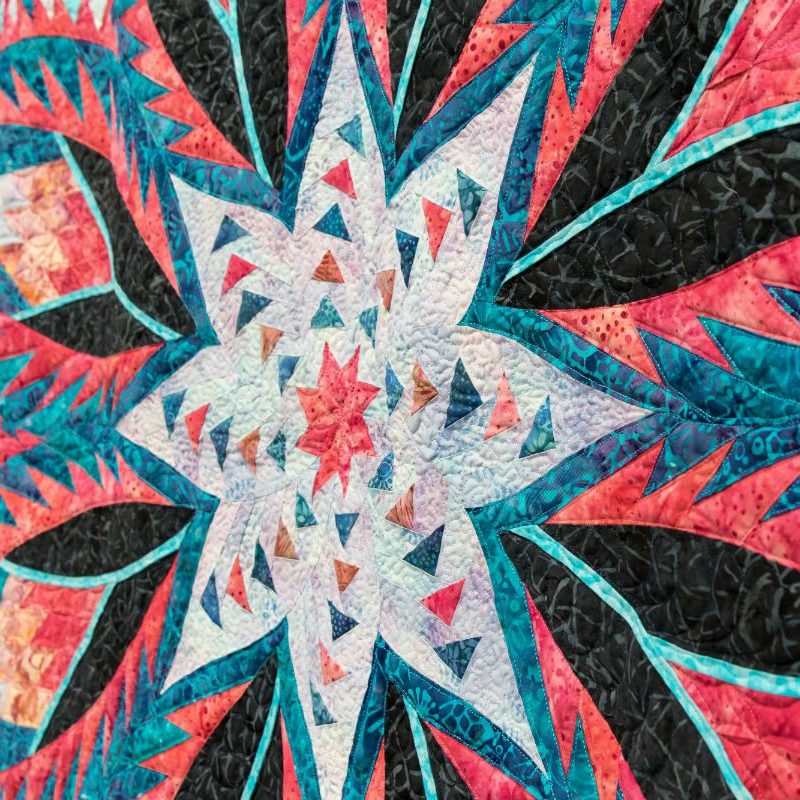
Top 5 Essentials:
1.We will accept fingers holding a quilt since most people won’t have access to a quilt stand.
2.We will accept a quilt laid flat on a bed or the floor if necessary.
3.Take photographs on a light neutral wall or background.
4.Please crop your picture (in image editing software) so that a minimum of the background shows. Practice first on other quilt images to learn what to do. Remember, there is almost always a way to undo a modification.
5.Quilting stitches and design must be visible in the detail shot
File Type:
The best format for images for the Virtual Competition is Jpeg. You could save your images as Tiff files but these tend to be far larger and may be slower to upload, so we recommend you save them as Jpegs..
Which camera/device to use:
Having a camera that will take images over 5mb is best. The lower the MB (megabyte) the lower the dpi – or dots per inch. Usually basic compact cameras (also sometimes called point and shoot cameras) will give 72 or 180 dpi when camera is set on the highest, finest image.
-A Smartphone camera can take good quality images – some of the latest mobile phones will take very high quality photos of up to 12mb making them a good choice.
-Compact digital cameras go up to 20mb. They will have some zoom capacity and the potential (in settings) to add exposure or light the surface with a flash.
-DSLR cameras generally provide a better integral glass lens, can offer over 20mb per image and has the facility for add – on lenses (macro, telephoto etc) in addition to more control in light and speed settings, finer focus and also a built-in flash to brighten the image. Both compact and DSLR cameras can also take very good pictures on the basic AUTO setting.
All three types can be adapted for use with a tripod which will allow for a perfectly stabilized photo.
Whatever you use – a phone/camera, a compact digital camera or an Digital SLR style camera it is possible to get quite good shots.
Photographing Wall Hangings:
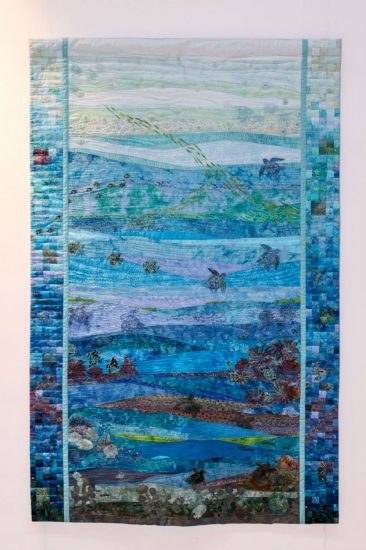
To achieve the best possible results, it is advisable to hang your work as it would be seen in a gallery space, from a batten.
–We advise sewing a sleeve onto the top AND bottom of the quilt, so it hangs flat. The bottom sleeve can be narrower, to weight the piece and to avoid ripples. The two battens will help to stabilizes the work for photography.
-Where possible the top batten would be screwed to a wall / fence or temporary structure to be photographed. The ideal would be a white wall.
-It is important to photograph the piece when it is hung vertically (rather than lying flat), so you could even ask someone to hold the quilt, hiding behind it, while it is photographed.
-If this is not possible we advise you to find an alternative means of hanging the quilt. A washing line could be possible (if you can hide the pegs and there is no wind).
-We do not advise laying large quilts on the table / floor to photograph as the angle will be distorted and the you will not do the work full justice.
-Smaller work could be photographed from a ladder above the piece, while the backing cloth and textile piece are flat on the ground to get a full flat image. However vertical hanging is usually the most effective method.
-Make sure the entire quilt is visible in the full shot. There should be no objects, people, pets, or scenery in the picture. Do not try to take a “pretty” picture with gardens, trees, mountains, etc. in the background. The background will distract from your quilt and be a liability, not an asset.
Photographing Three Dimensional Pieces:
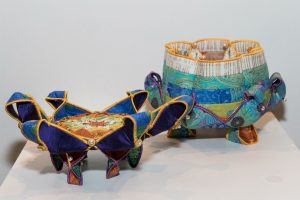
-A display stand/area will need to be created – similar to the way it might appear in a gallery. If you don’t have a plinth, boxes covered with white cloth could work but ensure there is nothing in the background.
-Wearable art would need also to be photographed as it would appear in an exhibition, so an appropriate mannequin might be used.
-Suspended work will be more difficult to photograph at home, but we advise you to replicate a gallery setting as best you can.
Lighting:
Good lighting is important when photographing textiles and we advise taking photographs during the day to use natural light where possible.
The best place to photograph your work is outside – on a bright hazy or cloudy day for natural light.
Direct sunlight can wash out colour and detail so on a sunny day, it’s best to use an area / wall in light shade.
Using a Flash:
Even outside it might be good to try several photographs with a flash as this will also brightens the image. Try using a flash at different distances so the lighting is as even as possible.
If you need to shoot your work indoors, a white background or wall is even more essential.
Lighting settings in cameras will accommodate for tungsten or bulb (warm lighting), and you could also use the flash at a distance, keeping the light source as even as possible.
Initially your image might not be as bright and light as it should be but the colour will be natural and it can be lightened with basic photo editing software on the computer.
Taking Photos:
-It’s important to be steady and balanced when taking your shots to avoid blurring. If you have a tripod it’s advisable to use one.
-Take a number of different images to ensure you get a best shot (full piece, a large section, detailed sections, and angled shots). Once you see them on the computer you may find some images slightly out of focus so more to choose from is best.
Remember to take some with flash to compare the effect
Submitting your images:
The entry form will allow you to upload four images as part of your application. If your files are too large, you may experience difficulty uploading them so we suggest uploading files of between 1-3mb.
If your photos are larger than this, try reducing the file size here.

