
Machine Finished Binding with Mock Piping/ Flange
By Helen Moyes
One of my favourite quilting techniques, this binding gives a piped look you can completely sew to your quilt with your sewing machine. Use either invisible thread or thread to match the piping in the top of your machine and a thread matching the quilt backing in the bobbin.
To make the binding you will need:
- 1½” wide strips of your main binding fabric (I used grey)
- 1¾” wide strips of a contrast fabric. I used black for the contrast flange and these measurements give a ¼” flange.
- Cut enough strips of each of these to go around your quilt plus extra for corners and joining.
Prepare the binding:
Step1
Step 2
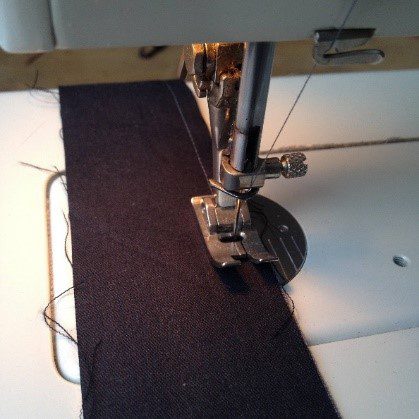
Next sew the two colours together along their length using a ¼” seam.
Step 4
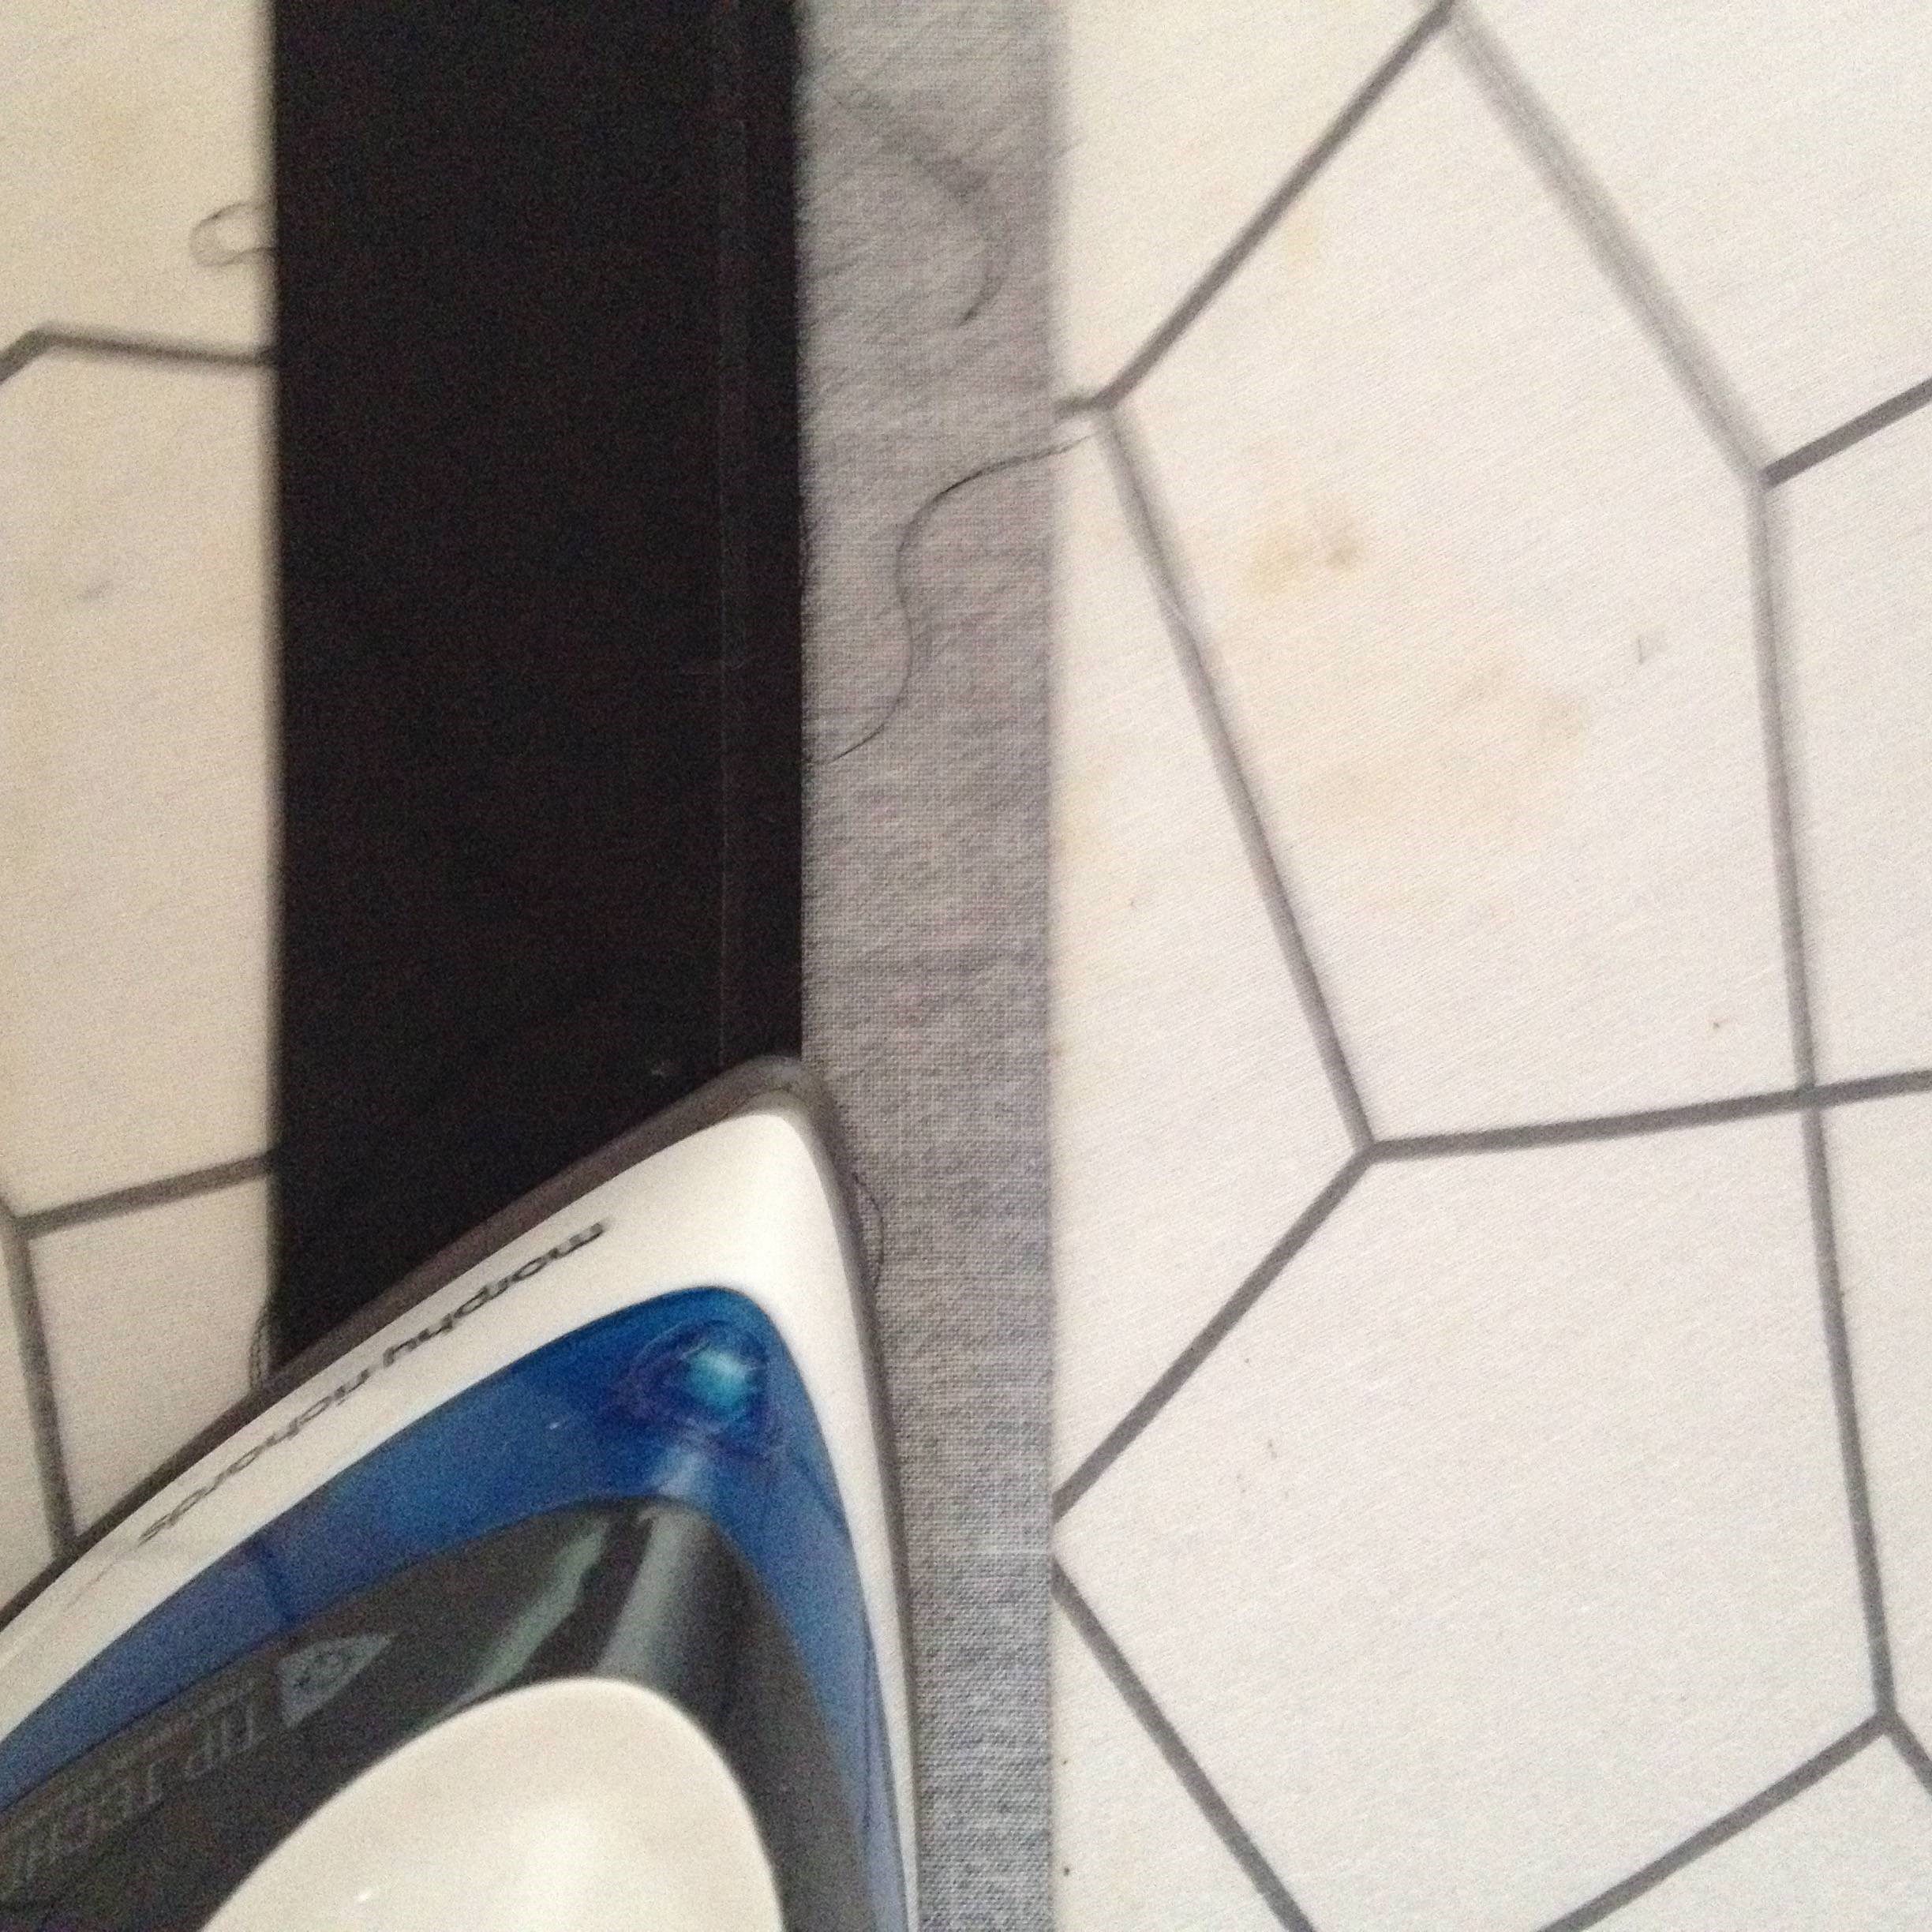
Fold the binding in half lengthwise, so the raw edges are flush. Then press so a strip of the contrast fabric is visible on the right side of the binding.
Step 5
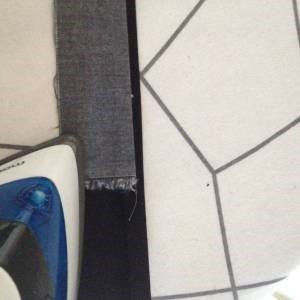
Now prepare the beginning of the binding strip: Unfold the left edge of the binding, fold the corner in and press.
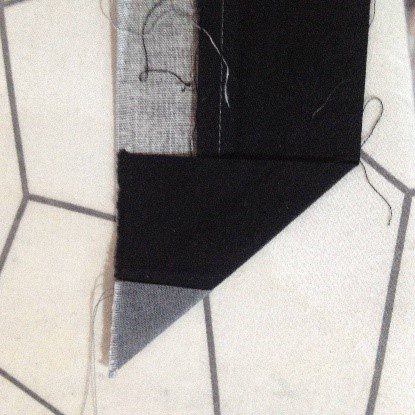
Trim the triangle leaving a ¼” seam allowance. Re-fold the strip.
Attach the binding to the quilt:
Step 1
You will first sew the binding to the back of the quilt. Then fold to the front before stitching again:
Place the right side of the binding to the wrong side of the quilt, with raw edges along the edge of the quilt. Using a walking foot stitch ¼” from the edge of the quilt.
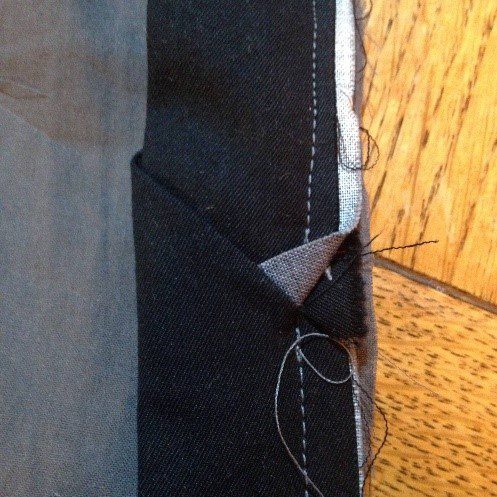
Step 2
To turn the corners, stop stitching ¼” before the corner of the quilt. Then remove the quilt from the sewing machine to fold the corner. Fold the binding up so that the diagonal fold points directly into the corner.
Step 3
Next, fold the binding down again, aligning it with the edge of the quilt.
Step 4
Continue sewing ¼” from the edge, all round the quilt, folding each corner.
Step 5
When you reach the start, trim the binding. Then Insert it into the pocket created at the beginning. Pin and stitch in place.
Complete the binding
Step 6
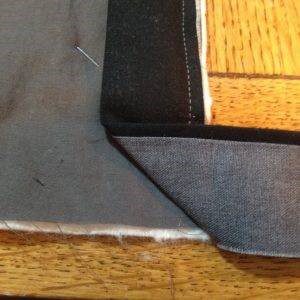
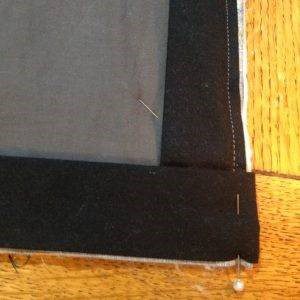
Fold the binding onto the right side of the quilt so you can now see the narrow piping strip. Pin carefully, being careful to match the corners.
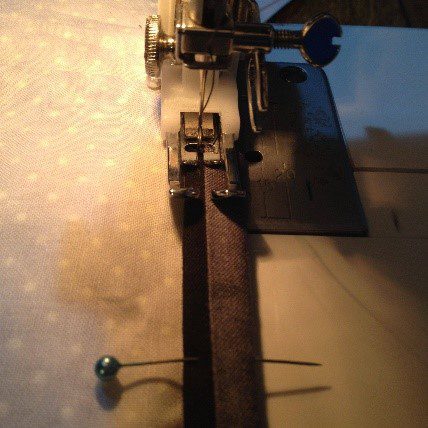
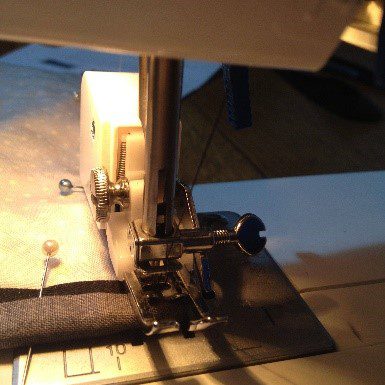
Step 7
Stitch in the ditch on the piping using a thread matching the piping, or invisible thread in the top of your machine and a thread matching the quilt backing in the bobbin.
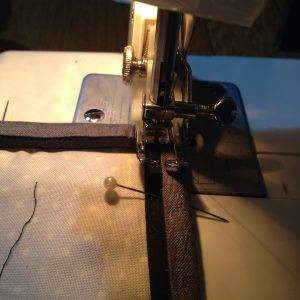
Step 8
When you reach the corner tug down and fold up the next side of the binding. Pivot and continue sewing.
Further information
Helen runs workshops and gives talks and demonstrations. Contact her: [email protected]
More of Helen’s work can be seen at her website www.helenmoyesdesigns.com on Instagram @helenmoyesdesigns and on her Facebook page: www.facebook.com/HelenMoyesTextileMixedMediaArtist/