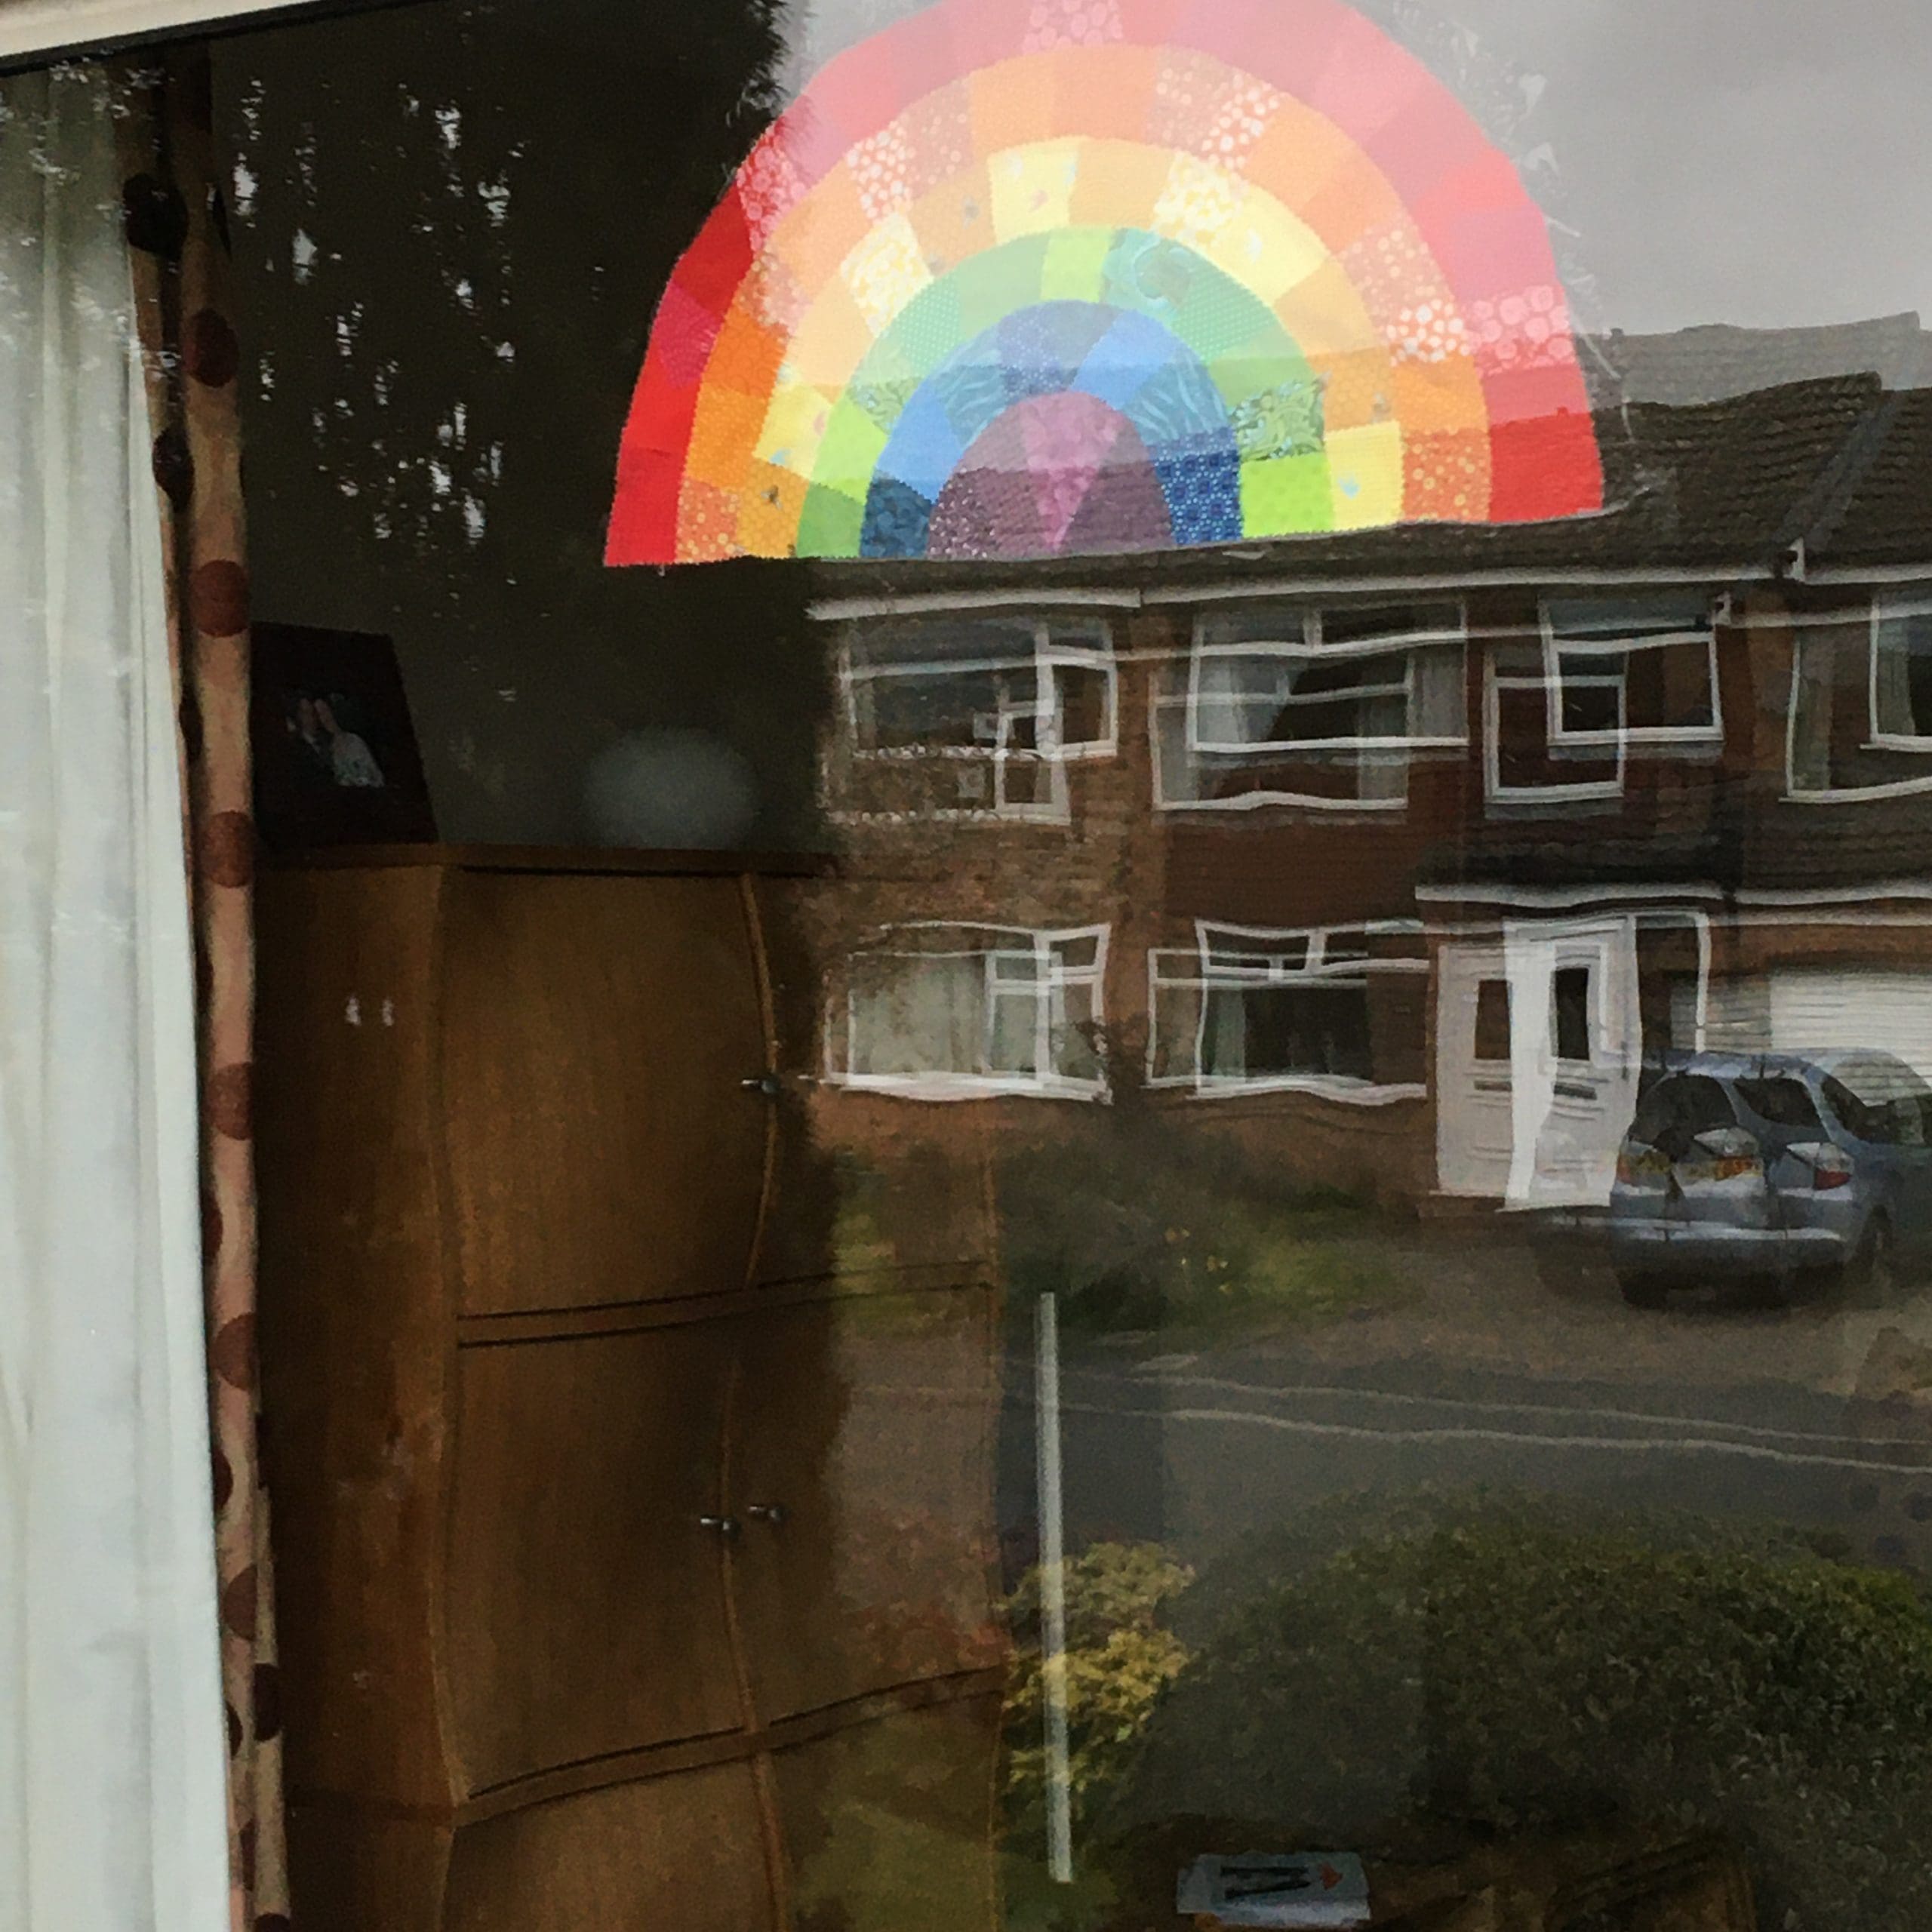
How to make a ‘raggy’ rainbow!
By Alice Futers
You will need
- Scraps of fabric in various colours
- A piece of plain backing fabric (amount required depends on size of finished rainbow)
- Pen, string, ruler or tape measure
- Pinking shears if you have them, or normal scissors
- Pins
- Sewing machine and thread, or needle and thread for hand sewing
Step 1
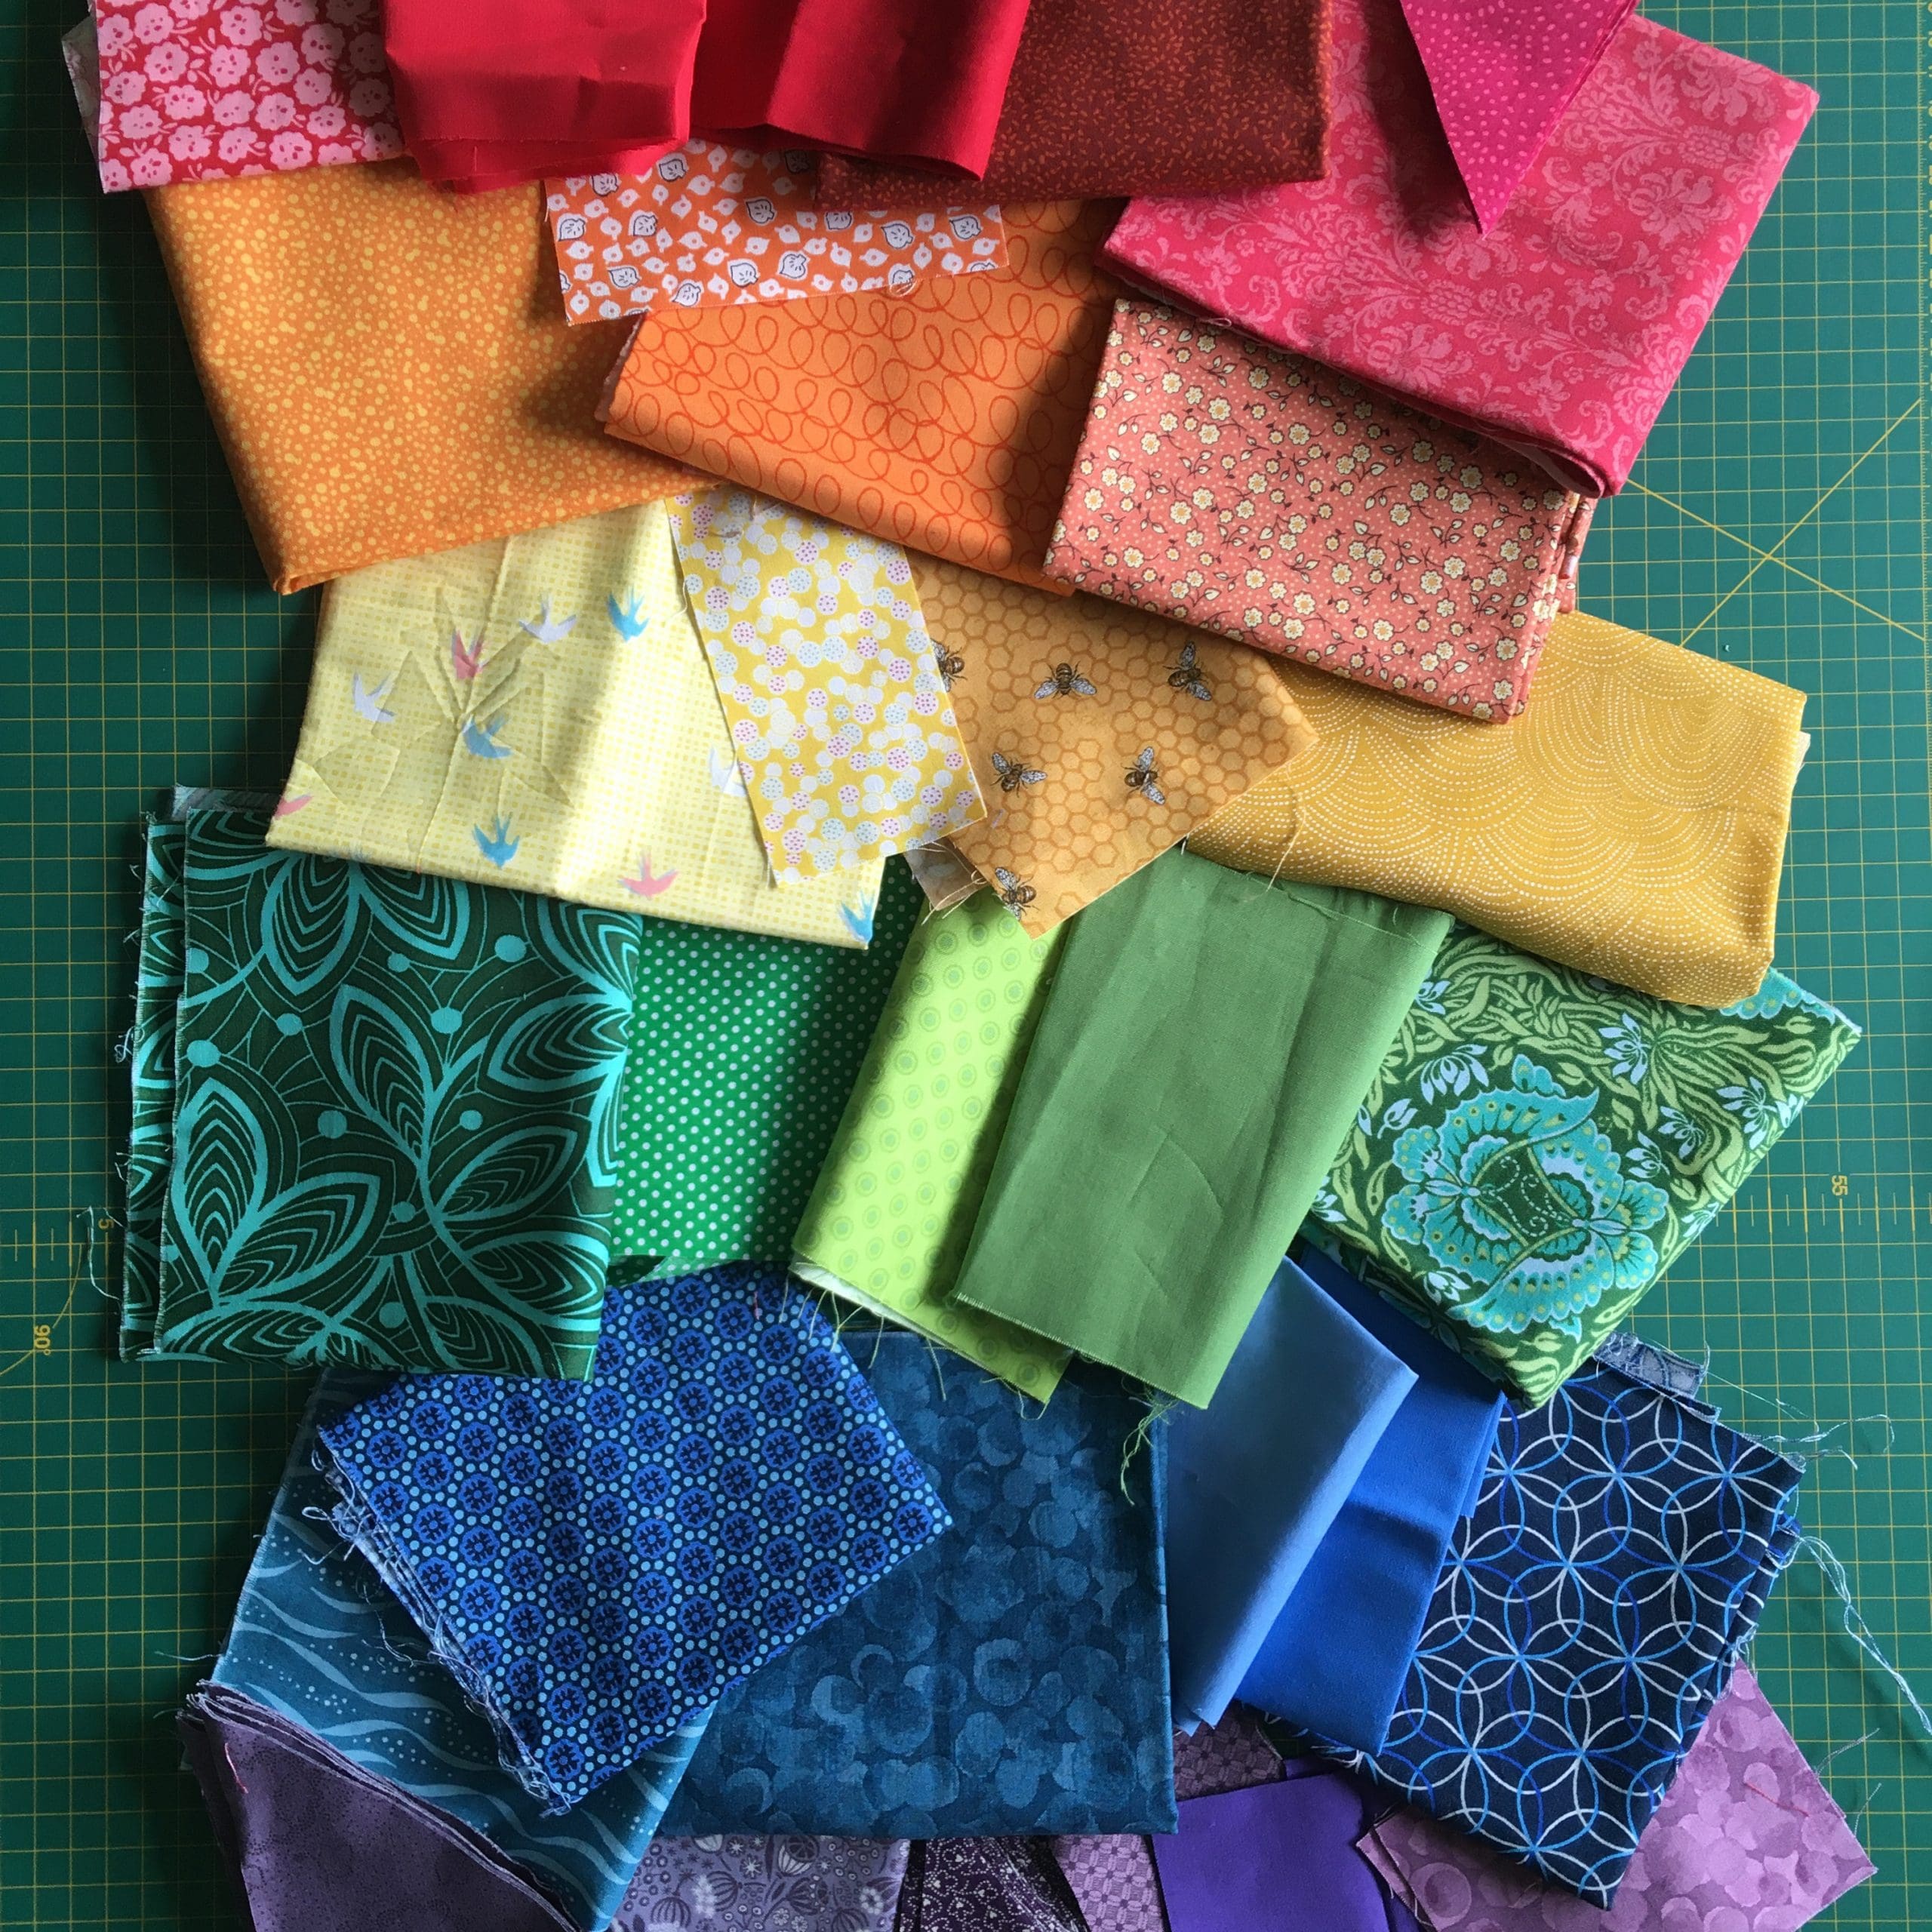
Gather together scraps of fabric in different colours, and arrange roughly in rainbow colours. It doesn’t matter if you don’t have every colour of the rainbow, or a wide variety of different fabrics; just some brightly coloured fabrics from your stash will be fine, and you only need small scraps.
Step 2
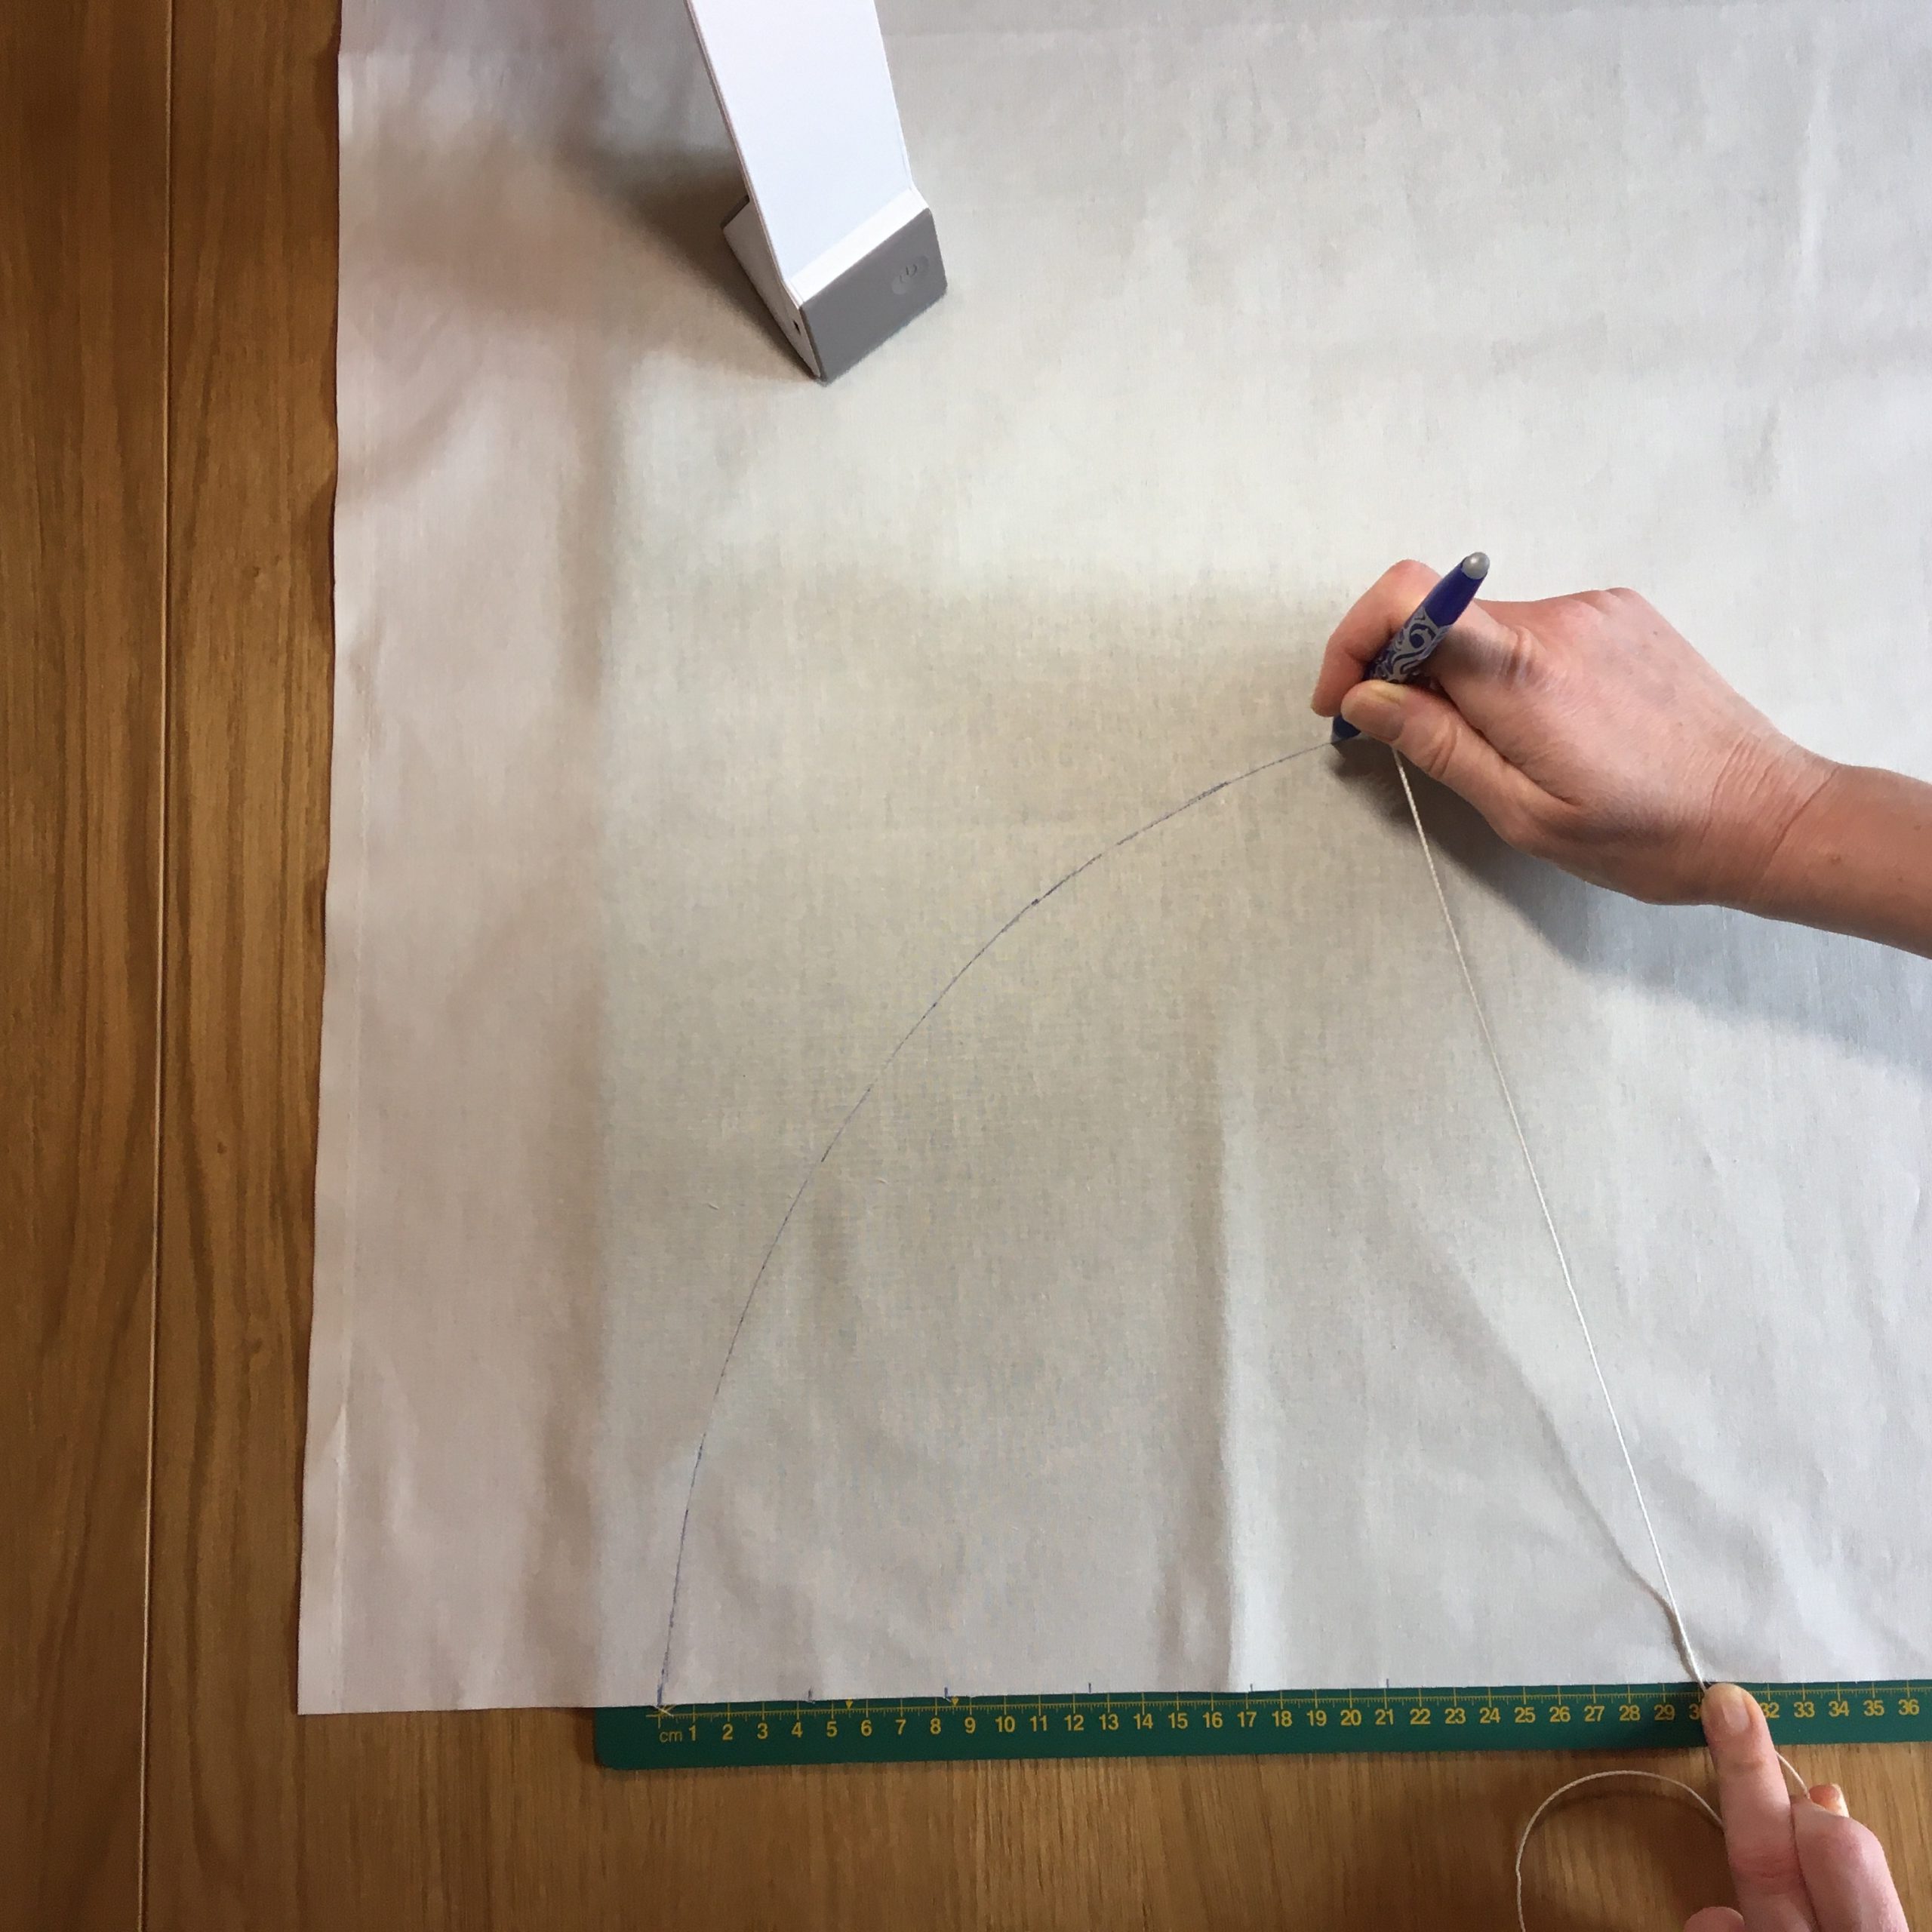
Decide how wide you want to make the base of your rainbow and how many coloured stripes your finished rainbow will have – you may want to draw it out on paper first, and mark the width of each stripe. I made mine approx. 60 cm wide at the bottom with 6 coloured stripes. Divide the measurement of the base by 2 – this gives you the radius of the first semi-circle you are going to draw. Tie a length of string round a pen, pencil or fabric marker pen. Find the centre of the lower edge of your backing fabric (30 cm in my case) and anchor the string by holding it down firmly with one hand. With the pen in the other hand, draw a semi-circle; remember to keep the string tight.
Step 3
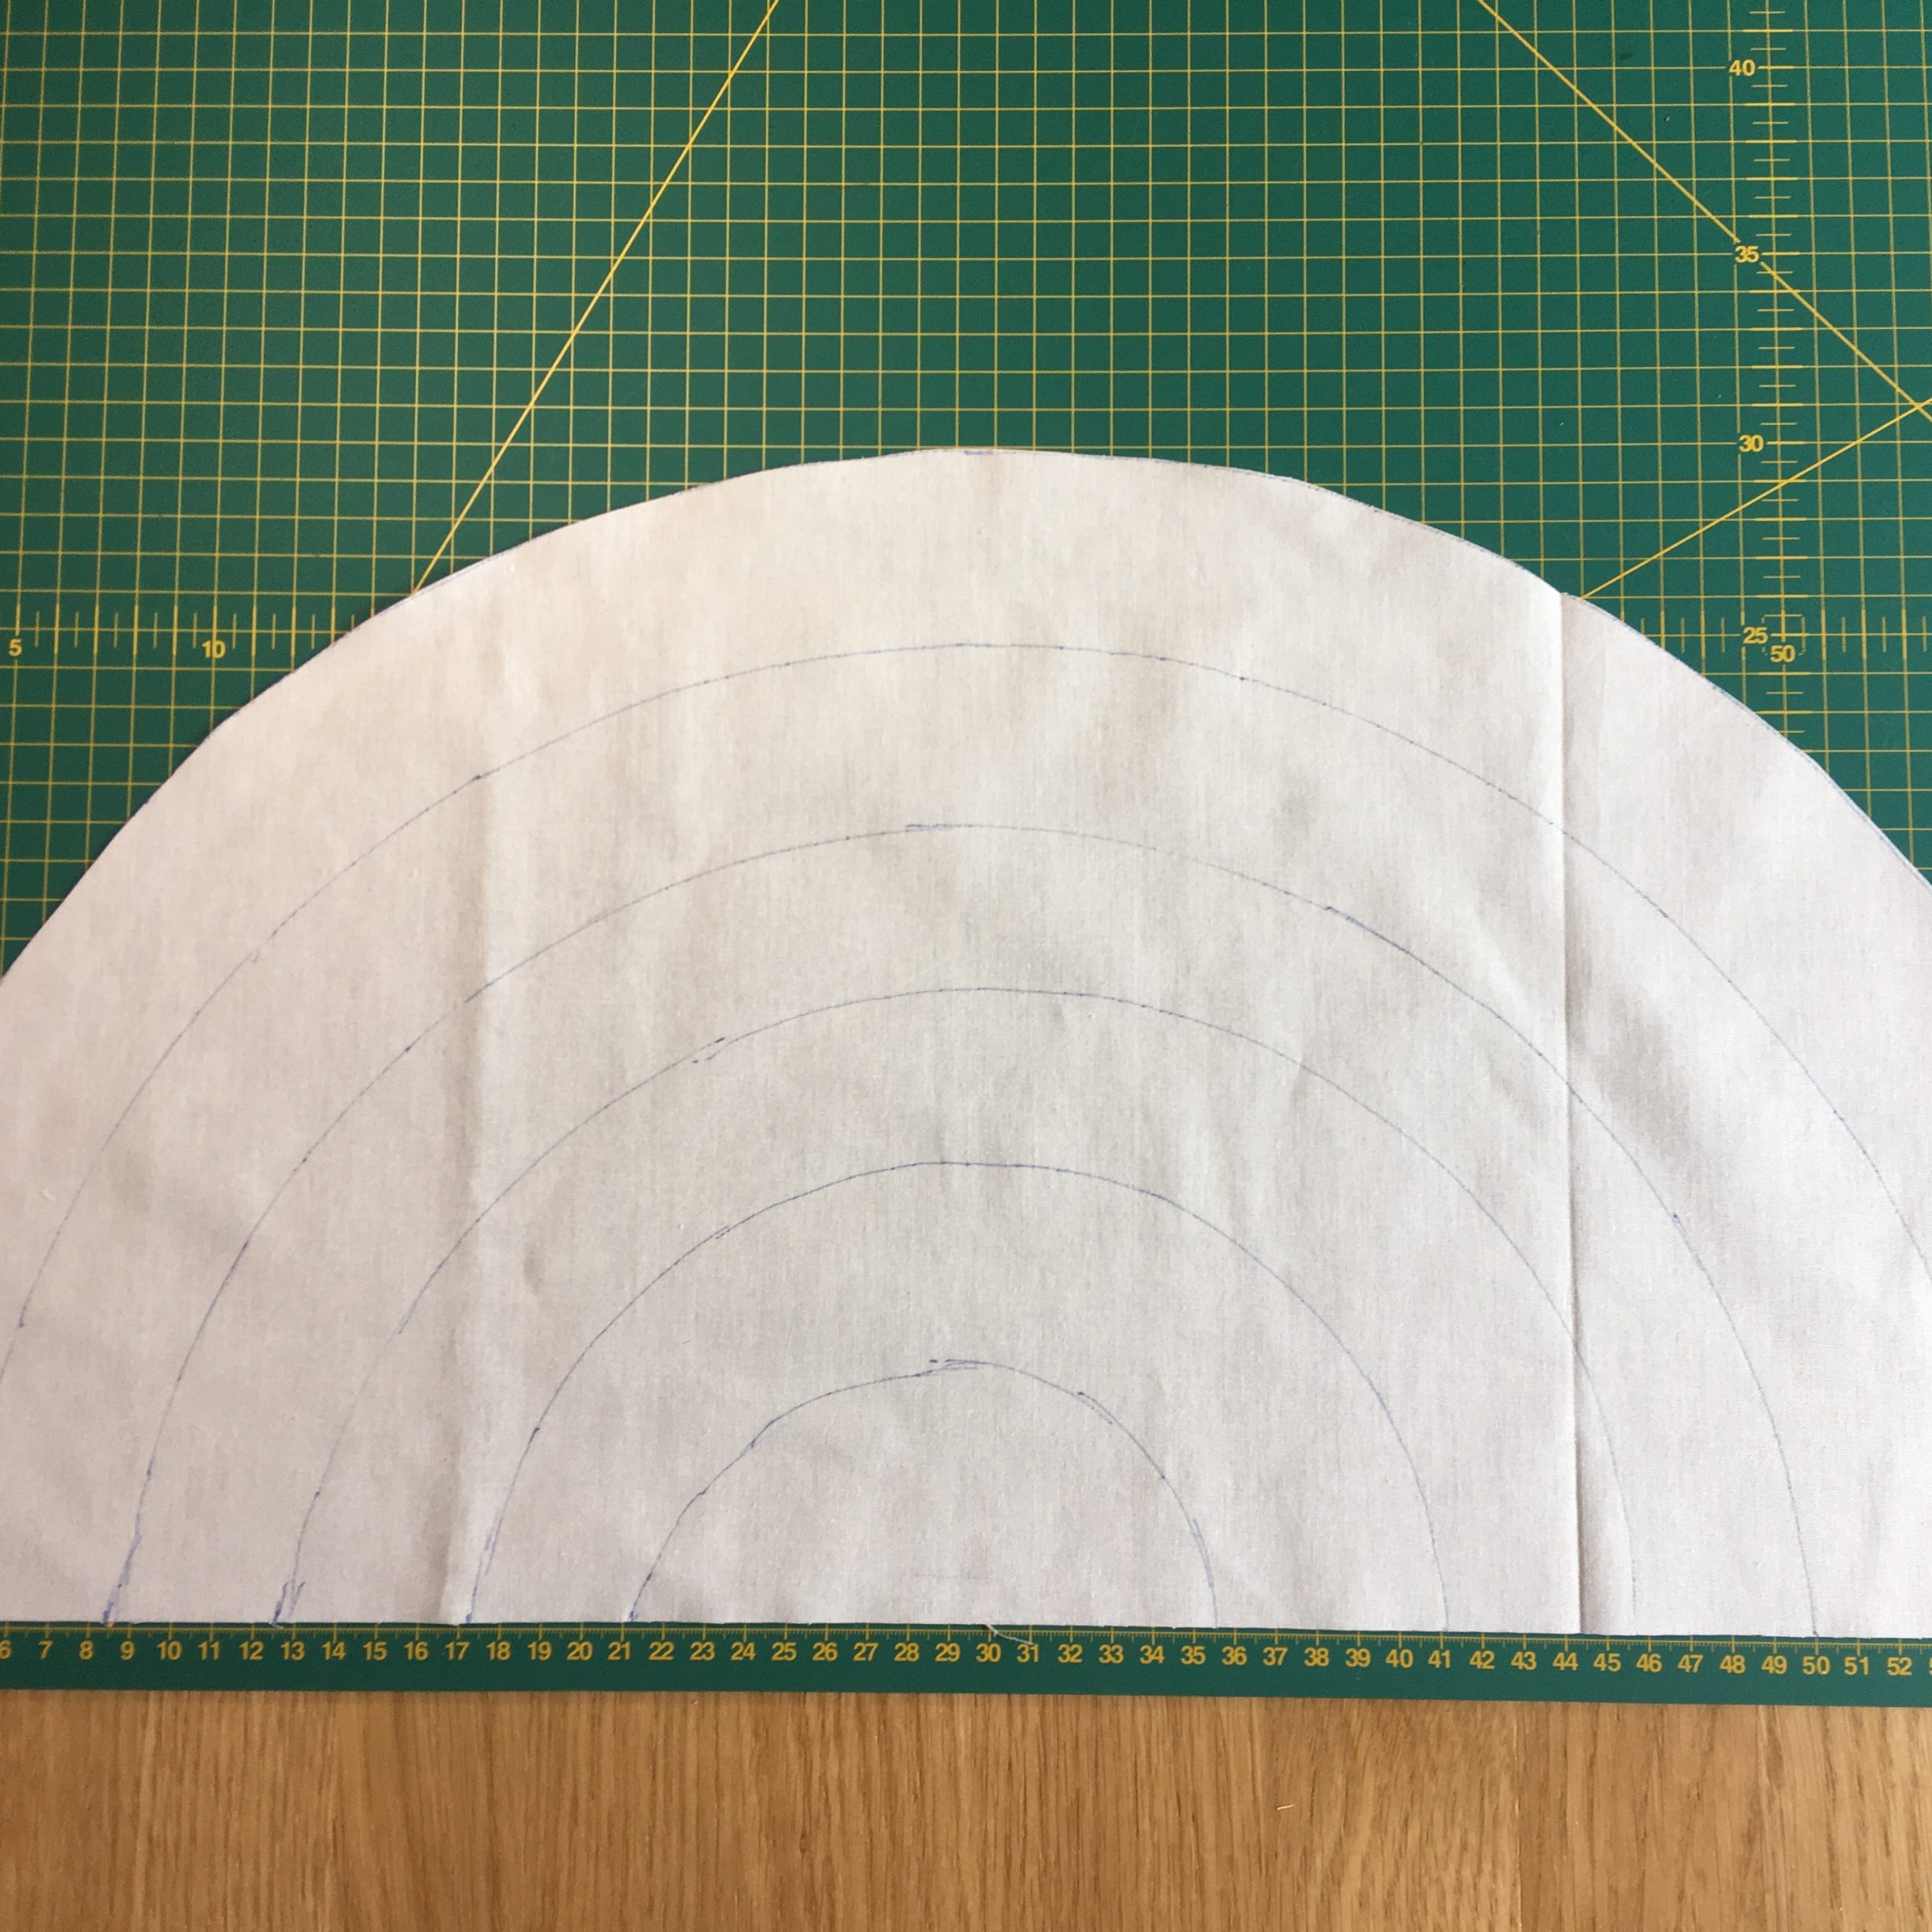
Shorten the string, and draw more curves, until you’ve completed them all. Cut round the outer line so you have a semi-circular piece of fabric.
Step 4
Cut small scraps of fabric in your first colour using pinking shears, and place them in the outer stripe, with the bottom edge against the line below, and slightly overlapping the top edge and each other. Pin in place where the pieces overlap.
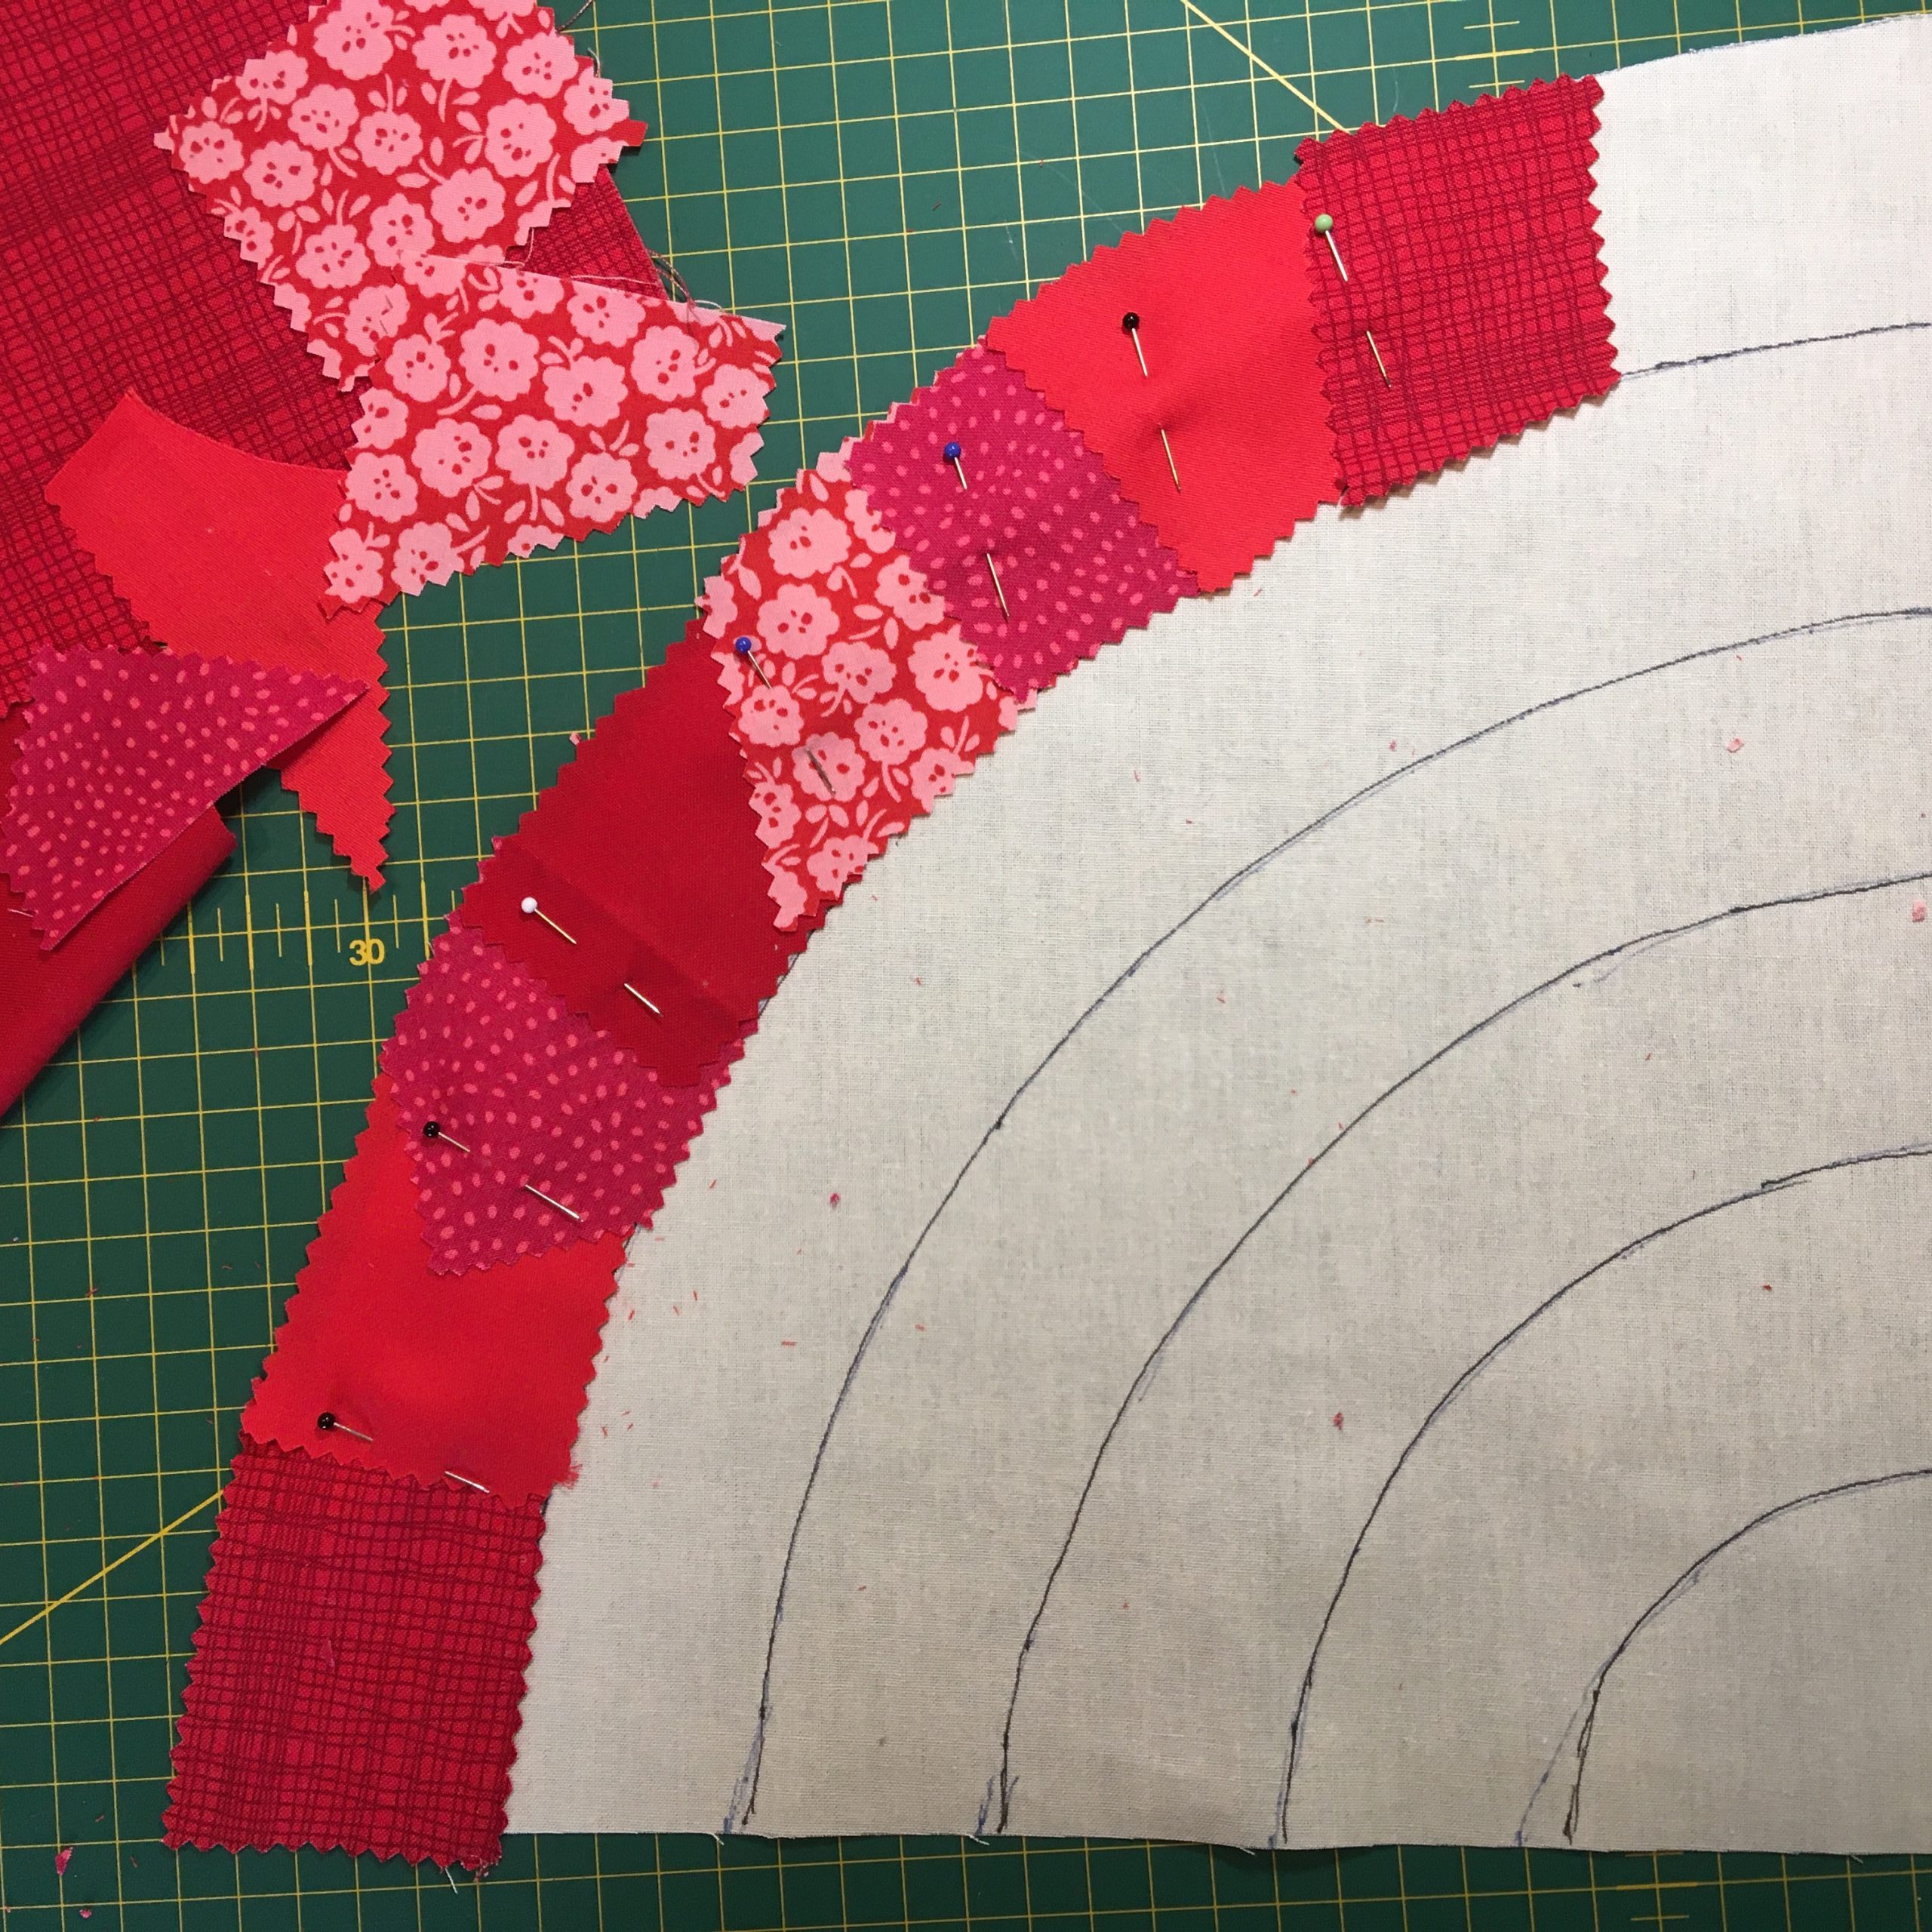
Step 5
Once you’ve completed the whole stripe, sew round to secure the patches in place, using two lines of stitching, one close to the top of the stripe, and one close to the bottom. Press flat. (NB if you used a fabric pen to draw your curves, take care not to iron over the other lines or they may disappear!)
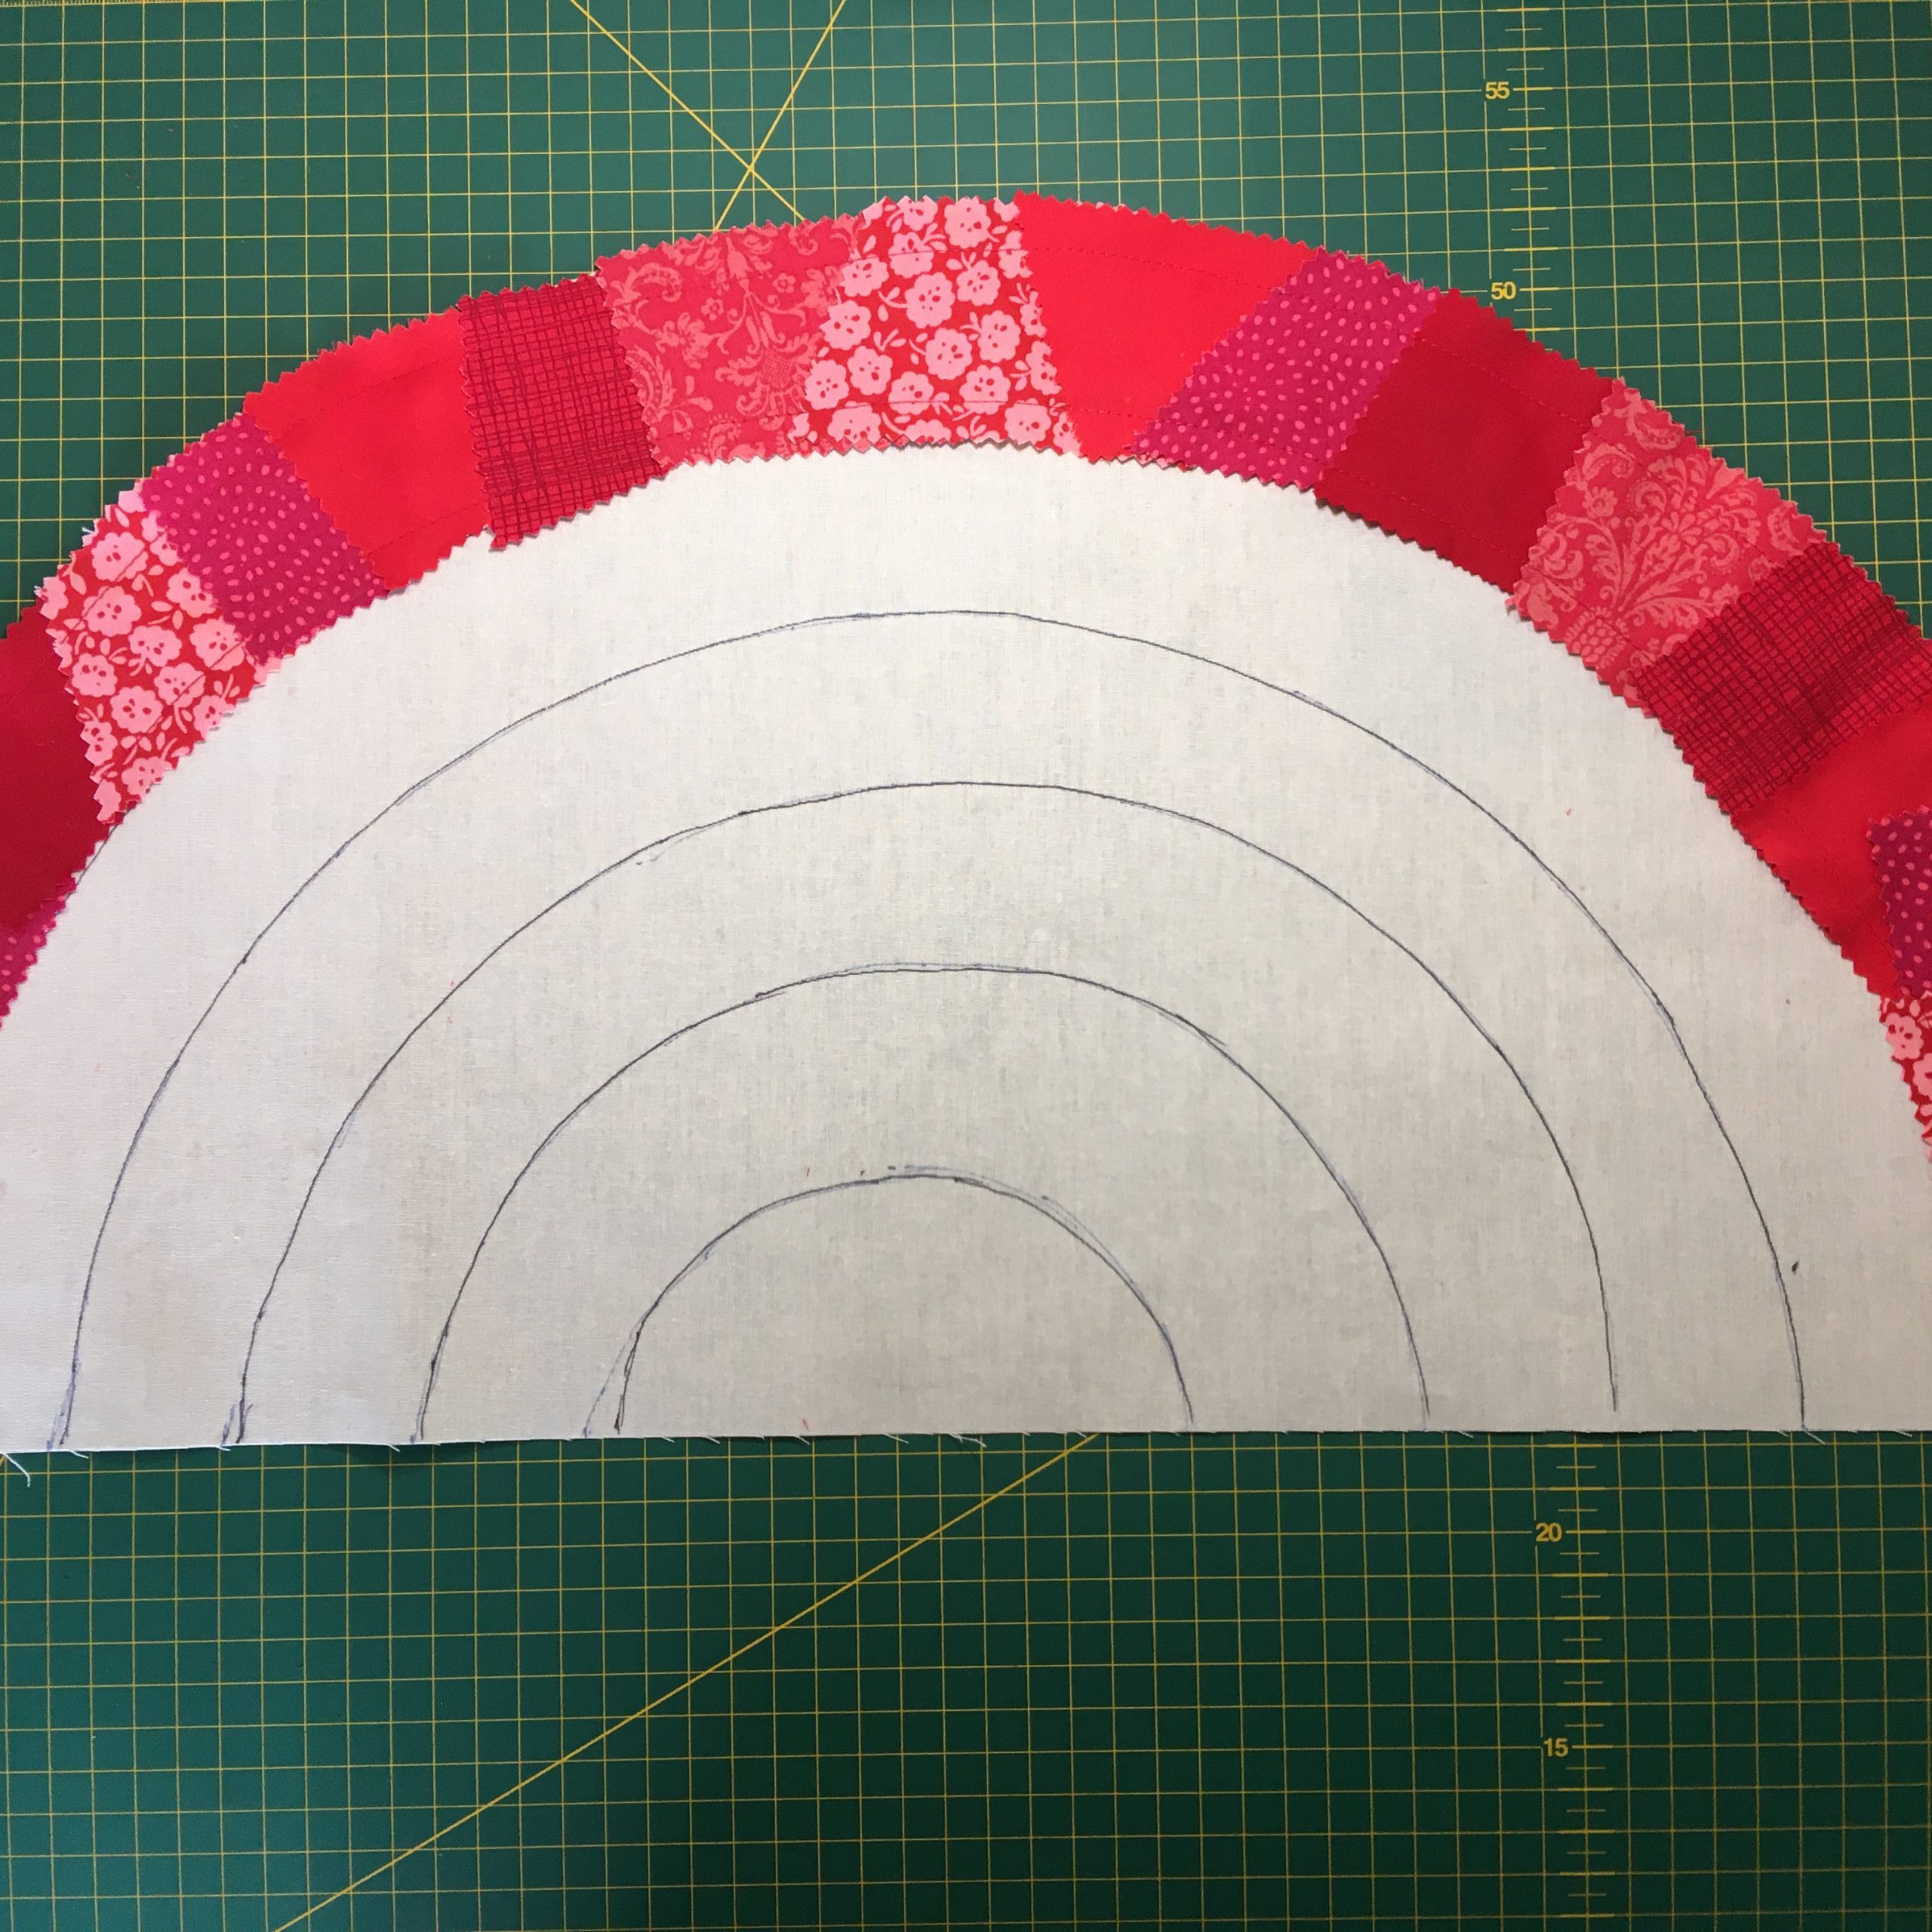
Step 6
Repeat with another stripe of your next colour, again overlapping the patches slightly at the top, so it covers the bottom of the previous stripe.
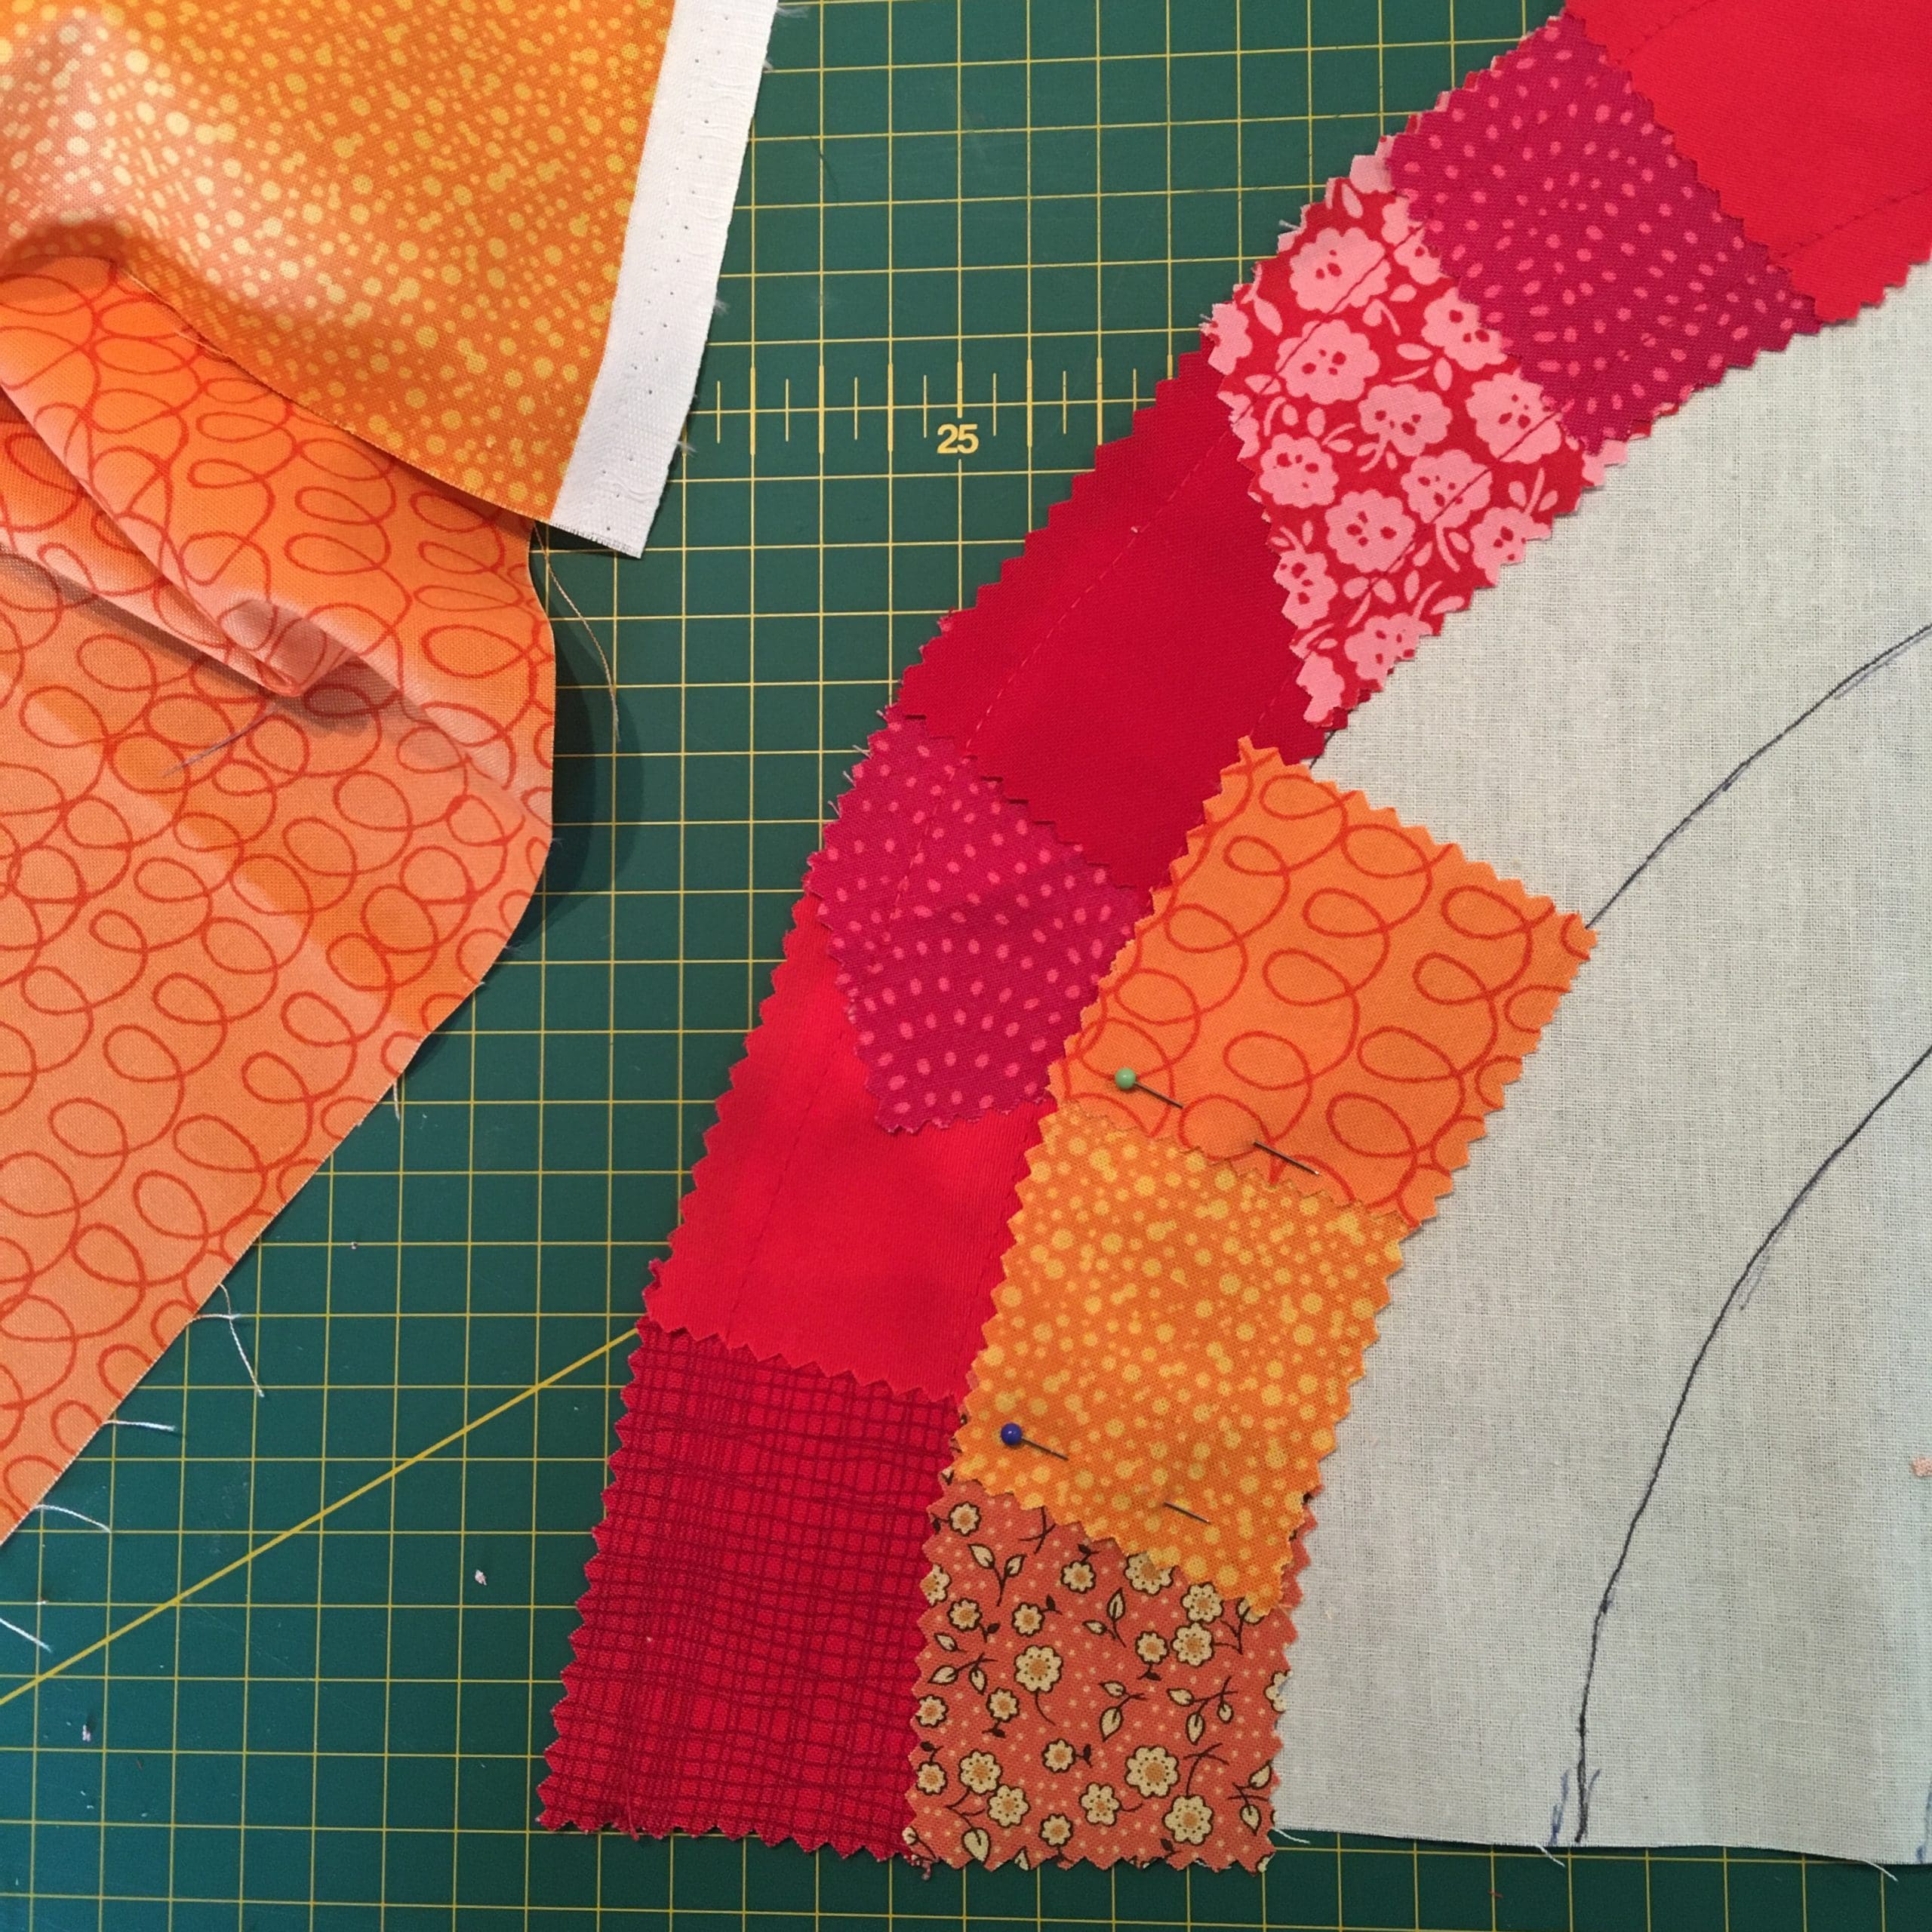
Step 7
Once you’ve completed the second stripe, stitch in place as before with two lines of stitching and press flat.
Step 8
Repeat with your other coloured stripes until your rainbow is complete!
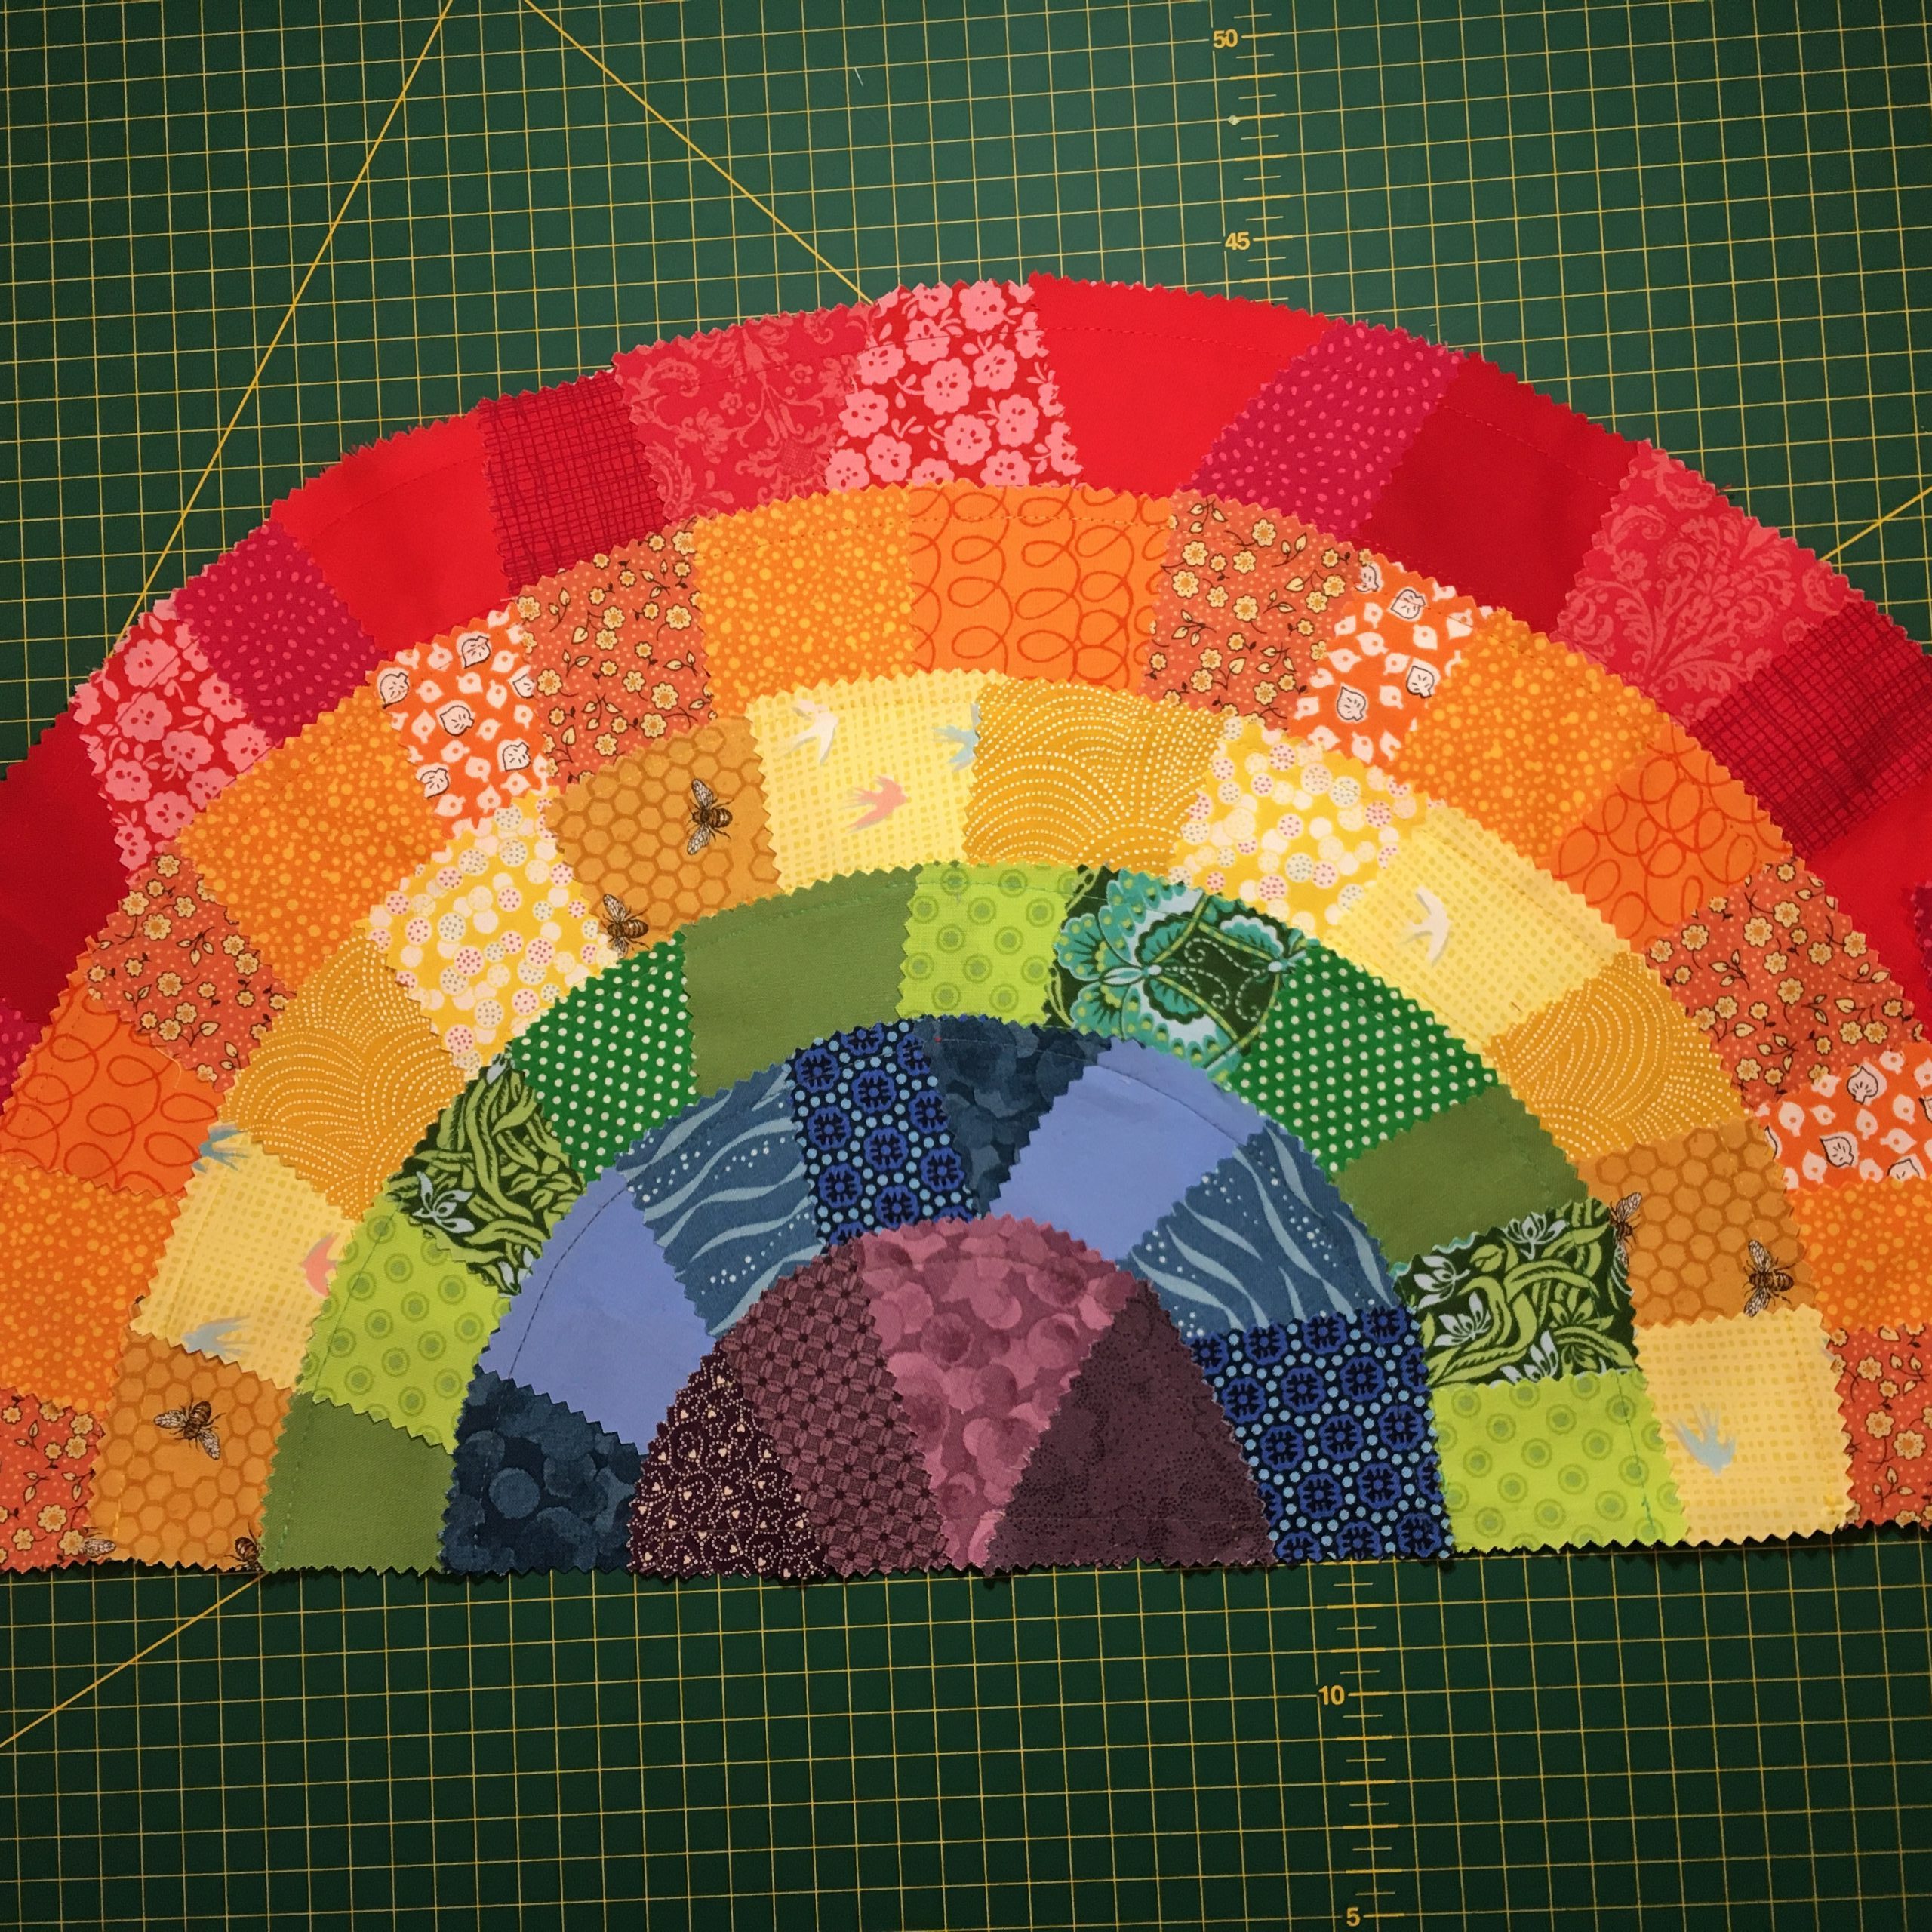
Step 9
Display it proudly in your window! (I used Sellotape).
