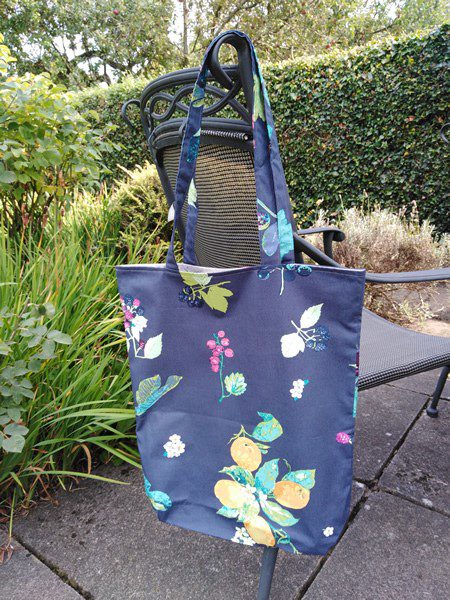
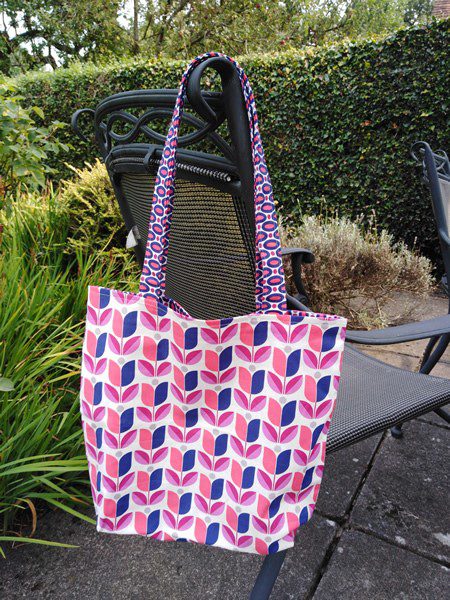
Bag Making Top Tips & Simple Tote
By Janet Goddard
Fabric bags are so useful in our everyday lives and it is good to always have one at hand. Janet shares her top tips for bag making and then a pattern for a simple lined tote bag. This bag is quick and easy to make, comes in 2 sizes and folds up neatly for storage.

Top Tips for Bag Making
- Start with a simple tote bag and practice all the basic bag making skills before venturing onto something that is more difficult
- If you are less experienced choose a fabric that doesn’t have a one-way design that needs matching up so that there is one less thing to worry about
- One of the things that I think gives a bag a really professional finish is to add metal bag feet. They give the bag a special finish and also have the added bonus of protecting the bottom of the bag
- When selecting fabrics for bag making remember that the base of the bag will get the most wear and tear, so it is a good idea to choose darker and more robust fabric for this part of the bag
- Top stitching and metal hardware all give a bag a clean finish, so it is worth taking your time to topstitch evenly and to choose hardware with care
- Stabilisers are so important in bag making and, depending on the type of bag that you are making, should be carefully chosen. If you want a soft finish fusible wadding is perfect, if you want your bag to maintain its structure a foam stabiliser is ideal.
Simple lined Tote Project
The pattern below is for the small lined tote bag with fabric handles. If you wish to make a larger tote, alternative measurements are at the end of the pattern.

You will need:
- One 4 x 42” strip of fabric for the handles
- Two 13 ½ x 14” pieces for the outer bag
- Two 13 ½ x 14” pieces for the lining
Step 1
To stitch the handles
Press fabric strip in half lengthwise. Open fabric up and press each outside edge to the centre.
Step 2
Fold fabric in half again and press. Top-stitch down each side of strap close to the edge. Cut fabric in half so you have two straps about 21” long.
Step 3
To stitch the tote
The bottom of the bag is 13 ½” wide and the sides 14” long. Lay lining pieces right sides together and stitch down each 14” side and across the bottom. Leave a 3” opening on one 14” side.
Step 4
Stitch the two outer fabric pieces right sides together on three sides, leaving the 13 ½” top open.
Step 5
To “box” the bottom of the outer bag. Pinch bottom corner together, lining up side seam with bottom seam and stitch across 1 ½” from the corner. Trim off excess fabric. Repeat for other corner and also lining corners.
Step 6
Turn outer bag right side out and position handles 3” from each outer edge, with the loop of the handle facing down towards the bag and raw edges even. Stitch to outer bag with a 1/8” seam.
Step 7
Place the outer bag inside lining so that the right sides are together and handles are sandwiched between. Stitch around the top edge.
Step 8
Turn bag through opening in the side seam and stitch the opening closed.
Step 9
Press well and top stitch around the top edge of the bag.
Measurements for a larger tote:
- One 4 x 42” strip of fabric for the handles
- Two 15 x 18” pieces for the outer bag
- Two 15 x 18” pieces for the lining
For the larger tote you will need to position the handles further in from the outer edge.
Further information
Janet is a designer, tutor and author of four books on patchwork and quilting and bag making. She can be found at: www.patchworkpatterns.co.uk
Instagram: @Janetpatch1
