
Charmed Cushion
By Cait Lisle
You will need:
- One charm pack OR forty 5” squares
- Plain fabric for the bottom back panel – 18” x 11”
- Lining fabric – one 20” x 20” piece and two 20” x 13” pieces
- Binding/facing material – 40” strip OR two 20” strips
- Batting – one 20” x 20” piece and two 20” x 13” pieces
- Thread
Notes: Seam allowances are ¼” throughout.
Making the Blocks
Step 1
With right sides together, pair up 40 of your charm pack squares. Have some fun playing with different
combinations to mix and match your fabrics!
Step 2
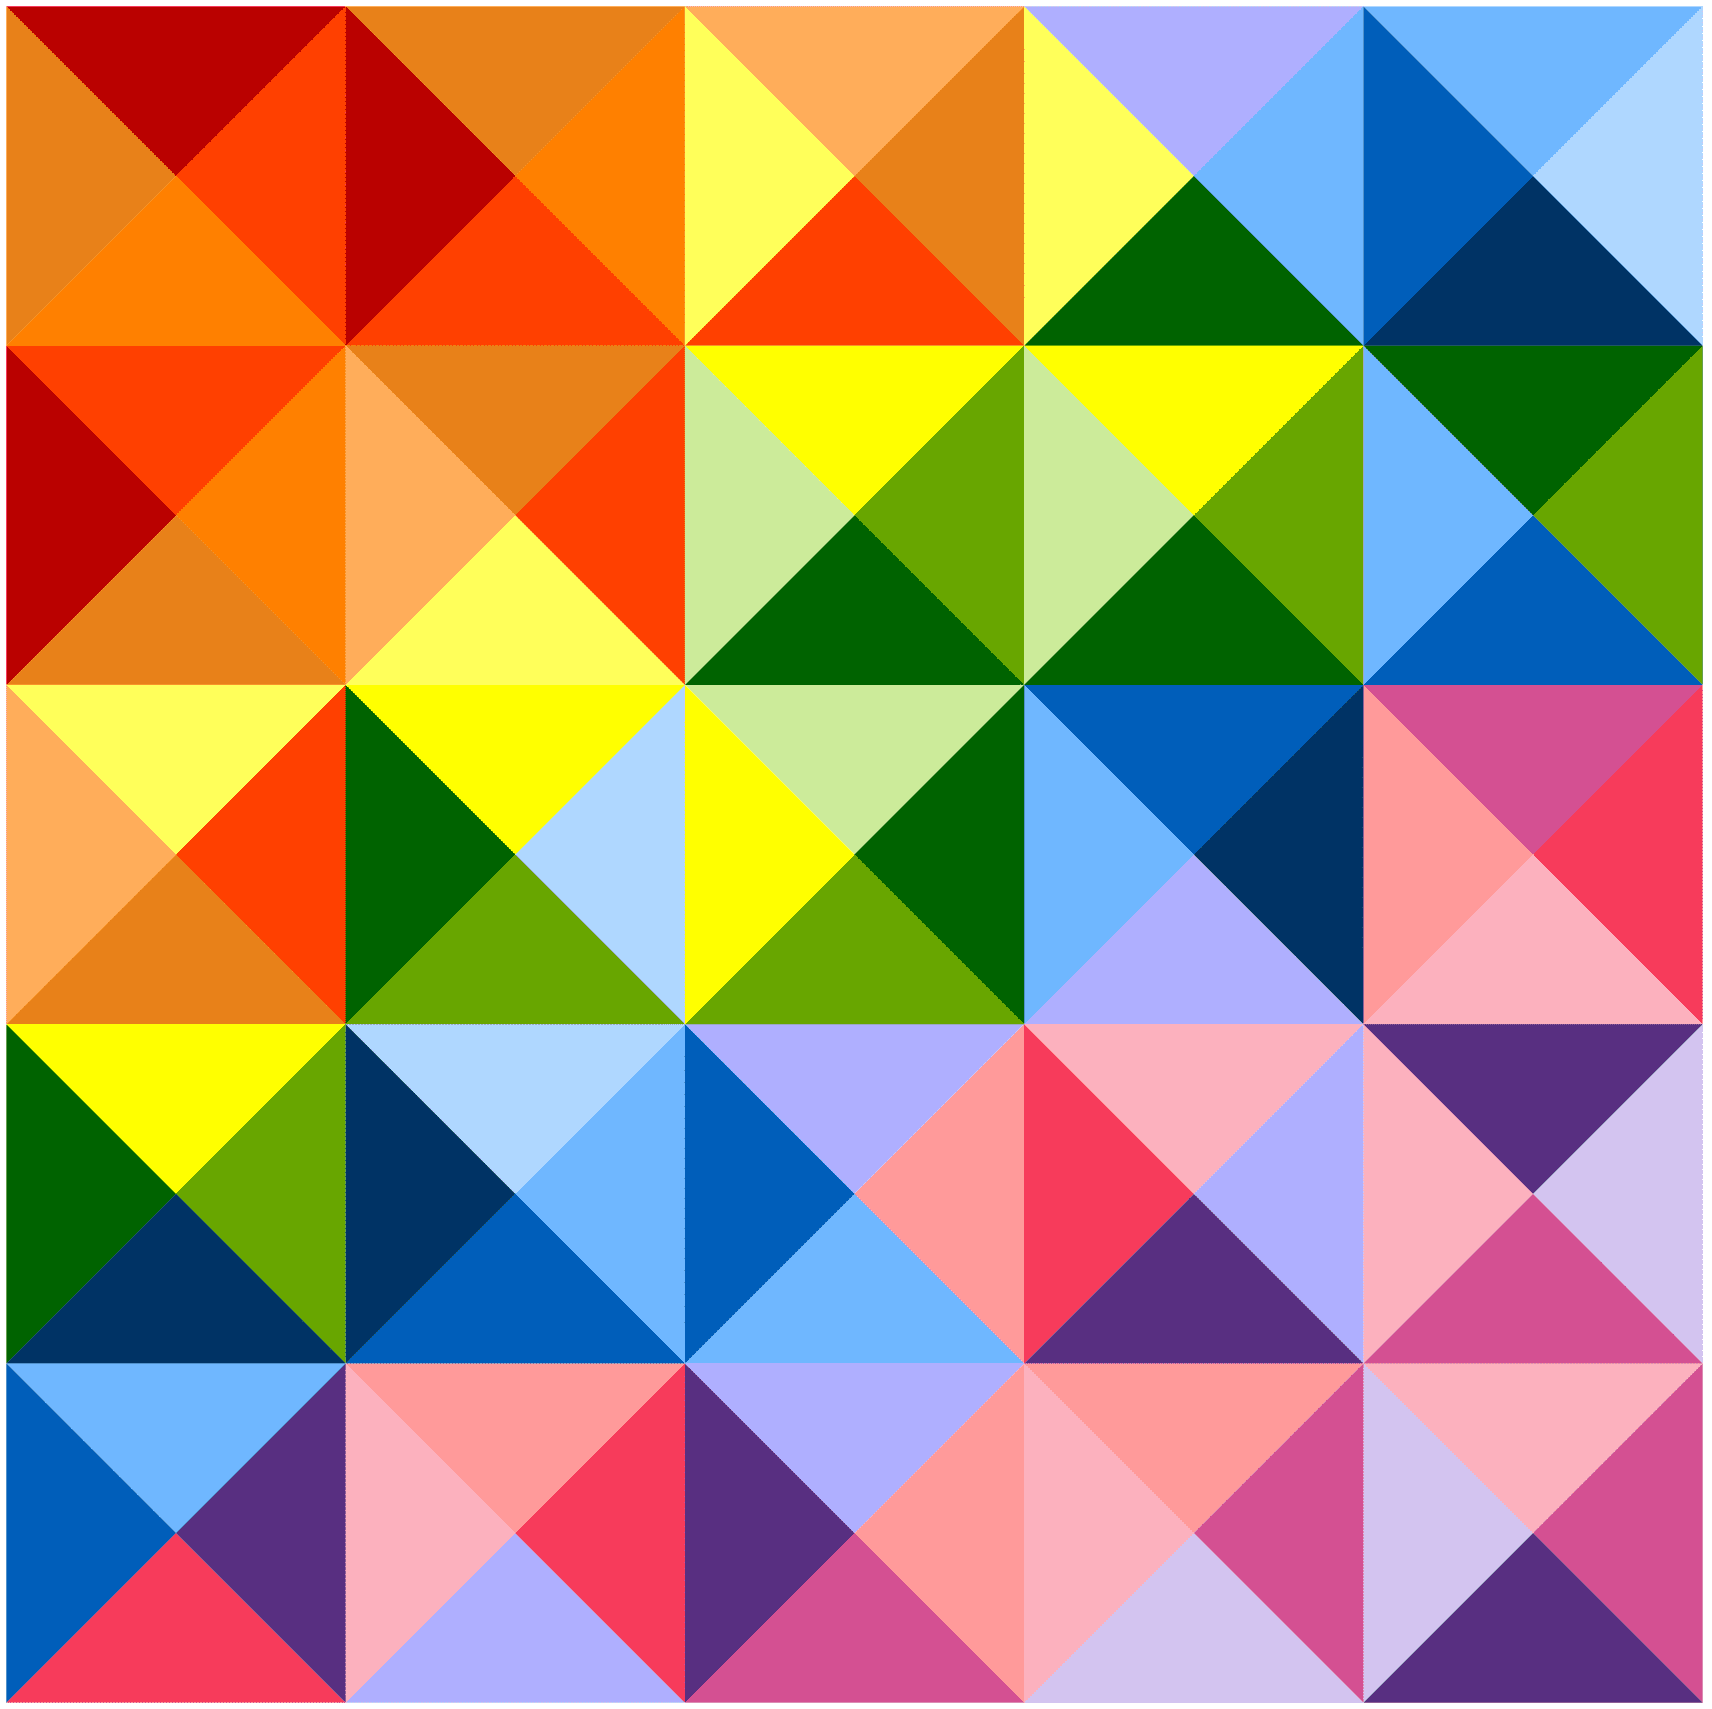
Make 40 Half-Square Triangles (HSTs)
- On one side of each pair of squares, mark the diagonal using tailors chalk or another removable fabric pen
- Sew 1/4″ from either side of the line as below and cut along the marked line. Press the seams to whichever is the darker side of the fabric.

Step 3
Make 40 Quarter-Square Triangles (QSTs)
- Using the HSTs you have just made, pair them up again. Take care to nest their seams neatly to give you lovely points
- On one side of each pair of HSTs, mark the opposite diagonal (you’ll have a big X across the square) and follow the HST instructions to make your QSTs
Press the seams open and trim to 4” square.

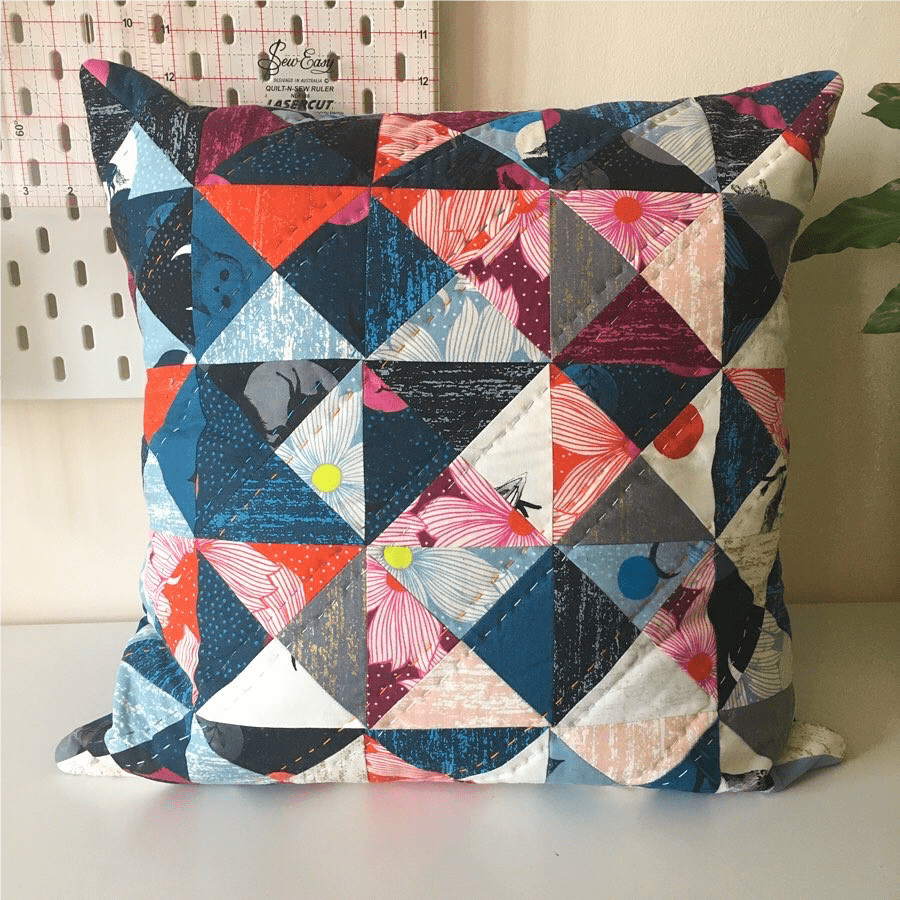
Making the Cushion Panel
Front Panel
Step 1
Sew five rows of five QSTs and press seams as directed –
- Rows 1, 3 and 5 – press to the left
- Rows 2 and 4 – press to the right
Step 2
Sew the rows together, nesting your seams to give nice neat block joins. Press seams open.
Step 3
Make a quilt sandwich with 20” x 20” lining and batting and quilt as desired. Trim to 17 1/2” x 17 1/2”.
Back Panel Top
Step 1
Sew three rows of five QSTs and press seams as directed –
- Rows 1 and 3 – press to the left
- Row 2 – press to the right
Step 2
Sew the rows together, nesting your seams. Press seams open.
Step 3
Make a quilt sandwich with 20” x 13” lining and batting and quilt as desired. Trim to 10 3/4” x 17 1/2”.
Step 4
Make a quilt sandwich with 18” x 11” plain fabric, 20” x 13” lining and 20” x 13” batting and quilt as desired.
Back Panel Bottom
Step 1
Make a quilt sandwich with 18” x 11” plain fabric, 20” x 13” lining and 20” x 13” batting and quilt as desired.
Step 2
Bind or face the top edge using your preferred method. Trim to 10 3/4” x 17 1/2”.
Assembling the Cusion
Step 1
With right sides together, sew the front panel and back panel one (top) together along the top edge using a ¼” seam. Seam along the sides of the back panel, back-stitching over the bound edge to make it nice and secure.
Step 2
With right sides together, sew the front panel and back panel two (bottom) together along the bottom edge using a ¼” seam. Seam along the sides of the back panel, back-stitching over the bound edge.
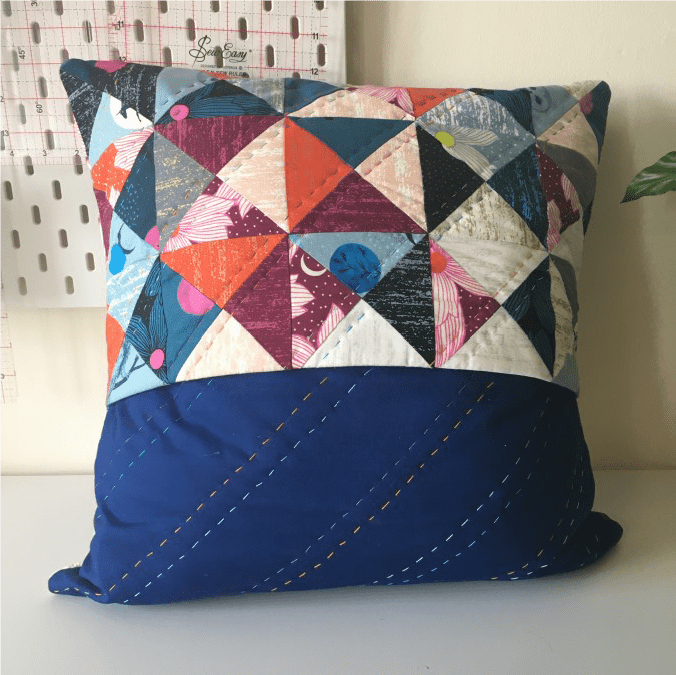
Step 3
Turn the cushion right-sides out and press the seams carefully to give lovely crisp corners and edges.

Further information
I hope you enjoy making this pattern! I love seeing your makes, so please share them using the #CharmedCushion hashtag. Don’t forget to tag me @caitlisle so I don’t miss it!
© 2020 Cait Lisle Designs. All rights reserved. Items from this pattern may not be produced for commercial resale. Duplication, except for personal use, is prohibited.
