
Kantha Stitched Needlecase
By Angela Daymond
Kantha is a technique that is over 500 years old and originated in India. It means “rags” in Sanskrit and is recognised by its use of running stitch to create texture and representational images. In this mini project you’ll be able to use Kantha to create a practical needle case, but the technique can be applied to a host of projects.
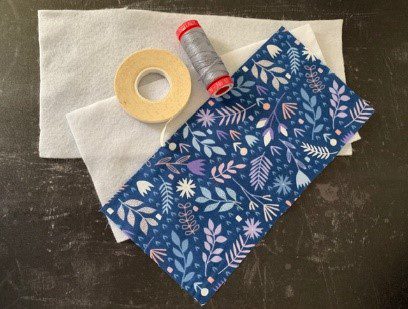
You will need
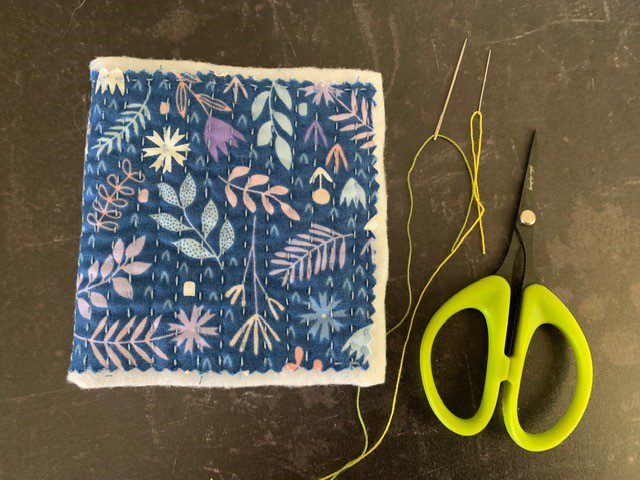
Step 1
Place the top cotton fabric onto the larger piece of felt. Place centrally and secure to the felt with tacking stitches in a thin thread. If you want to use pinking shears to create a zig zag edge, as per the images here, do this to the cotton before tacking down.
Step 2
Starting in the centre of the rectangle and using the perlé thread, stitch rows of running stitches 1/4” apart. Follow the stitch diagram if you are unsure how to stitch running stitch. Make a knot at the end of your thread and bury this in the felt before you start to stitch.

Step 3
Continue to use a running stitch to go across the whole rectangle. To mark the lines, either use freehand and make lines that are more or less straight, or you can create lines to follow using a marking pen or 1/4” quilter’s masking tape

Step 4
Once the Kantha stitching has been completed, turn the work over and place the smaller felt rectangle on top of the stitched piece. Place centrally and use pins or quilters clips to secure round the outside. Fold the needle case in half to identify the centre and place two pins in the central fold.

Step 5
Using perlé thread in your needle follow the diagram to secure the pages. Leave the thread on the inside and come out at B. On the outside go down at A, take a large stitch on the inside and come out at C. On the outside take the thread back down at B. Try and use the same hole that you initially came out of.
Step 6
Turn the needle case over so that the inside is facing you. Place the ends of the threads each side of the long stitch and tie them off securely. Clip the threads.
Step 7
Once the pages are joined you can trim up the needle case if it needs it. Enjoy and admire your work.
Smart Ideas
- Add more pages to your needle case
- Make a label for each page to show what needle is on each page
- Use buttons or beads and stitch them onto the front cover for extra embellishment.
Further information
For more information about Angela please visit her website, angeladaymond.com. She can be found on Facebook as Angela Daymond Textile Artist and on Instagram as @angela_daymond