
Quilt as You Go Sashing
By Sukhbeer Dryden
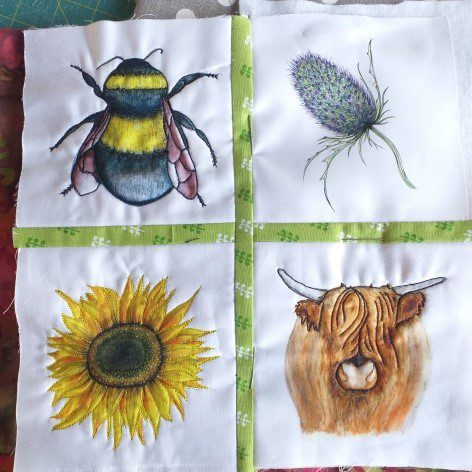
This is a great technique to learn, not only for beginners just starting out on their quilting, but also for those who find quilting difficult because of getting the bulkiness of a quilt through a sewing. Sukhbeer shows you how you can quilt smaller blocks individually before putting the blocks together using sashing. You can watch the video to show you how easy, manageable and pleasurable quilting can be.
What is quilt as you go?
The quilt-as-you-go-technique (QAYG), simplifies quilting because it is a manageable way to join quilted blocks and panels by machine. Normally you will make the whole quilt top before layering with wadding and backing, but this makes for very bulky quilting.
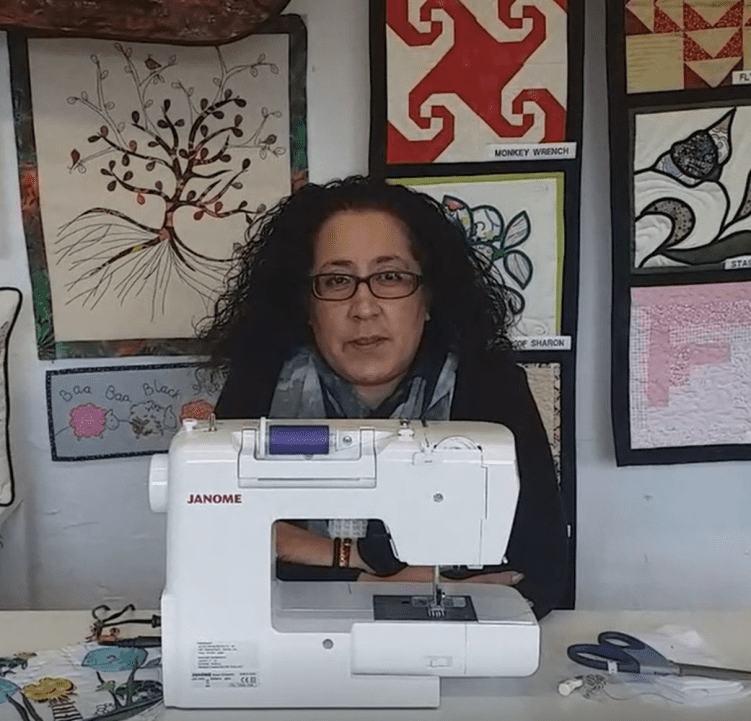
Watch video tutorial
Step-by-step guide - Block 1
Step 2
Quilt your pieces as desired.
Step 3
Quilting stitches, whether sewn by hand or machine, hold the three layers of your quilt sandwich – the top, the wadding and the backing – together.
Step 4
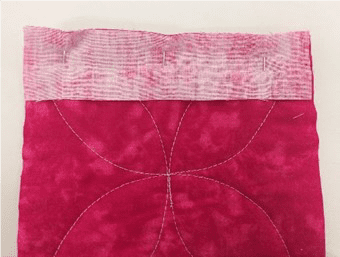
Before you start quilting, spend some time planning how you are going to quilt your panel. Will it have an all-over design e.g. straight consecutive lines running down the length of the quilt or a crosshatch grid? Or will it have a more intricate design. Once you have decided, you will need to put on the appropriate foot.
I like to keep my standard foot on my machine and increase my stitch length to 3.5. You can also use a walking foot for straight stitching or a free motion embroidery foot for intricate designs for quilting.
Step 5
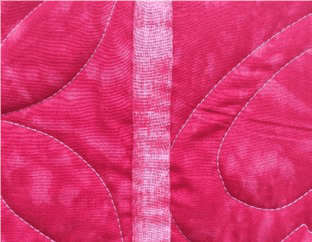
For all-over or individual block quilting, you need to consider how your quilting lines will travel across the quilt; it’s best to aim for a continuous line wherever possible and avoid stopping and starting too often.
It’s a good idea to draw a doodle on paper to plan where your stitching will start and stop and how it will travel over either a block or the entire quilt.
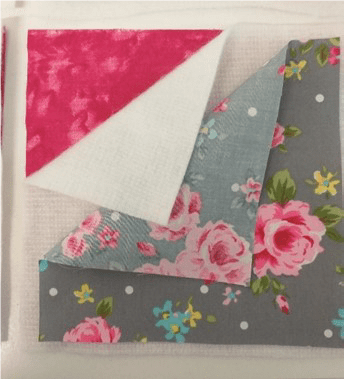
Step 8
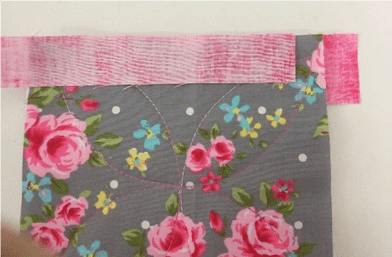
Now turn the block to the front and pin a 1” strip right sides together to this side.
Step 9
See, the larger strip on the back, the smaller one on the front, pinned through all layers.
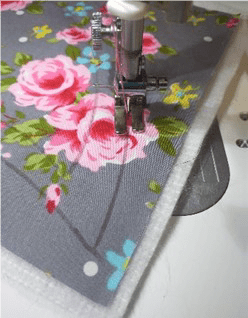
Step 10
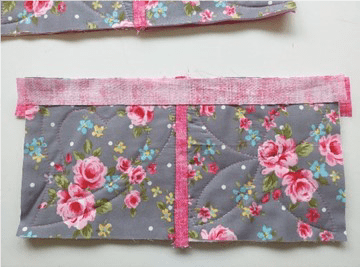
Stitch using a 1/4” seam allowance. Because you are stitching through wadding it may help to use your walking foot for this. Remember to change the machine foot if you have been using the free motion foot.
Step 15
Repeat this with your other two squares.
Step 16
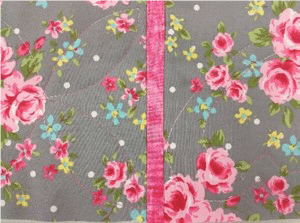
To join the two halves together, the same process will again be repeated. This time you need to make sure the centre is lined up.
Step 17
Keep repeating this with all the blocks until your quilt is complete. Use bias binding to finish the quilt.
About the tutor
Sukhbeer Dryden, Sew n‘ Beads
Sukhbeer has been successfully running her own sewing studio, Sew n’ Beads, for 8 years and is based in the stunning Tilgate Park, Crawley. She teaches all forms of sewing from beginners to advance, from patchwork quilting to dressmaking.
She also teaches at The Festival of Quilts and The Knitting and Stitching Shows. Sukhbeer has a passion for free motion embroidery and most importantly, loves to teach and share her experiences.
Find out more at: www.sewnbeads.com