
Drawstring Mug Carrier
By Janice Croft
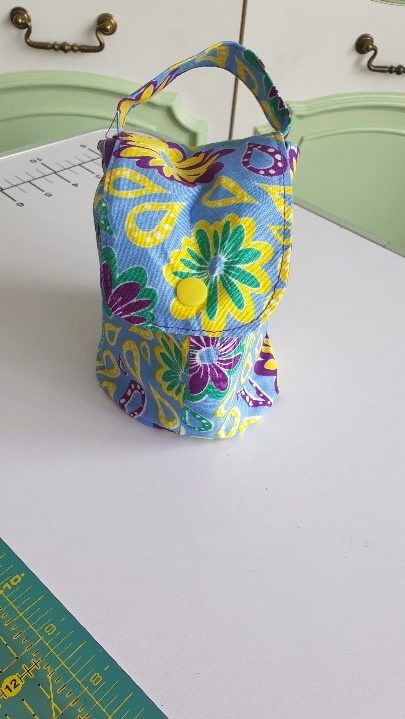
This is a clever little pouch for all your teatime needs. It holds your favourite mug and there are pockets for your tea sachets and a spoon. It’s nice to have your own personal set. Strong handle, pockets, drawstring top with a flap and snap all on a padded base. Reusable and washable this makes it ideal as a gift with a fancy mug.
It is easy to make following the simple steps explained in this video
What you will need
1. From the 50 cm main fabric cut:
- 10cm circle
- 2 pieces 18 x 39cm for side and pocket
- Flap 10 x 15cm
- Handle 15 x 10cm
2. From the fat quarter cut:
- 10cm circle
- 18 x 39cm side
- 6 x 36cm casing
3. From the interfacing cut:
- 2 pieces 18 x 39cm side and pocket
- Flap 10 x 15cm
4. From the foam/wadding cut a 8cm circle.
Watch video tutorial
Step-by-step guide
Step 1
Fuse interlining to lining, pocket and flap pieces. Fold pocket piece right sides together stitch long edges. Turn and press
Step 2
Hem short edges of casing, double turn 6mm, stitch. Fold length in half wrong sides together press
Step 3
Make handles, fold long raw edges to the centre, fold again and stitch down both sides
Step 4
Make flap, with right sides together stitch leaving the top short edge open. Trim, clip, turn, press top stitch
Step 5
Position pocket on lining 2.5cm up from the bottom edge. Baste sides, measure across mark centre line and 8cm away on each side forming 4 pockets. Stitch on lines back stitch at pocket top
Step 6
Position pocket on lining 2.5cm up from the bottom edge. Baste sides, measure across mark centre line and 8cm away on each side forming 4 pockets. Stitch on lines back stitch at pocket top
Step 7
Fold lining in half matching short sides, stitch and press seam open
Step 8
Fold outer fabric in half matching short edges, stitch and press seam open
Step 9
Position casing in between lining and outer fabric right sides together, stitch, turn, press and top stitch. NB do not catch flap in seam
Step 10
Attach circular base to outer fabric, gather/pleat to fit
Step 11
Fold up raw edge of lining, hand stitch around base hiding raw edge. Gather/pleat to fit
Step 12
Add snap to flap and front (or buttonhole and button).
About the tutor
Janice Croft
Janice Croft is a tutor from London. Her primary passions are dressmaking, pattern drafting and tailoring. She has taught at Festival of Quilts and Knitting & Stitching shows for many years.
She has dedicated the last 23 years to passing on her skills either on a 1-2-1 basis, day classes or retreat weekends around the country. Her style is fun, student centred learning. She runs a weekly dressmaking clinic at the Sewing Rooms in Putney and retreats in Coventry and Kent.
For further information, email: [email protected]