
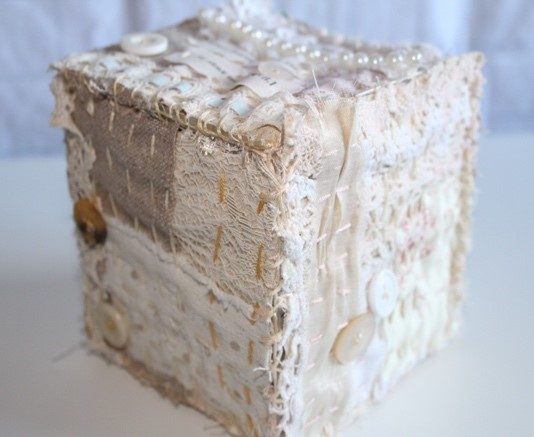
Vintage Fabric Trinket or Memory box
By Ami James
This amazing slow stitch project uses up your scraps of fabrics, lace and trimmings or could be used to repurpose something special which has outlived its original use.
During this workshop you’ll learn to create a box that can be made to a size to suit you. You’ll find out how to layer and stitch the sides, construct the box and add the finishing touches to make it extra special. These little boxes also make great gifts.
You can watch this video as many times as you like, pause and replay so that you can really get to grips with how to make your own unique and very personal memory trinket box.
What you will need
- Fabrics – scraps from other projects, lace, trimmings
- 50cm square Calico (for background)
- 50cm square of Ticking or striped fabric (for lining)
- Embroidery Threads
- Needle
- Buttons
- 50cm of Plastic mesh canvas
Watch video tutorial
Step-by-step guide
Step 1
Cut the mesh canvas into 6 squares of 12cm (5”).
Use a piece of plastic canvas as a template. Draw and cut out 6 squares of 12cm from calico and 6 squares of ticking.
Step 2
Set aside the ticking (lining) because we’re going to concentrate of the front panels first.
Step 3
Using a calico square as a base, layer your fabrics and lace until you’re happy with the layout and pin into place.
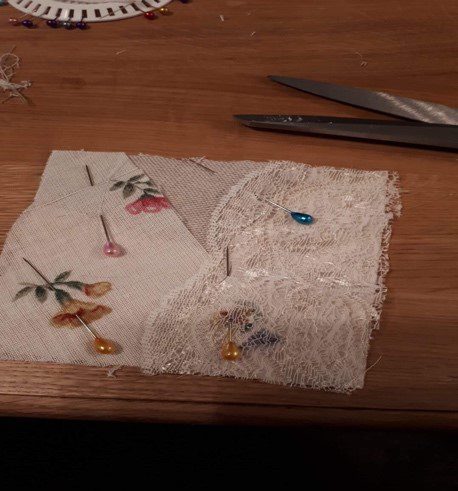
Step 4
Select a thread (you can split the strands and use just two or three, but I leave mine whole).
Step 5
Stitch lines of running stitch – rows like this are known as Kantha stitch.
You can stitch rows in any direction and you can also include blocks of kantha stitch in different directions as shown.
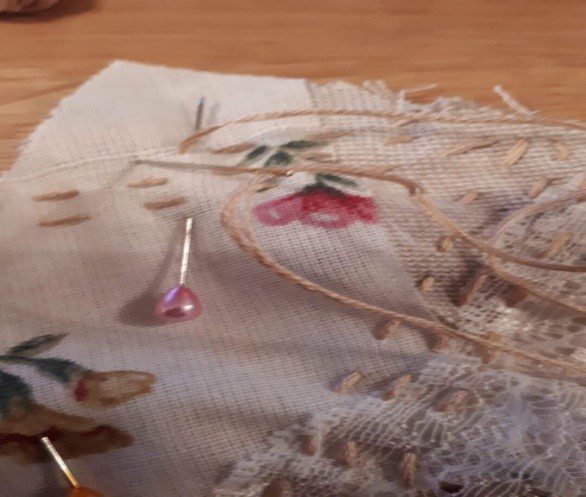
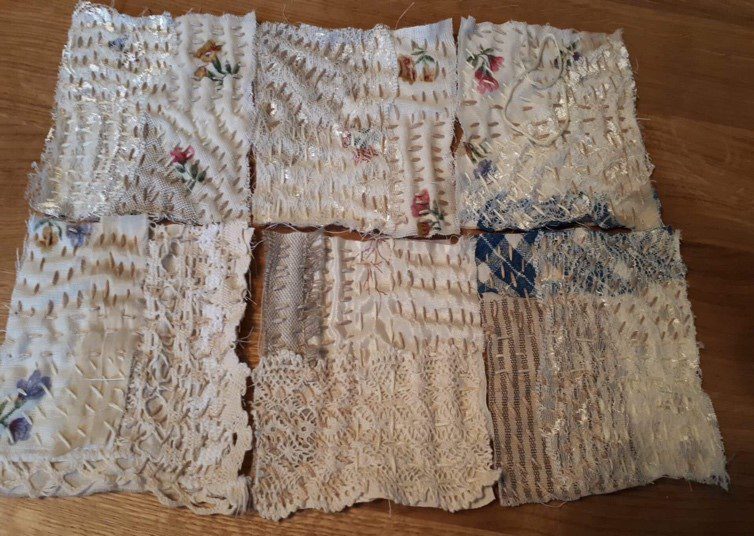
Step 6
Now you can add the buttons and embroider messages, words, names or perhaps a quote you love.
Step 7
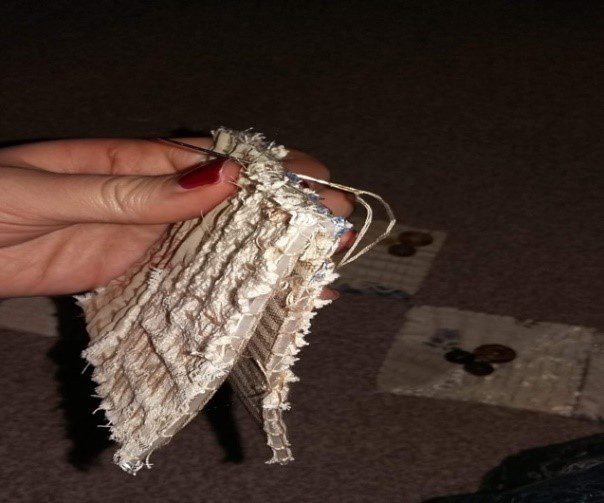
Once all six sides are finished, layer a piece of ticking (lining) underneath one piece of mesh canvas and then one of your stitched panels on top to make a sandwich.
Step 8
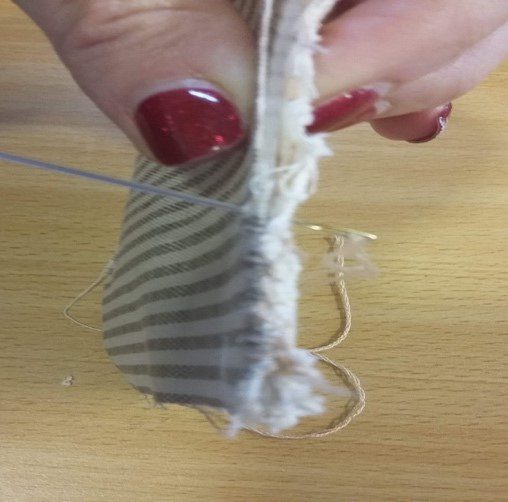
Blanket stitch all around the outside through the three layers, trim any overhanging fabric as you go.
Do this to all six panels.
Step 9
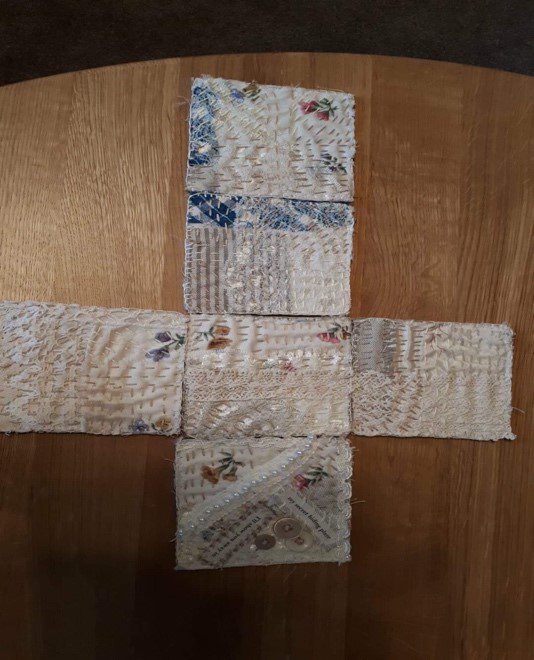
Now it’s time to construct your box. There are two ways and its personal preference. I use the following way. Using an over stitch work your way around to join the squares as shown in the picture below, using a simple over stitch. Once the pieces are joined in the cross, bring the sides together to create the box and lid.
This pattern is copyrighted so can only be used for to make for yourself or as a gift. Please do not use as your own pattern to sell to others.
About the tutor
Ami James, Simply Needlecraft Haberdashery & Sewing Studio
Ami is a Quilter and Textile Artist and the owner of Simply Needlecraft Haberdashery & Sewing Studio. Simply Needlecraft was set up in 2012 originally online but finally found a bricks and mortar outlet in 2013. Since then Simply Needlecraft has become well known for supplies and workshops. Ami also travels the country teaching at events, has tutorials on YouTube and runs Simply Sewing Boxes live tutorials.
Find out more at: