
Top Tips for Machine Stitching with Metallic Threads
By Pauline Barnes
Metallic thread is a wonderful decorative thread and so needs to be seen on the surface of the fabric. It is more fragile than normal sewing threads and so needs to be used with care.

I’ve been using metallic threads for decorative stitching for many years and love the way they glisten and shine. They add a touch of luxury to your work but do need some special handling. Here are my top tips.
Step1
ALWAYS USE A TOPSTITCH NEEDLE. A Topstitch needle has a much larger eye than a Universal needle and so is kinder to the thread as it goes through the larger ‘space’. Use a Topstitch 80/12 needle for fine metal threads and Topstitch 90/14 or 100/16 for thicker threads.
Step 2
Loosen the top thread tension a little.
Step 3
Use a fine (cotton or polyester) thread in the bobbin (No. 50 or 60) when working with metallic threads through the needle.
Step 4
If using a thicker thread, (e.g. YLI Candlelight) these should be wound onto the bobbin by hand.
Step 5
With a thicker metallic thread in the bobbin, stitch with the back of the fabric/quilt uppermost and loosen the top thread tension. NOTE that the bobbin thread will then be on the surface/right side of your quilt.
Step 6
If using soluble fabrics and metallic threads, you will need metal thread in the bobbin as well and the bobbin tension should also be loosened a little. (NB: If you prefer you could have a separate bobbin case for specialist threads so you can alter the tension on it without changing the tension on the bobbin case you use for regular sewing/threads).
Step 7
Don’t stitch too quickly – treat it gently and slow down your speed control.
Step 8
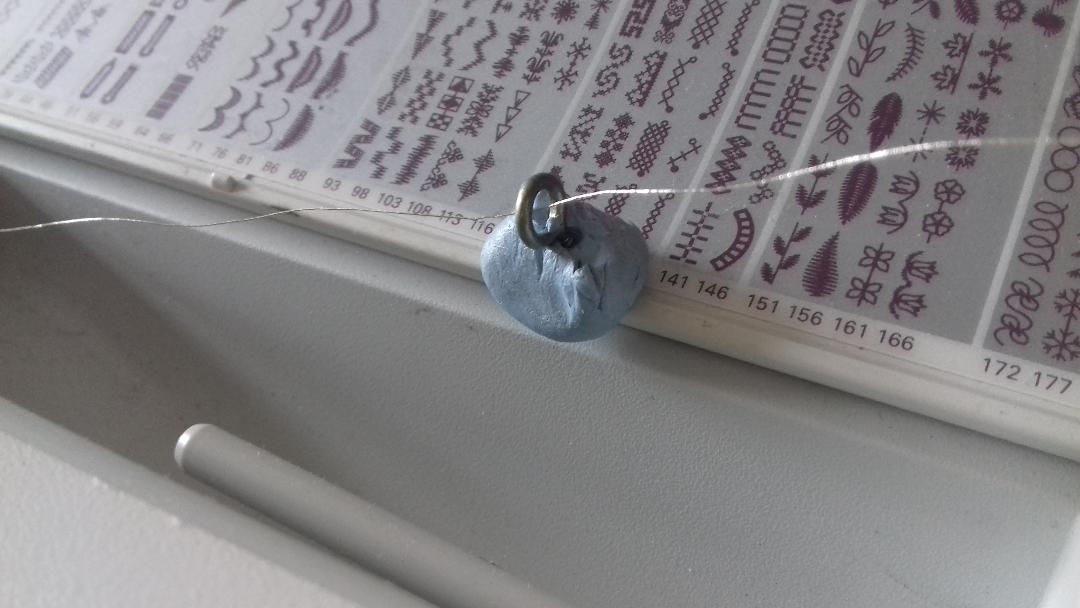
If the thread wants to coil and knot itself put a few of Pauline’s Patent Threadholders at strategic places on your machine and thread the metallic thread through them to help straighten it.