
Embellished Brooch
By Sheena Norquay
This is a quick and easy project and makes the perfect gift. You can make it any size but the instructions are for 1 ½” in diameter.
The design can be symmetrical like the pink, green and pale blue brooches or organic like the orange one or the dark blue one which I use in the instructions. You can draw a plan or just begin and see what happens.
An easy design is to start with a button in the centre then stitch round or bugle beads in concentric circles. Bugle beads can point out towards the edges creating radiating lines or go nose to tail around the circle. Gaps between the beads and sequins can be filled with simple stitches such as seeding, running or detached chain. A more organic and asymmetrical design can begin by stitching a button off centre and adding beads, sequins and stitches in a more random way.

You will need:
- Cotton fabric
- Card (use cereal packet)
- Stabiliser such as Vlieseline S13, stitch and tear, fine polyester wadding or felt
- Wadding/batting for behind the top of the brooch. (any kind, cotton, polyester or wool)
- Circle templates – For cutting the card and stabiliser you can use a milk bottle top which is approximately1 ½”. For cutting the circles of fabric you can use the top of a jam jar or mug, many of which are about 3” in diameter. Alternatively you can draw the circles with compasses or you can use commercial templates
- A safety pin or brooch fastener
- Beads, buttons, sequins and beading needle or fine needle
- Embroidery threads – I used Aurifil cotton no. 12 and 6 stranded cotton floss
- Polyester thread for the running stitches and cotton or polyester thread matching the colour of the fabric for sewing on the safety pin or brooch fastener and for sewing top and back of brooch together
- Embroidery or chenille needles to fit the threads
- Scissors and pencil (chalk pencil for dark fabrics)
- Safety Pin or Brooch Fastener
Step 1
Cutting
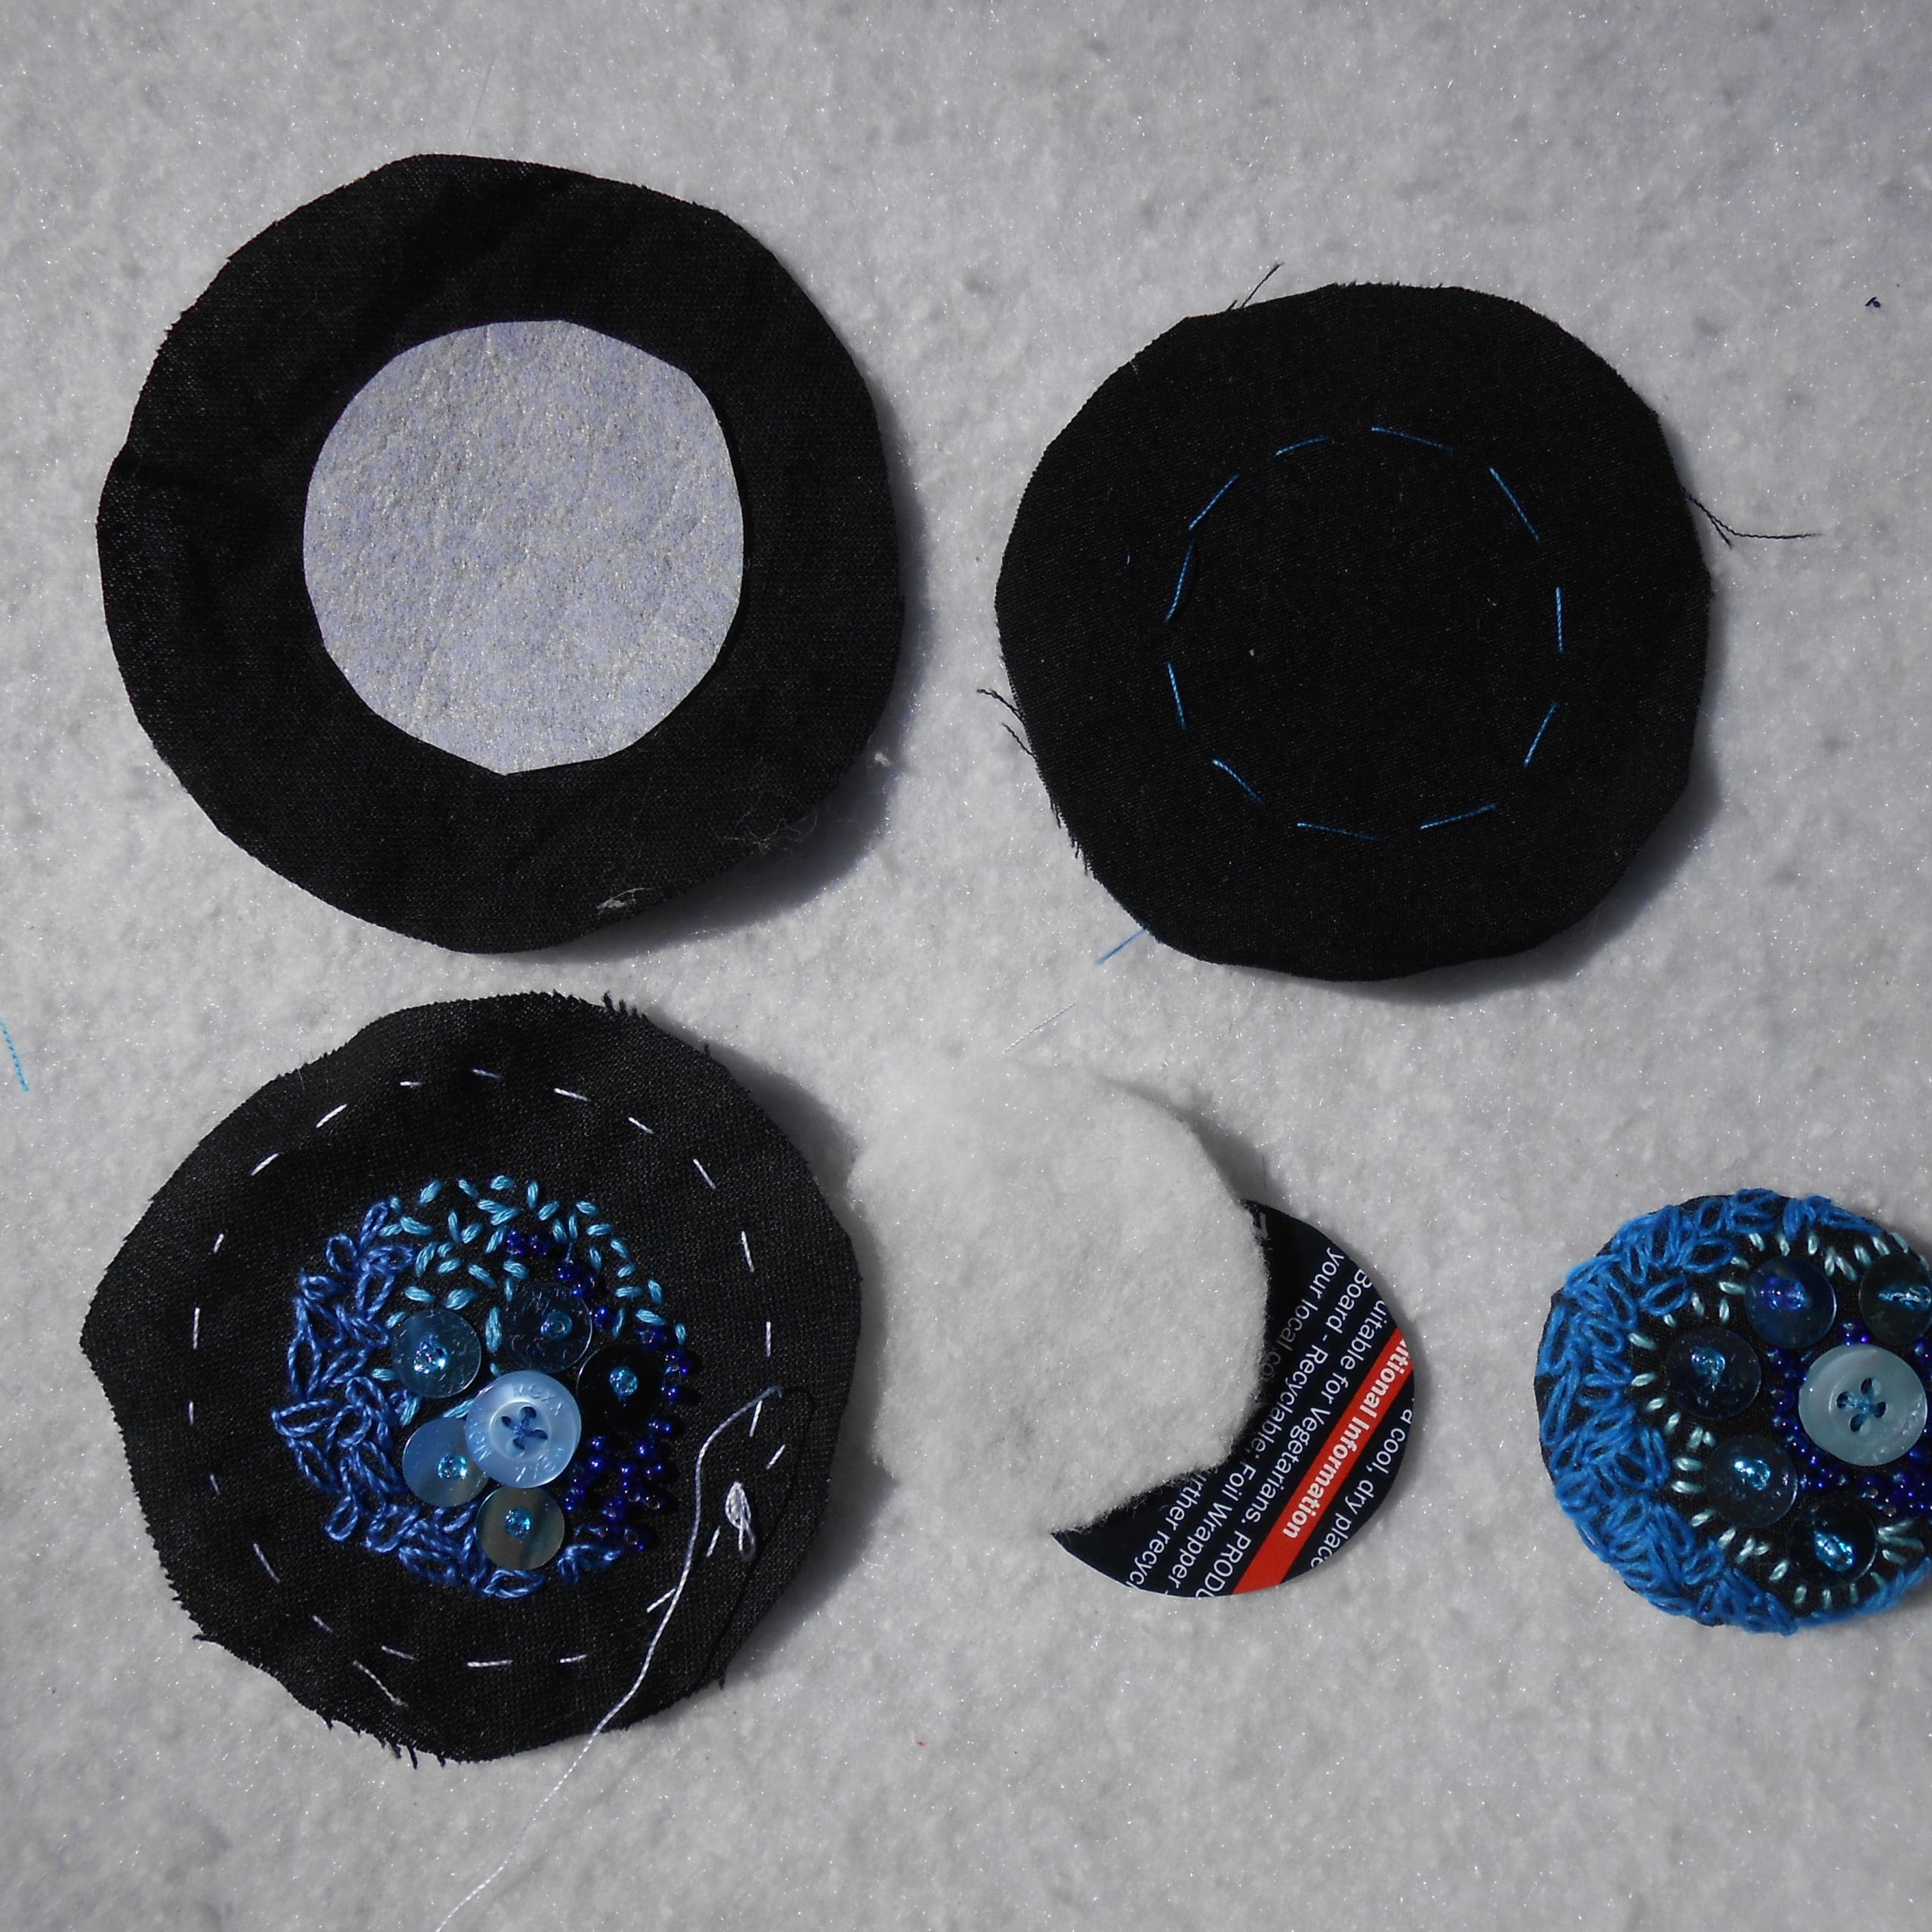
- Using a 1 ½” template, compasses or milk bottle top, draw and cut out 2 circles of card, 2 circles of stabiliser and one circle of wadding.
- Tip – when cutting card, instead of moving the scissors around the circle, which can result in edges like a 50p, open the blades of the scissors wide and turn the circle as you close the blades together. This makes a smoother outline.
- Using a 3” template, compasses or the top of a jam jar draw and cut out 2 circles of cotton fabric.
Step 2
Making the top of the brooch
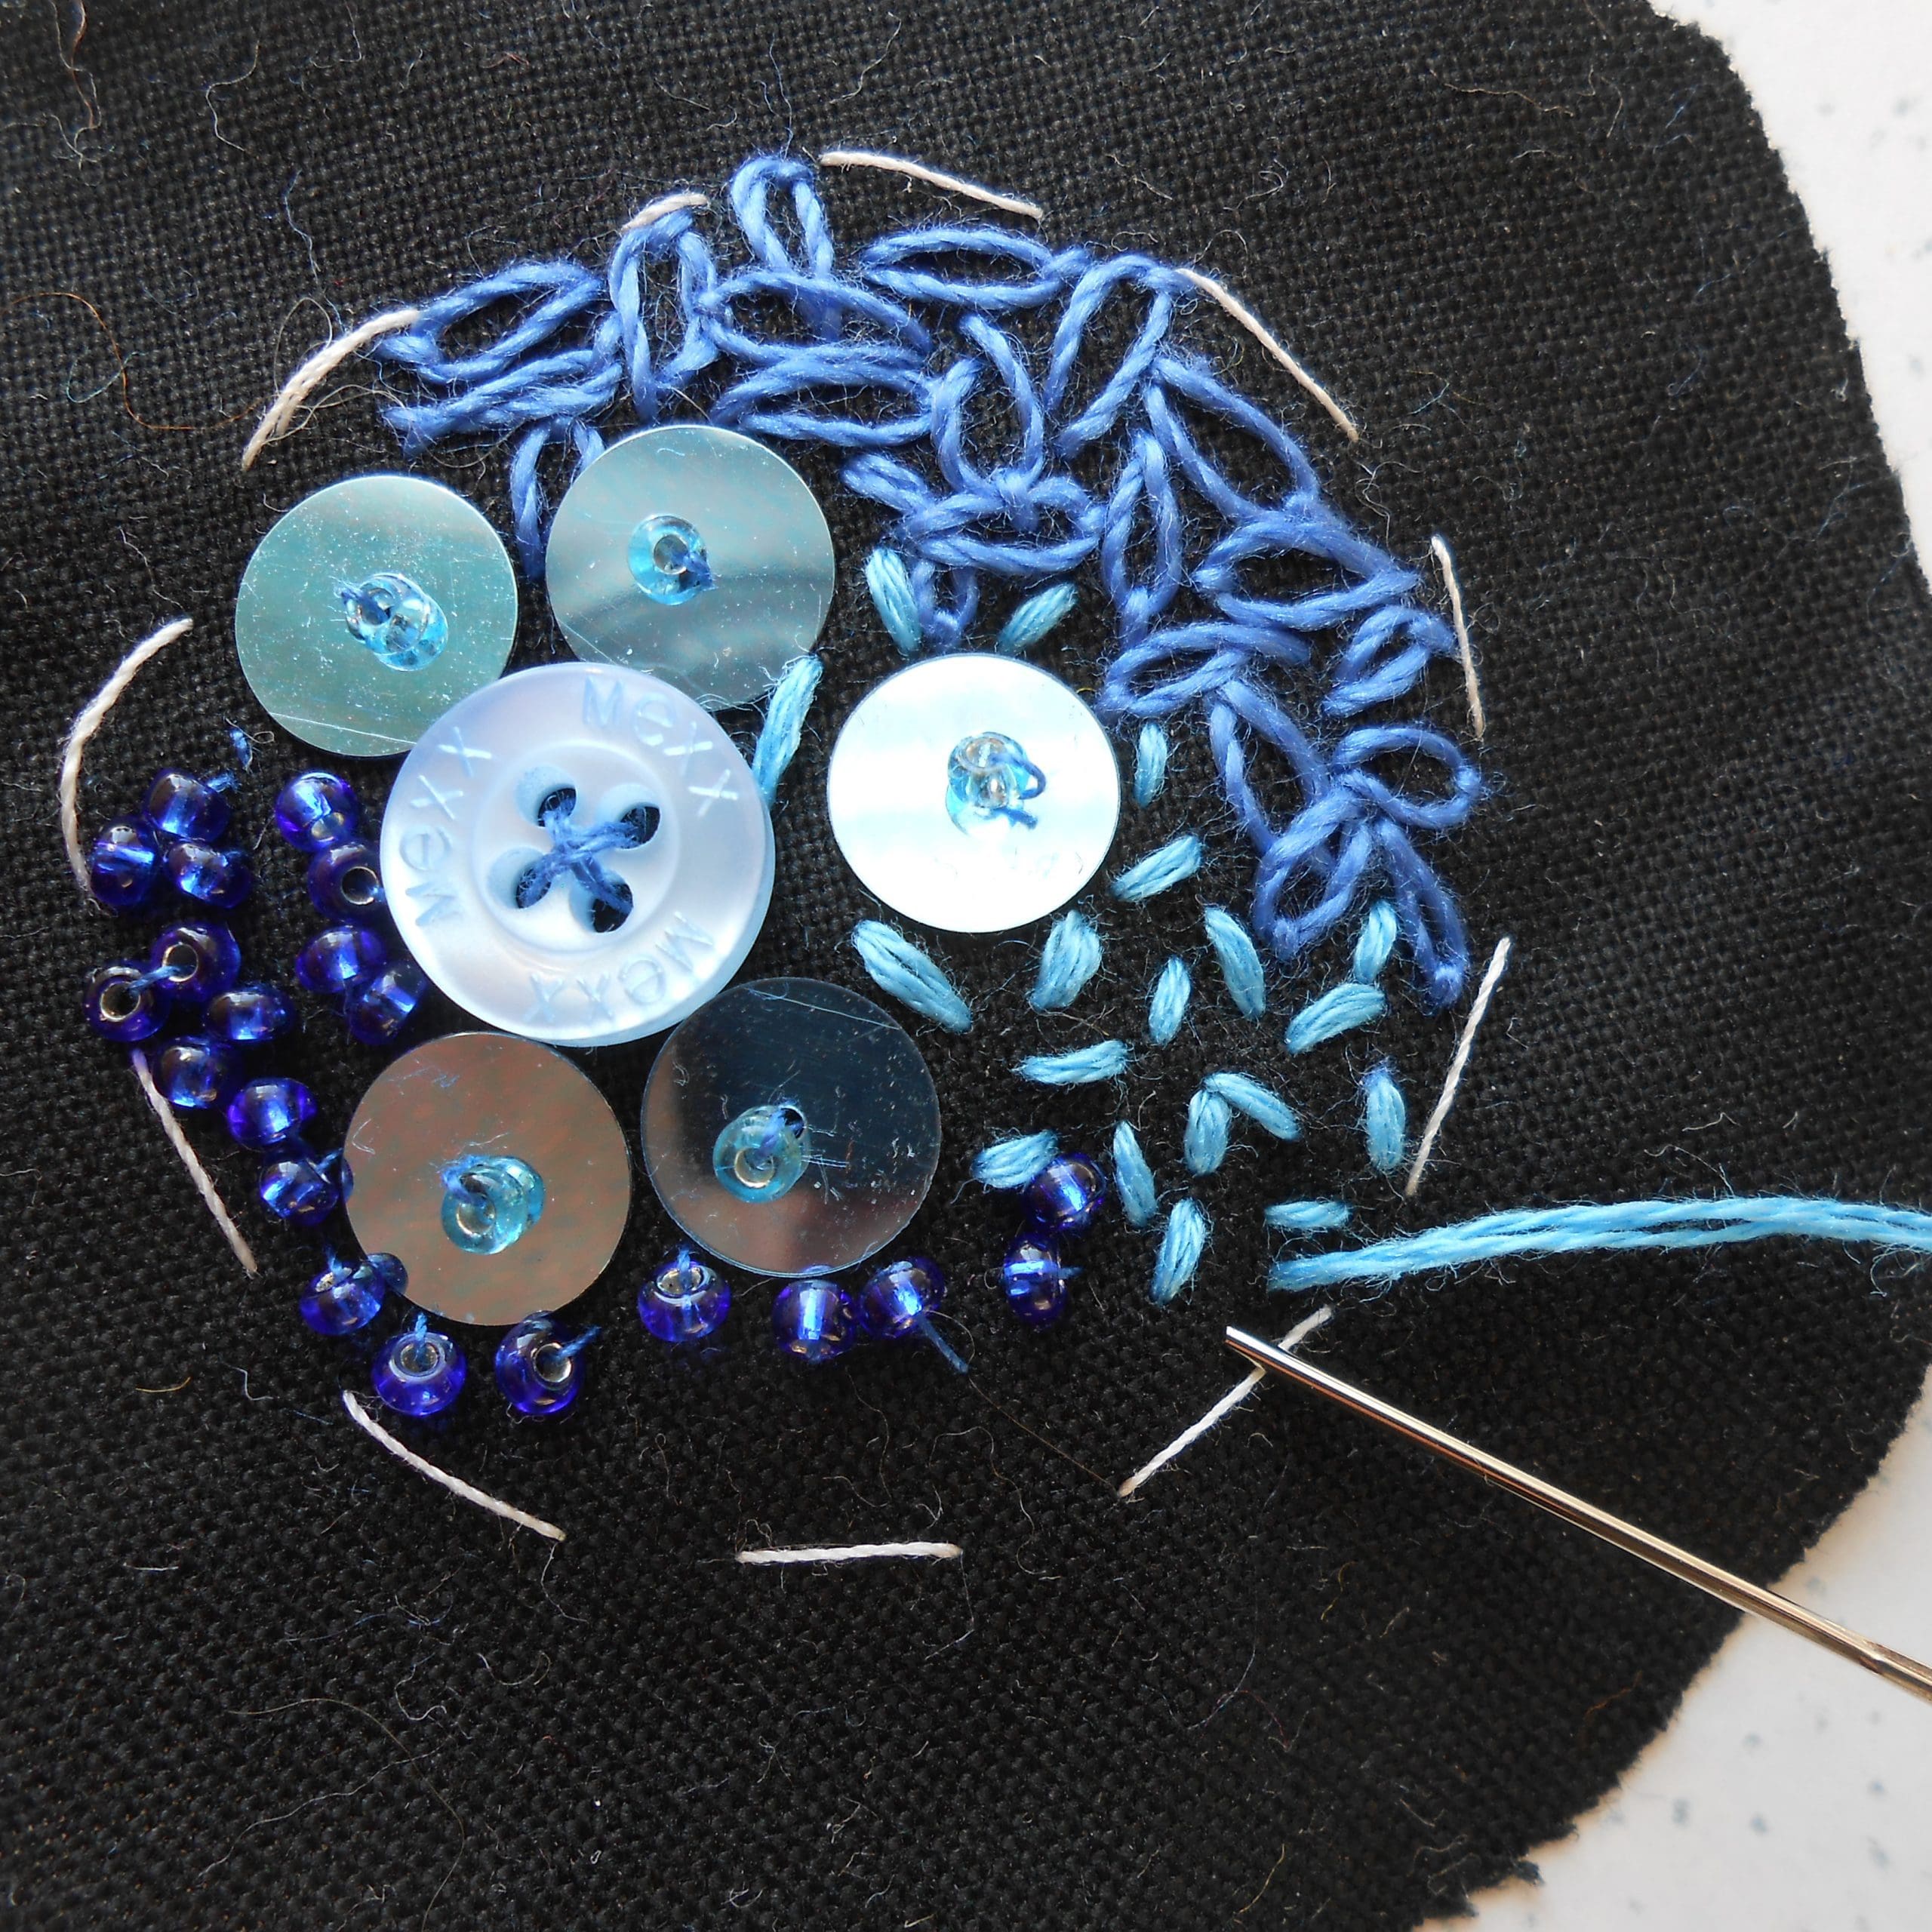
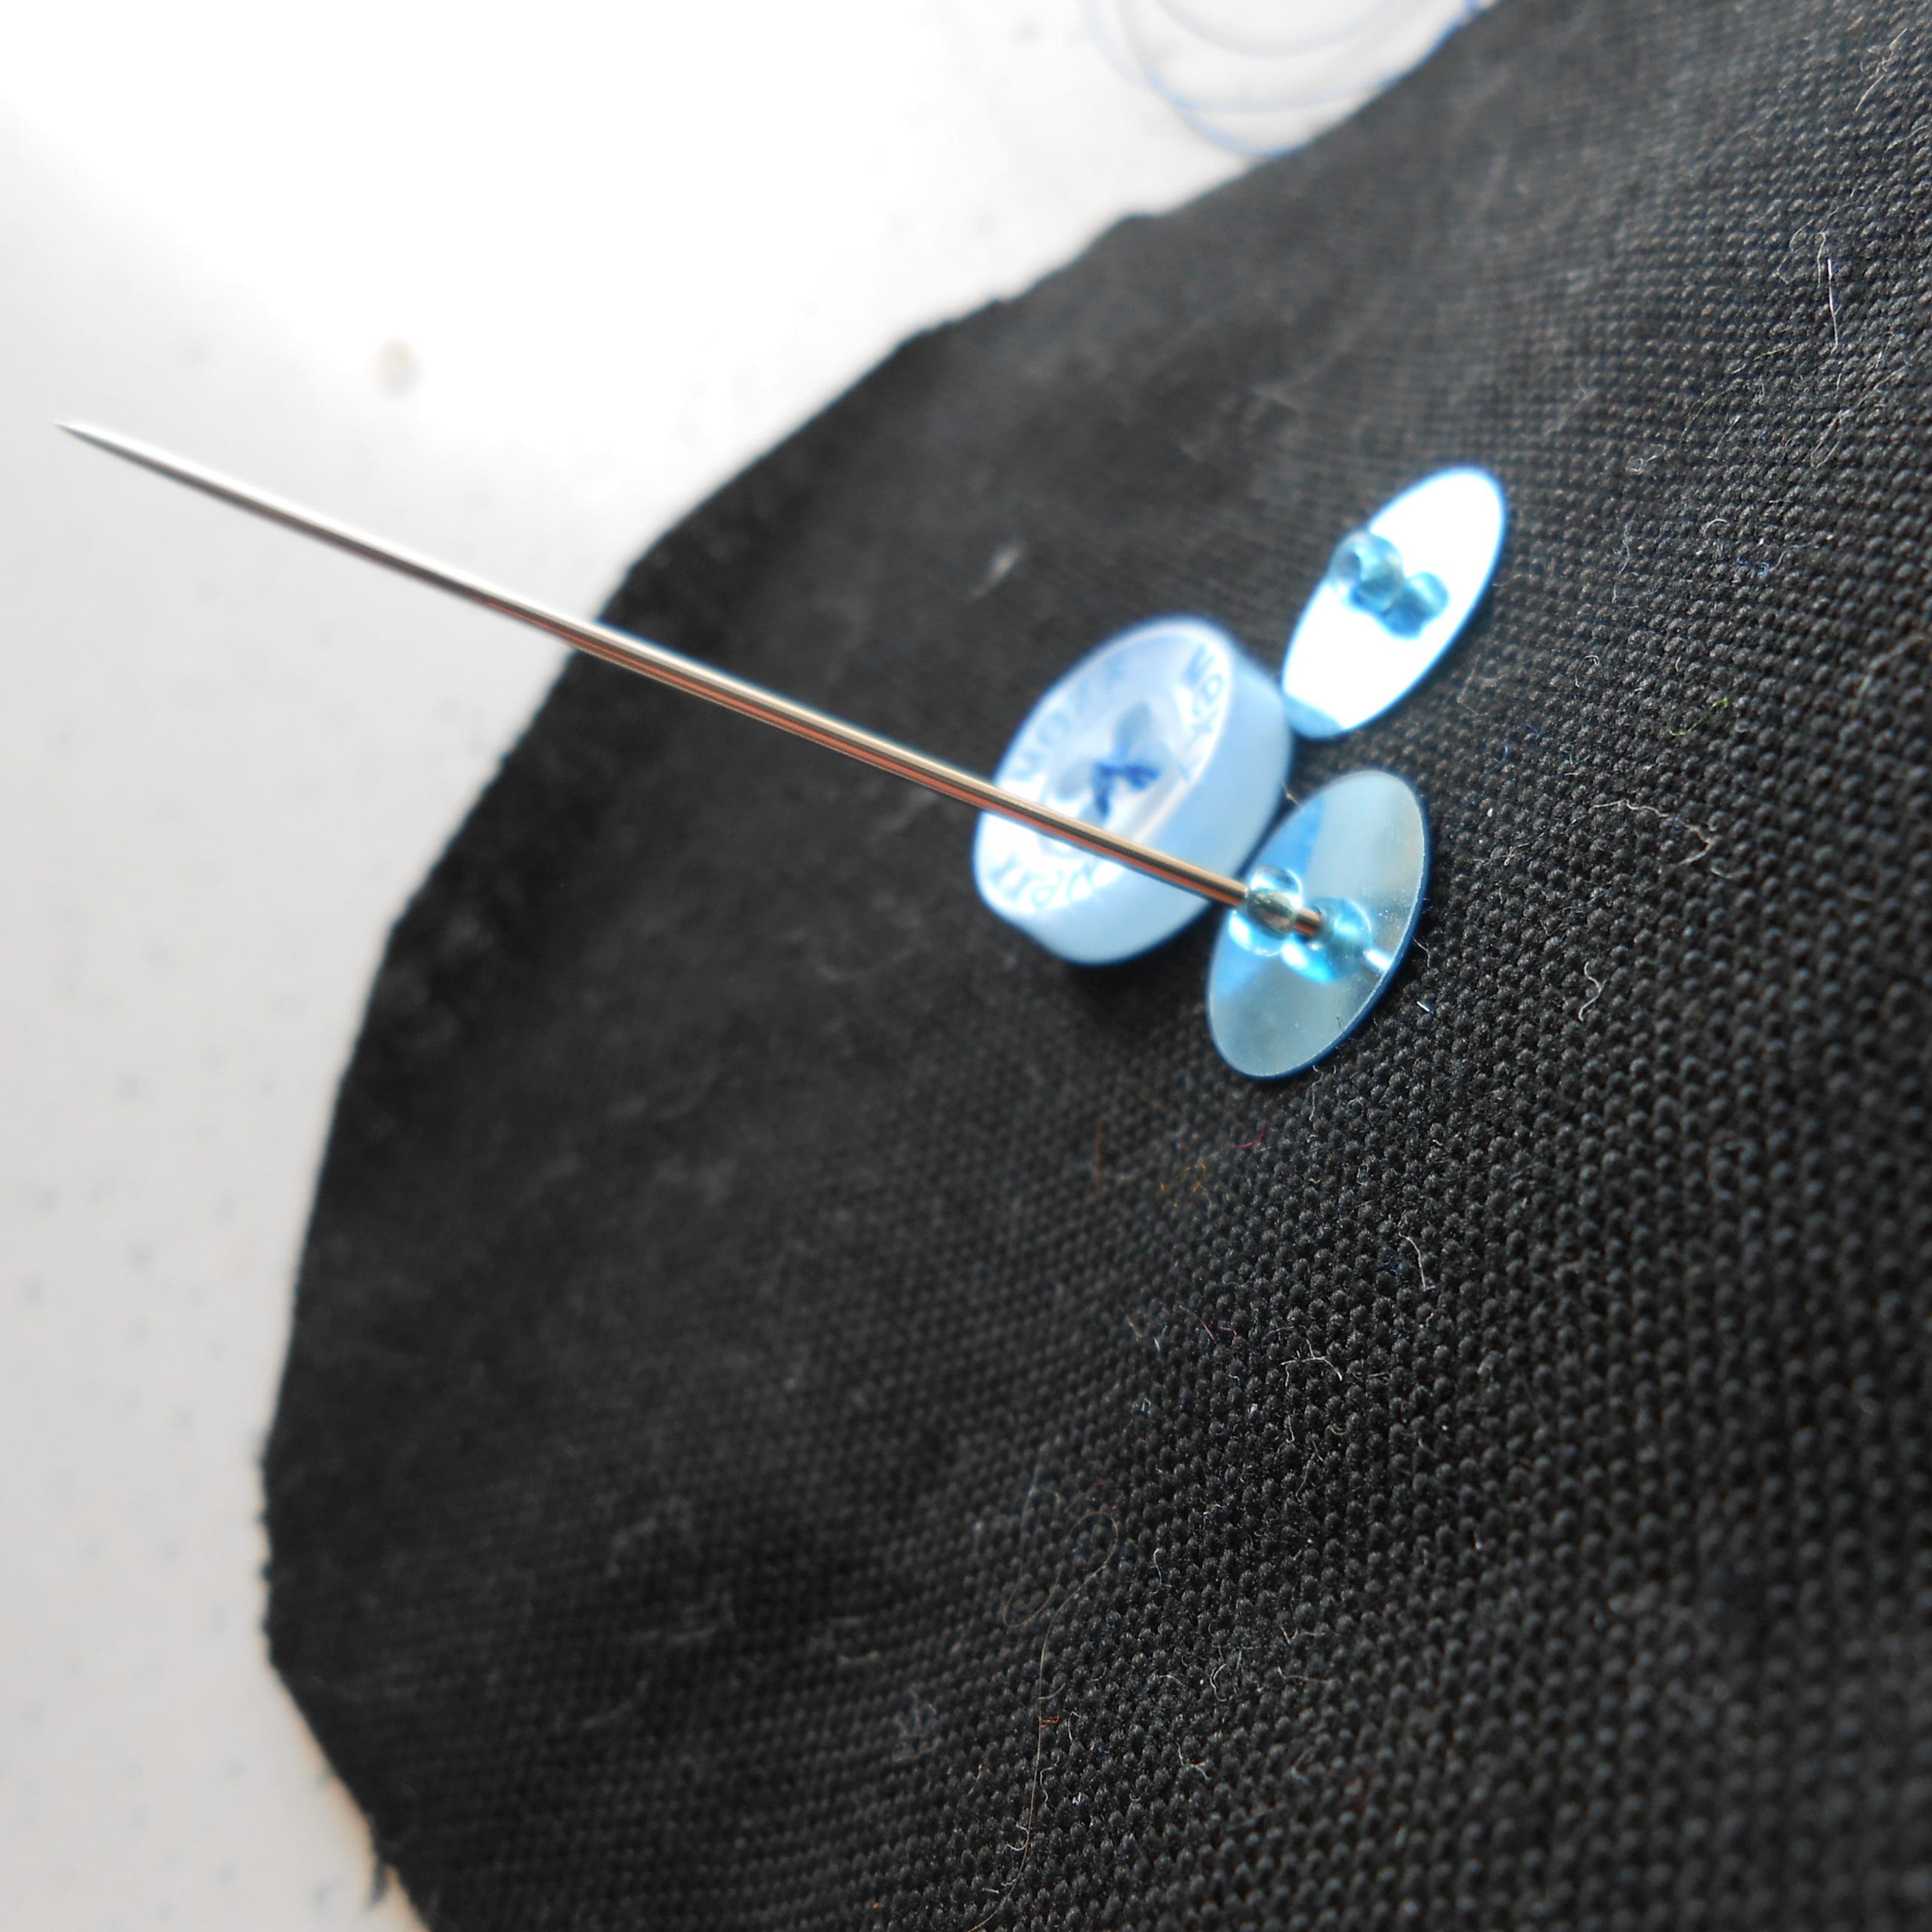
- For the top of the brooch, tack a piece of stabiliser on the inside and embellish with a selection of buttons, beads and sequins. When sewing a sequin an easy way is to come up through the hole and through a bead, then go down through the hole in the sequin and secure on the back stabilise with a backstitch. (photo 2). Add simple embroidery stitches such as detached chain (photo 3) or seeding (photo 4).
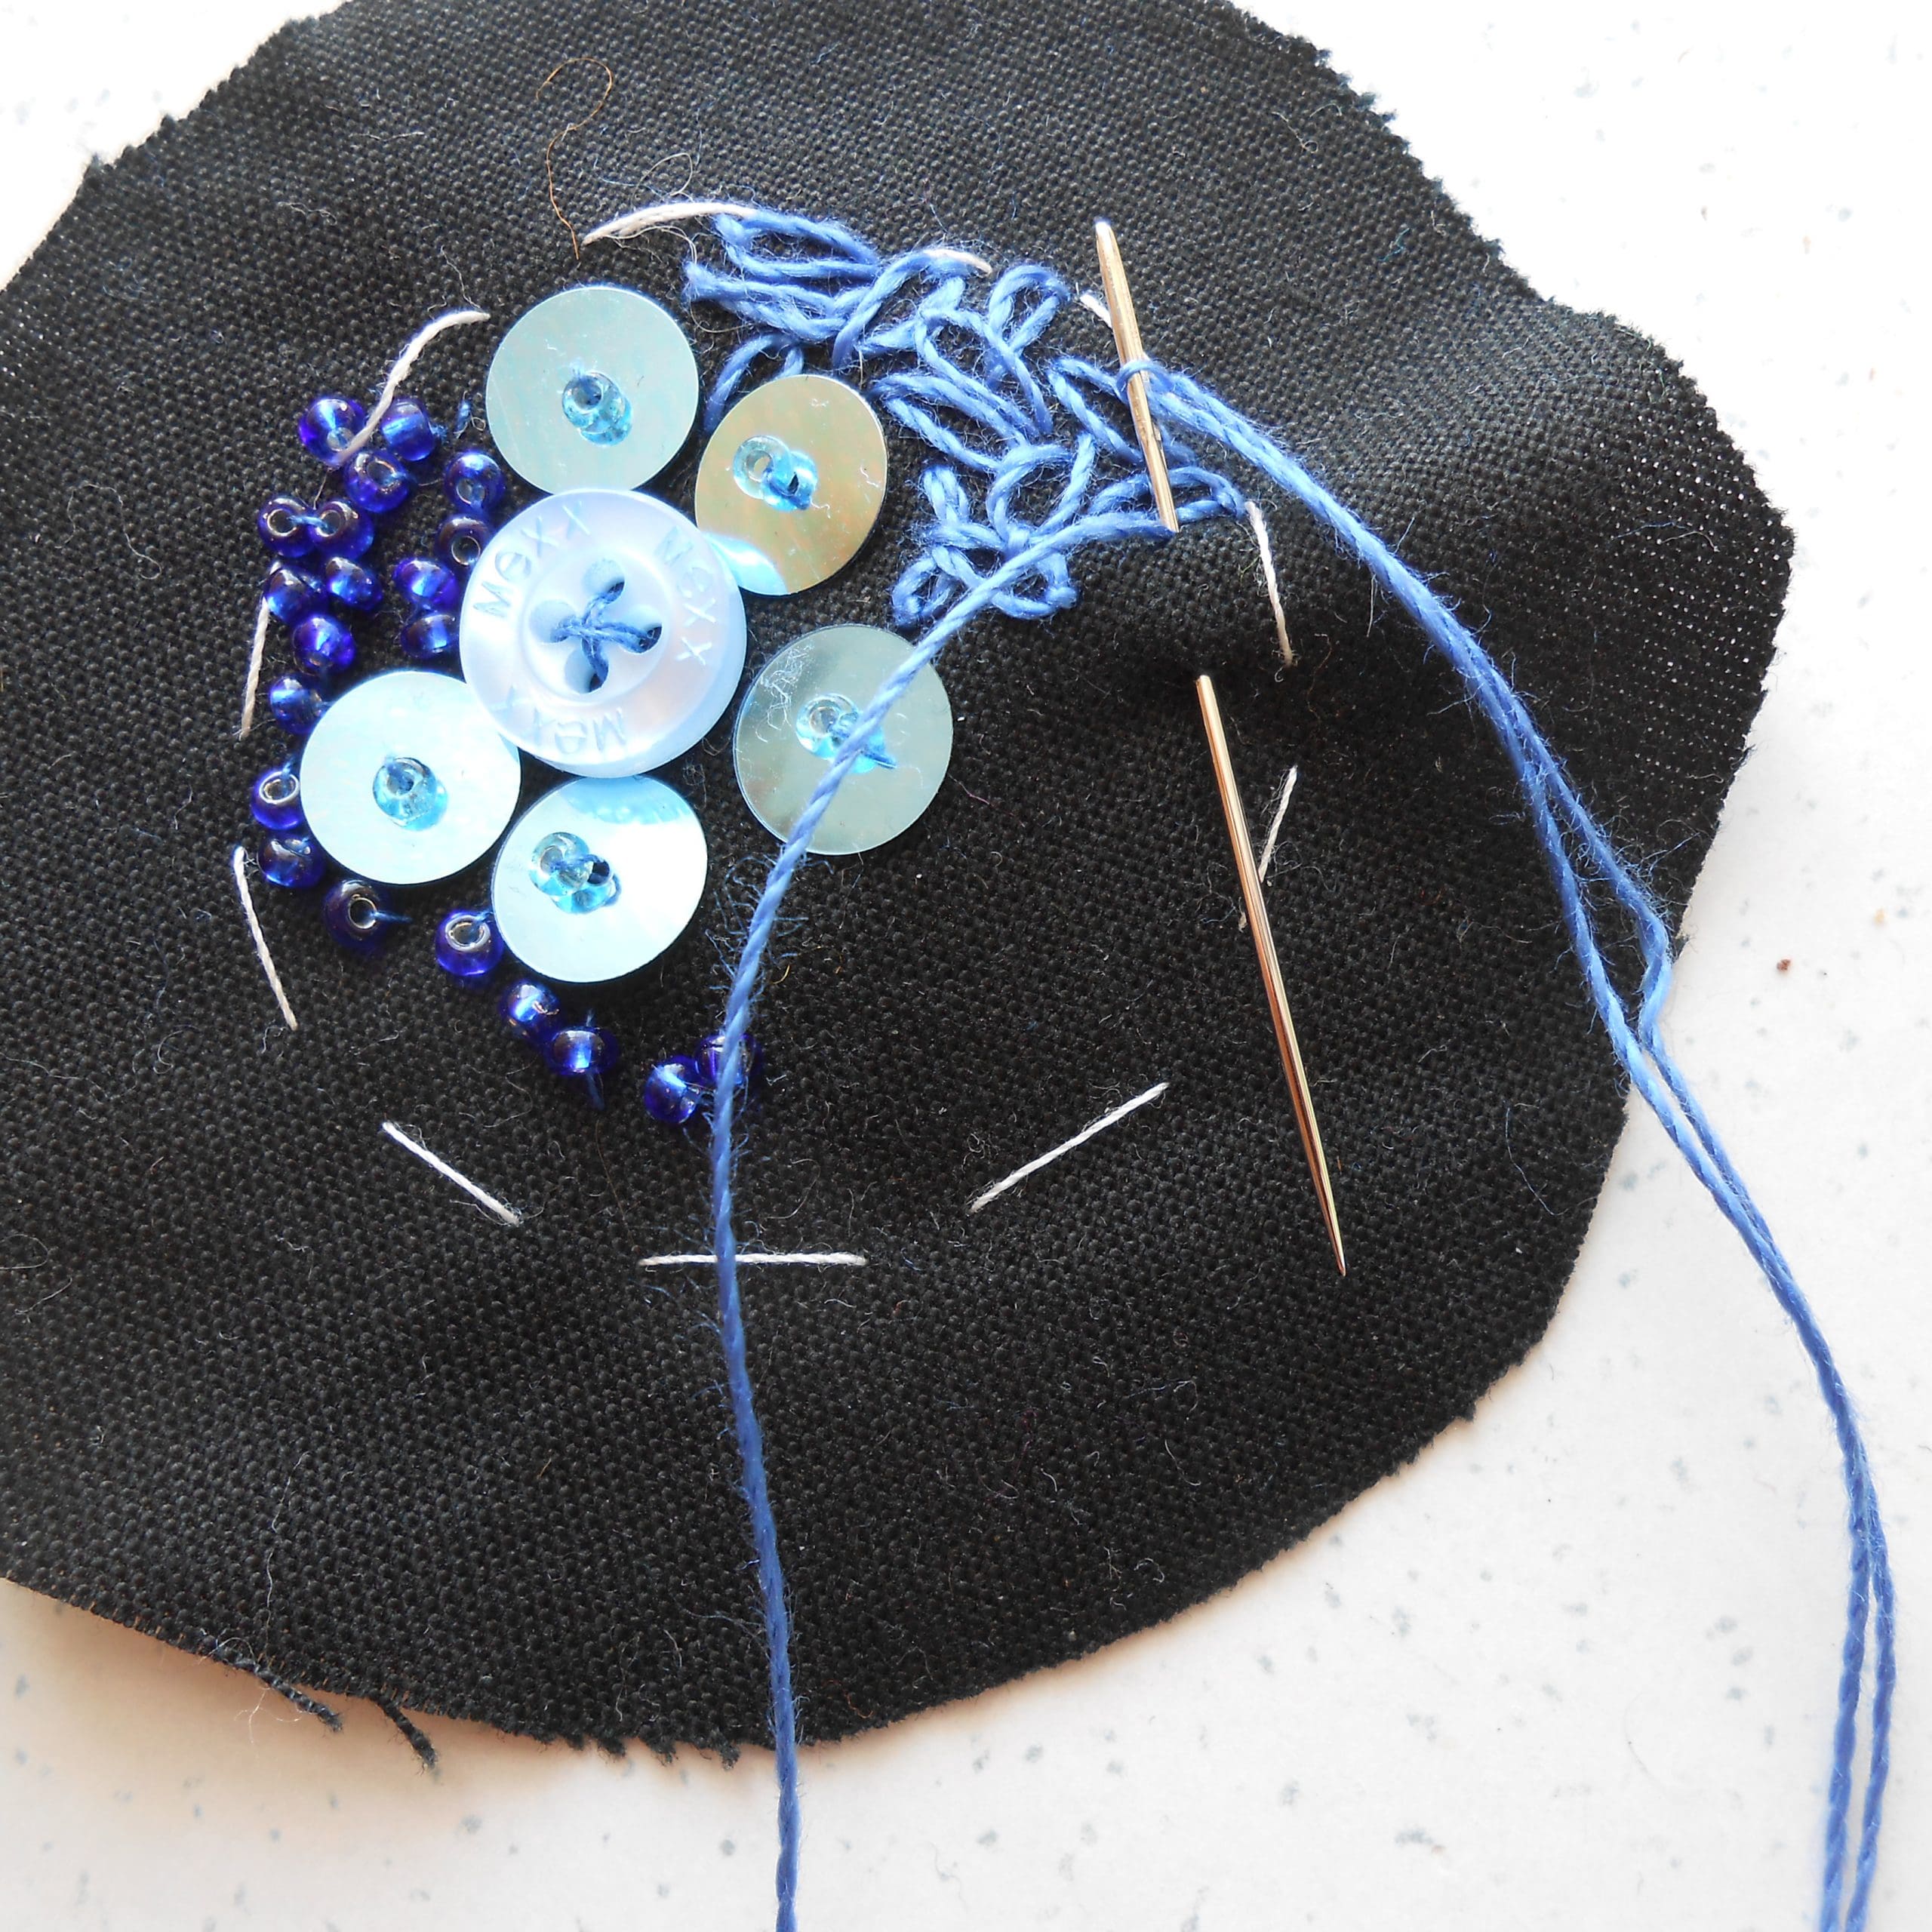
- Take running stitches halfway between the circle of stabiliser and the raw edge of the cotton fabric.
- Place a circle of wadding, then a piece of card behind the embellished top and pull the thread tight. Fasten off with some backstitches.
Step 3
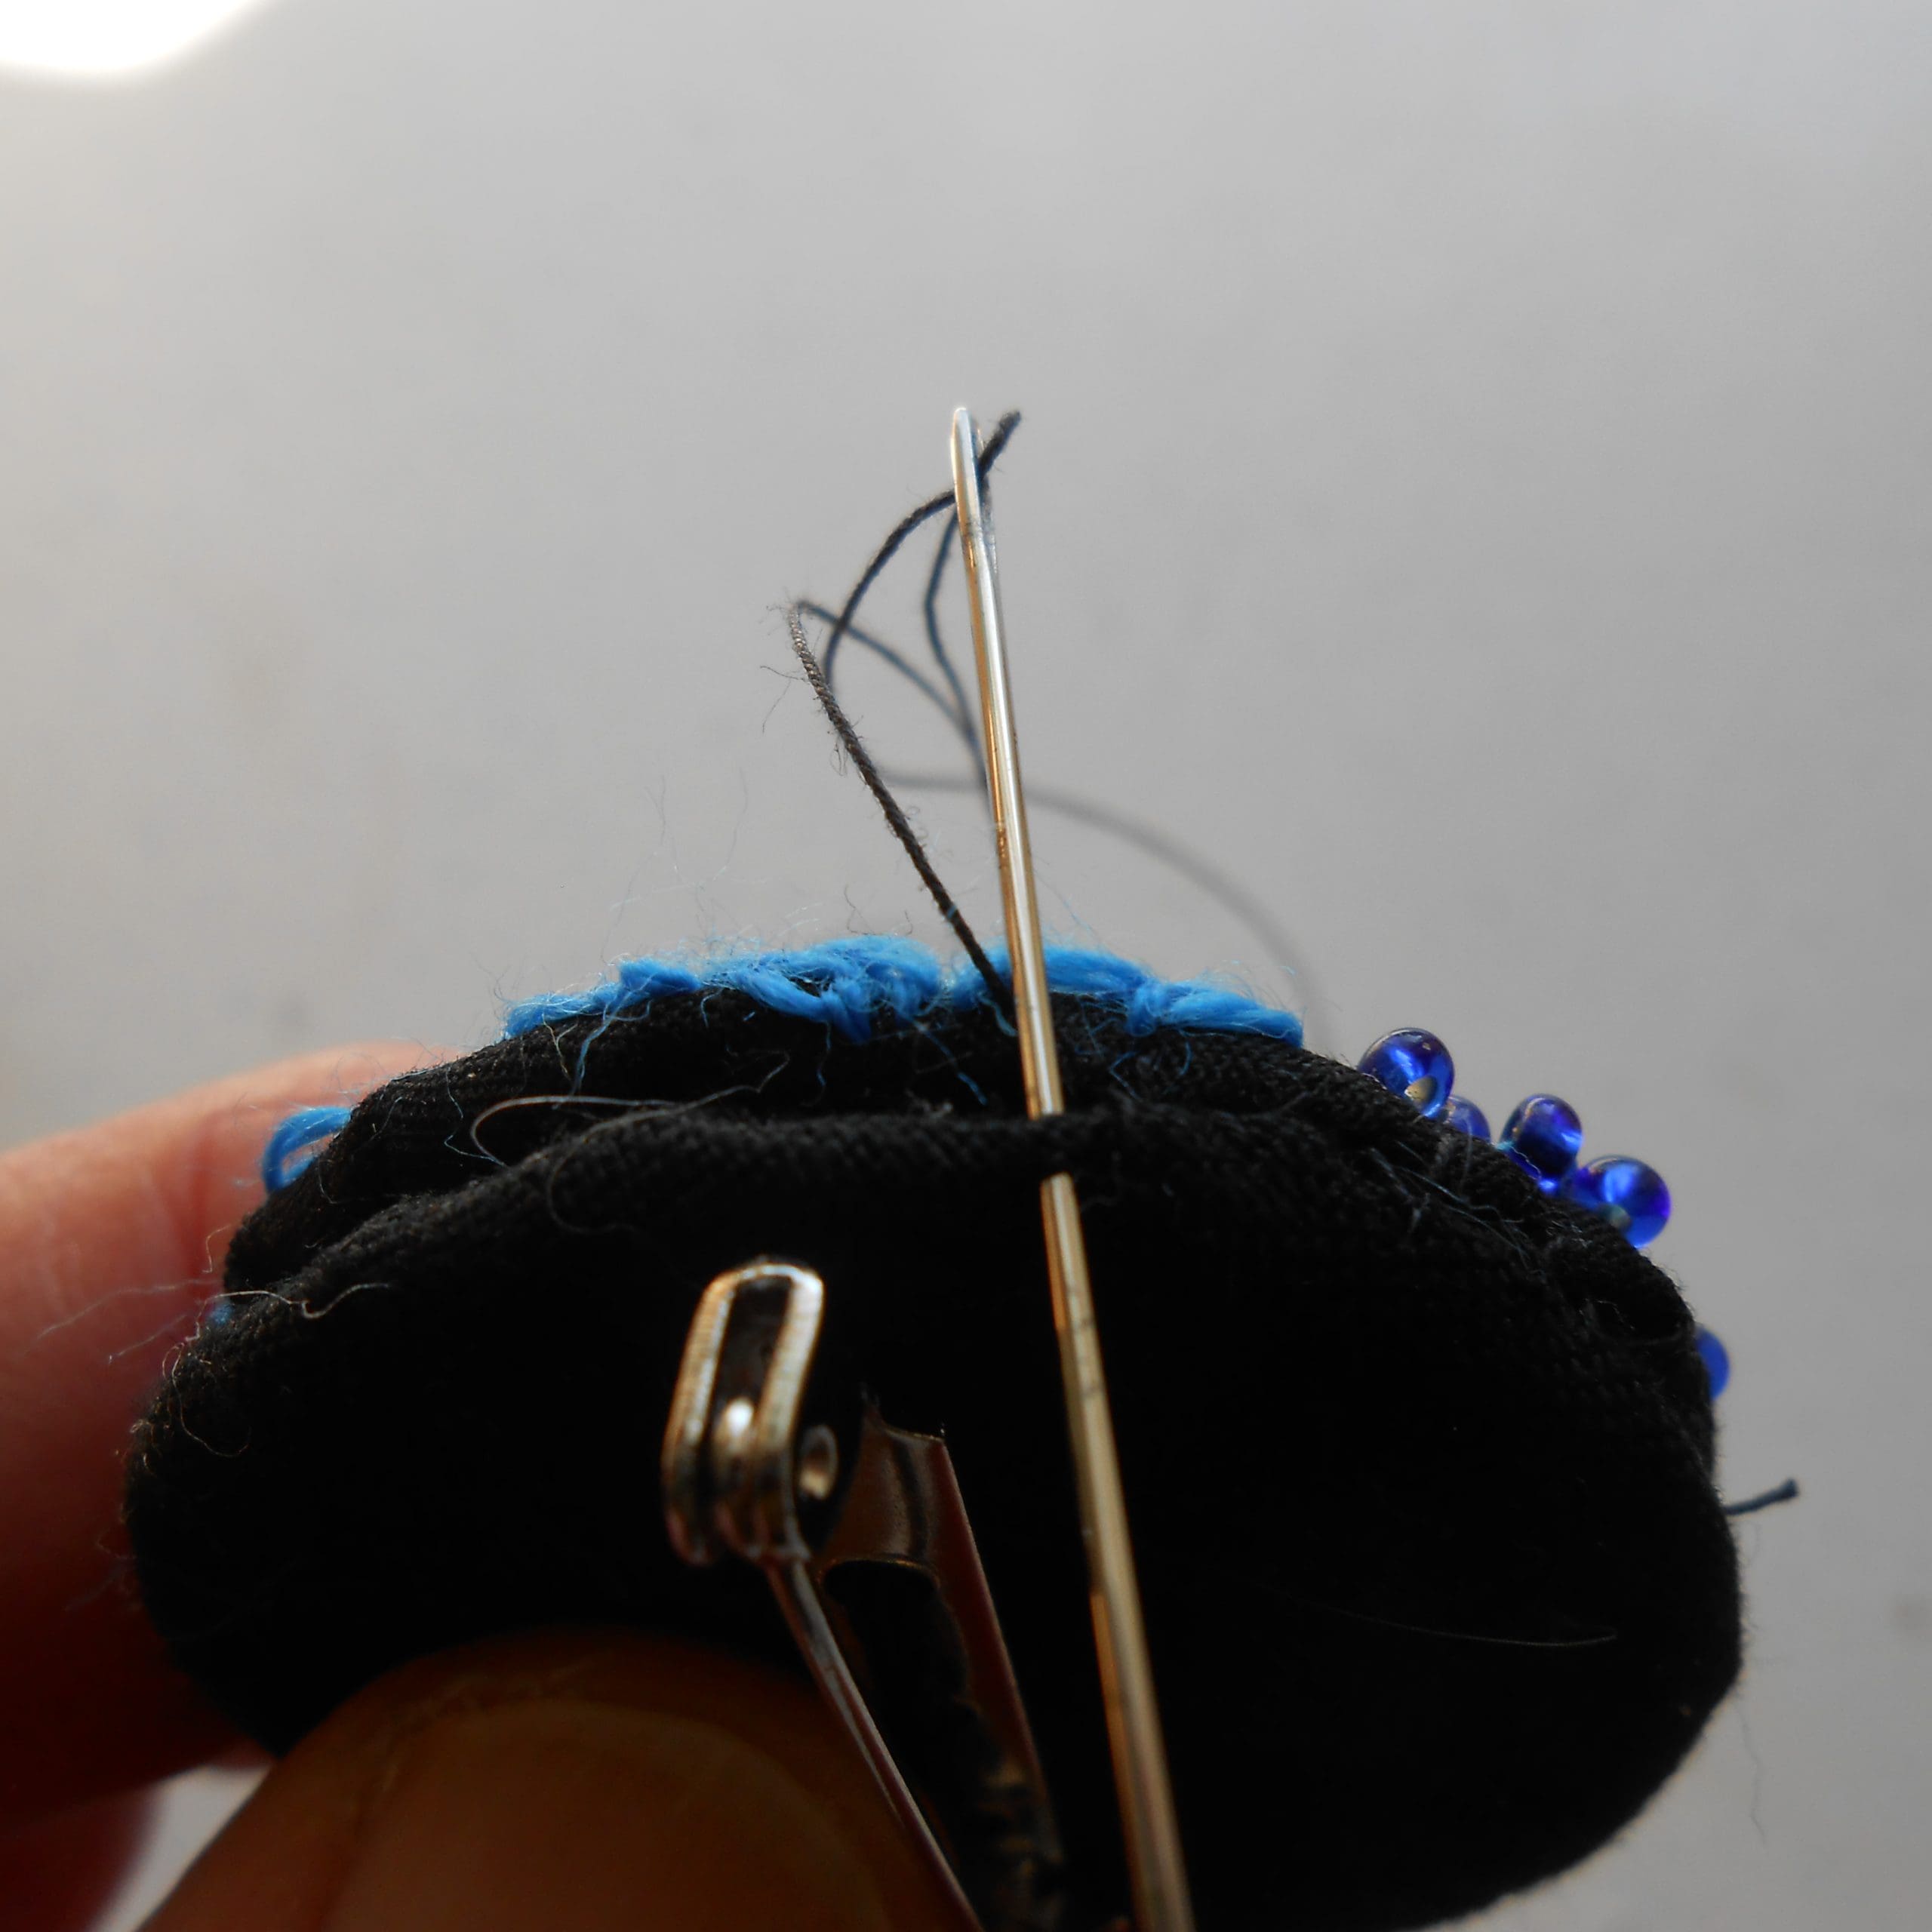
Making the back of the brooch
- For the back of the brooch, hold a piece of stabiliser in the inside and stitch either a safety pin or brooch fastener on the outside.
- Again, take running stitches half way between the circle of stabiliser and raw edge of the cotton fabric.
- Place a piece of card next to the stabiliser and pull the thread tight. Fasten off with some backstitches.

Step 4
Assembling the top and back of brooch
Hold the top and back of the brooch with insides together and sew the edges of the circles all the way round using thread matching the colour of the fabric. You can either use the same over sewing stitch as paper piecing or as I prefer to do, an insertion stitch called Fishbone where you insert the needle into edge of the fabric opposite, then come back into the edge nearest you. The edges can be embellished with beads or embroidery stitches as you can see on the four brooches in the main photo at the top of the project.
Further information
I hope you enjoy making a brooch. It can be done in an evening when watching TV and maybe you will enjoy it so much you will make more!
Copyright Sheena Norquay