
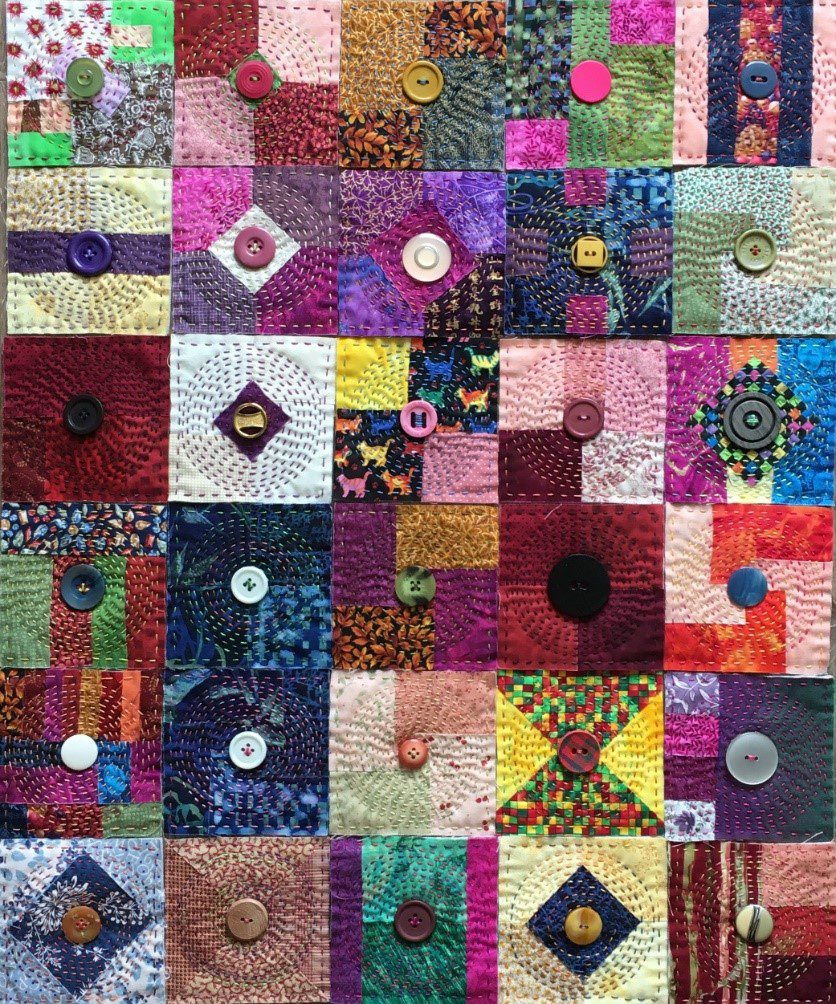
Going Round in Circles
By Herma De Ruiter
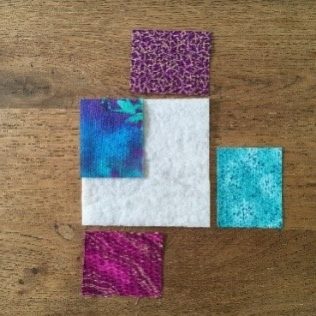
You will need:
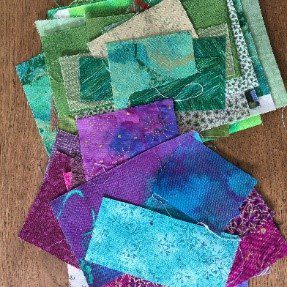
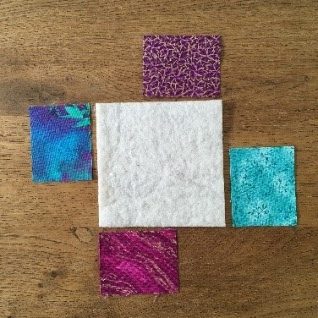
- Material to stitch on: batting, felt, thick flannel, etc 4×4 inches (10×10 cm)
- Scraps of fabric
- A round button (or something else that is round and you can attach to your work)
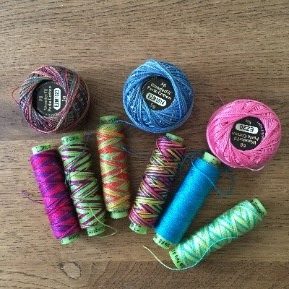
- Thread to stitch with, I use an 8wt perlé cotton (but you can use whatever you have, double up if the thread is thin)
- Needle, pins, scissors, thimble
How to make your four square inches of happiness
Step 1
Choose four small pieces which will cover your 4” square of wadding.
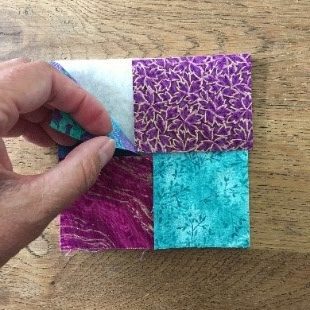
Step 2
Place the first on the top left of the wadding, right side up.
Step 3
Add the second piece, lapping it over the first on the left side.
Step 4
Then add the bottom right piece, again lapping it before adding the final fourth piece.
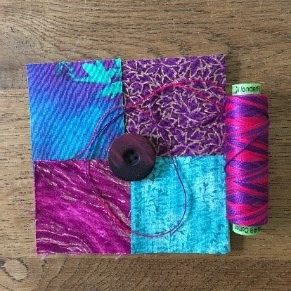
Step 5
Pin the fabrics in place.
Step 6
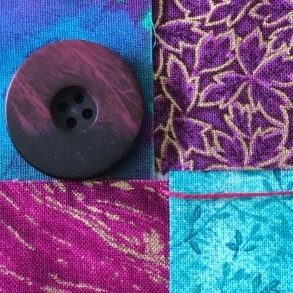
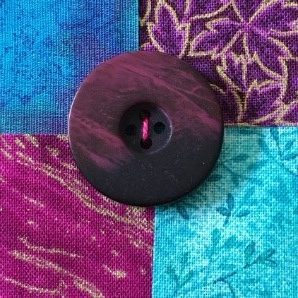
Now pick a button and some thread.
Now for some stitching
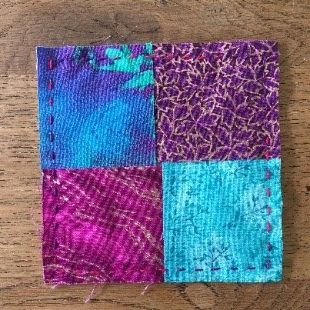
Step 7
Secure the thread to the back of your piece in one corner. Bring the needle to the front of the work and do a running stitch around the edge of your piece to secure your fabric. When you’re back where you started, take the needle to the back of your work and tie off with a couple of small stitches.
Step 8
Secure the thread to the back of your work in the centre and bring the needle to the front. See the hole where the fabric doesn’t quite meet? That’s the centre and it’s not a problem.
Stitching the button
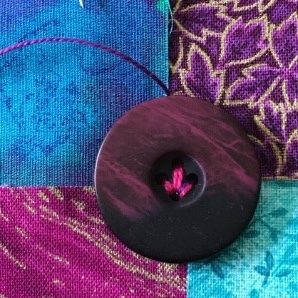
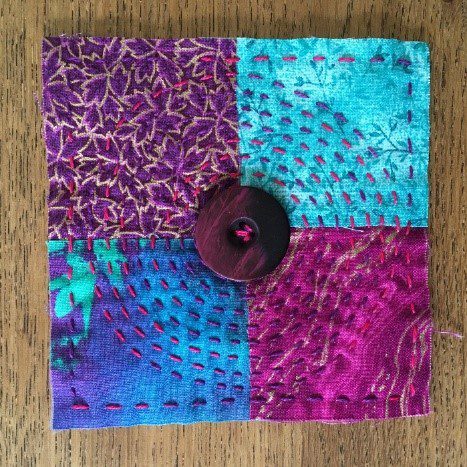
Step 9
There are lots of different ways to stitch on a button with four holes (that’s why I love them) but this is one of my favourites. I call it ‘the tulip’. Sew vertically through the top and bottom holes. Then sew from the bottom hole up to the left hole, then again from bottom hole up to right hole. Repeat to secure.
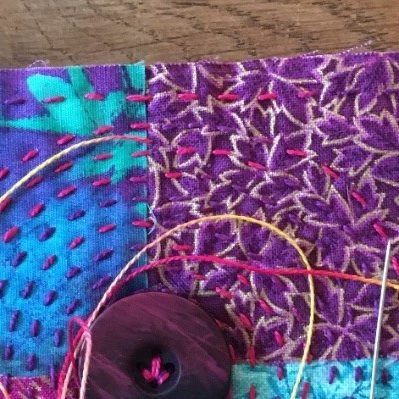
Once your button is securely fastened you can start stitching the circles. Bring your needle up right at the edge of the button. Use the running stitch to stitch around the button. Use the button as your guide to make the circle.
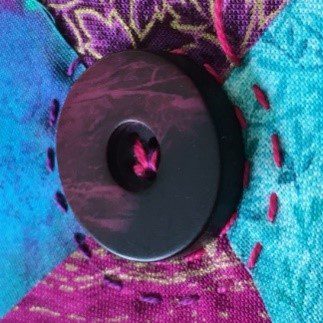
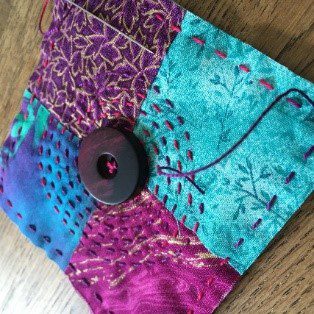
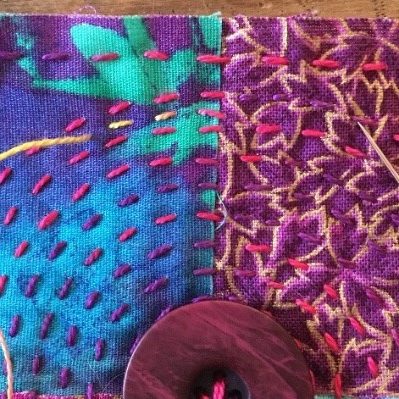
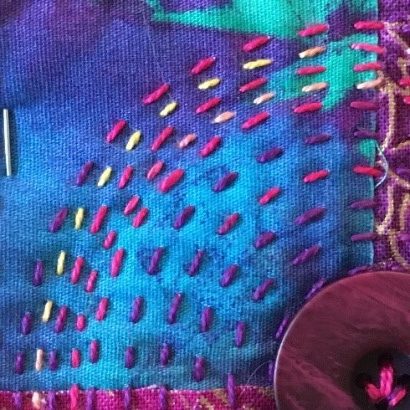
Step 10
Start stitching a slightly bigger circle, using the first circle as your guide. This is not an exact science, so you don’t have to measure or mark. Don’t worry about wonky stitches or circles that aren’t perfect. They won’t show in the finished work, I know because I have wonky stitches and less than perfect circles in my samples. Oh, and don’t worry about the size of the stitches either, they don’t all have to be the same. Keep going round in circles.
Adding backing and finishing the edges
Step 11
The back of your finished piece will look something like this so you need to add backing. Cut a 4×4 inch square of fabric.
Step 12
Thread your needle, you can use the same thread or pick a different colour for some added interest. Secure the thread to the back of your work and bring the needle to the front in between the two outer circles of stitching.
Step 13
Pin the backing to your piece. Stitch a running stitch in between the previous lines of stitching, making sure you go through all three layers. Repeat this between another set of circles. This is what the front and the back should look like now.
Step 14
Now add another line of stitching just inside the stitching you did to secure the edges. The front and the back should now look like this.
Step 15
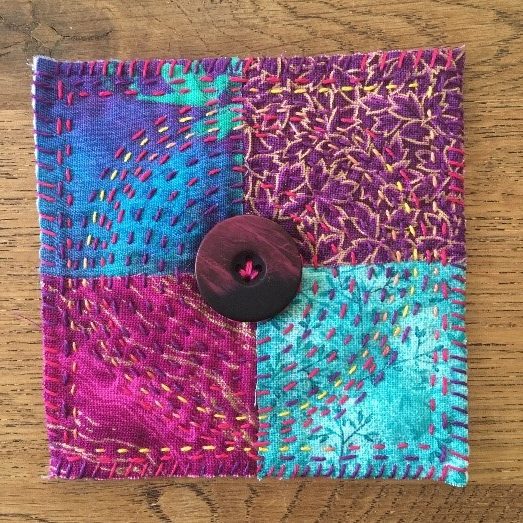
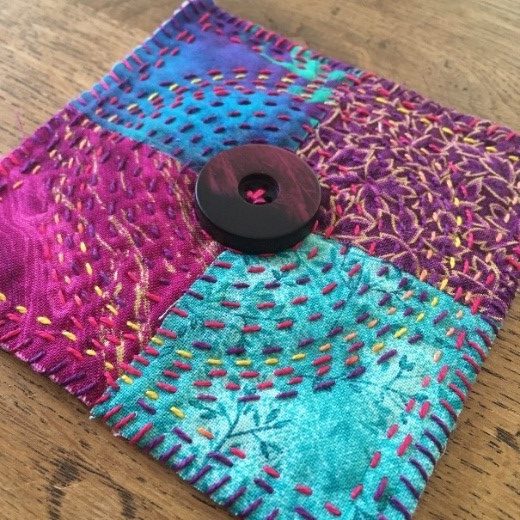
Do a whip stitch around the outer edges. This will stop your fabric fraying and give it a lovely finish.
That’s it! Sit back and admire your work…or get started on the next one!